Creating a crochet baby bandana bib is like wrapping a little one in pure comfort. It’s a delightful project that not only allows you to express your creativity but also results in a practical item that many parents will love. When I work on this pattern, it brings me joy knowing that my effort will provide both style and function. It’s an ideal crochet endeavor for anyone looking to unwind, especially after a long day.
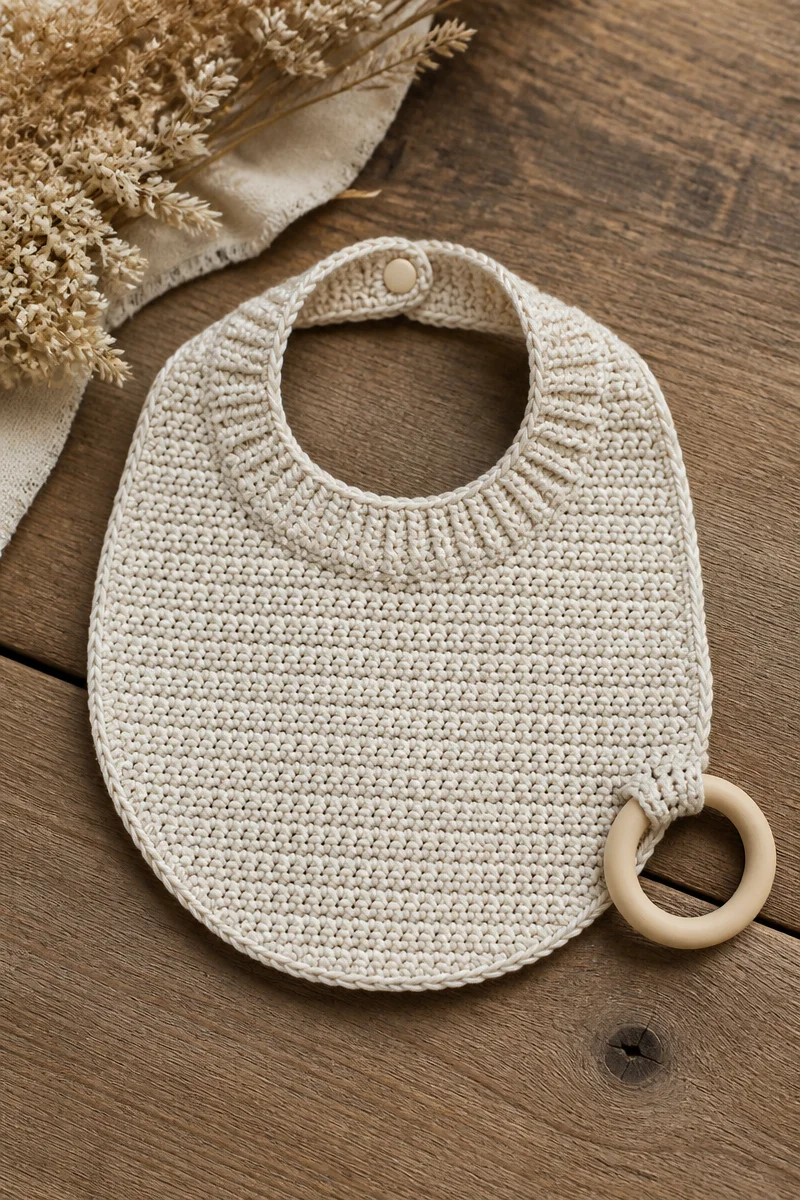
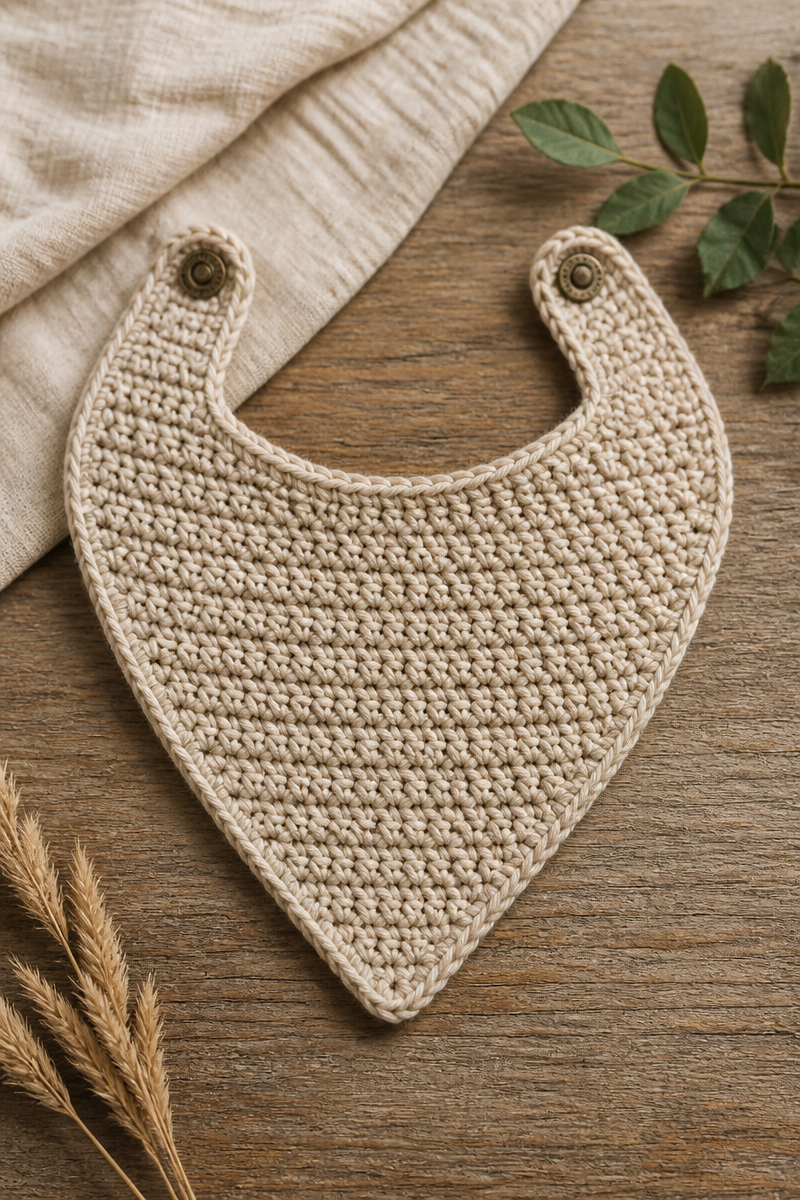
This lovely bib features a beautiful stitch and an adorable triangle shape that makes it perfect for babies. For this project, you will need cotton yarn in sage green, which adds a soft, pastel touch to your creation. The 4.0mm hook is just the right size for achieving that perfect tension. Along with a snap fastener to secure the bib and a yarn needle for finishing touches, these key components work together to create a charming accessory for any baby. The end result is not only functional but also has a delightful texture that feels soft against a baby’s delicate skin.
The method is quite straightforward. You will start by chaining a foundation row and working rows of single crochet to create the triangle shape of the bib. You’ll increase evenly on both sides until you reach your desired size. Once that part is done, a fitted neck strap is added to each side. A snap fastener is then sewn onto these straps for easy wear. Finally, the bib gets finished with a single crochet border that adds a lovely touch.
This crochet baby bandana bib is perfect for various scenarios. It makes a beautiful handmade gift for new parents or a sweet addition to a baby shower. Its unique design will surely be appreciated for its practicality, whether it’s for everyday use or special occasions. You could even consider it a lovely item to showcase at craft fairs.
Why You Will Love This Crochet Baby Bandana Bib Pattern
- Works up quickly, making it a satisfying project for seasoned crocheters and beginners alike.
- Simple stitches keep the focus on enjoying the crafting experience.
- A relaxing project that can be done while watching television or chatting with friends.
- Adorable and functional, this bib is perfect for keeping little ones clean during mealtime.
- An excellent gift option that shows thought and care, creating meaningful connections.
Cotton Yarn Tips
Using cotton yarn can be a wonderful experience, especially when working with such a lovely shade as sage green. When selecting cotton yarn for this project, ensure you choose a high-quality brand that offers durability and softness. Cotton is excellent because it is absorbent and breathable, making it quite practical for baby items. When working with this yarn, take care to ensure your tension is even to avoid any splitting of the fibers. This will help maintain a neat appearance throughout your project.
Options for Substitutions
- Bamboo yarn for a lightweight, eco-friendly alternative.
- Acrylic yarn if you prefer a softer feel and added warmth.
- Worsted weight cotton yarn for a thicker, sturdier bib.
- Organic cotton yarn for a more sustainable choice.
- A smaller hook, like 3.5mm, if you want a tighter stitch.
- Different colors for a personalized touch, moving away from sage green to create a vibrant baby bib.
Watch Out for These Mistakes
When diving into this pattern, it’s essential to keep an eye out for common pitfalls. For instance, dropping stitches at the end of a row is an easy mistake, especially if you’re not checking your work along the way. Another common error is working with inconsistent tension. If your stitches vary too much, the bib’s shape might become uneven, leading to an unprofessional look. Pay special attention to the foundation chain; skipping a chain space can affect the size of your motif. Lastly, remember to secure your snap fastener well; a loose connection could lead to frustration for parents and babies alike when it comes time to wear the bib.
What to Pair With This Crochet Baby Bandana Bib Pattern?
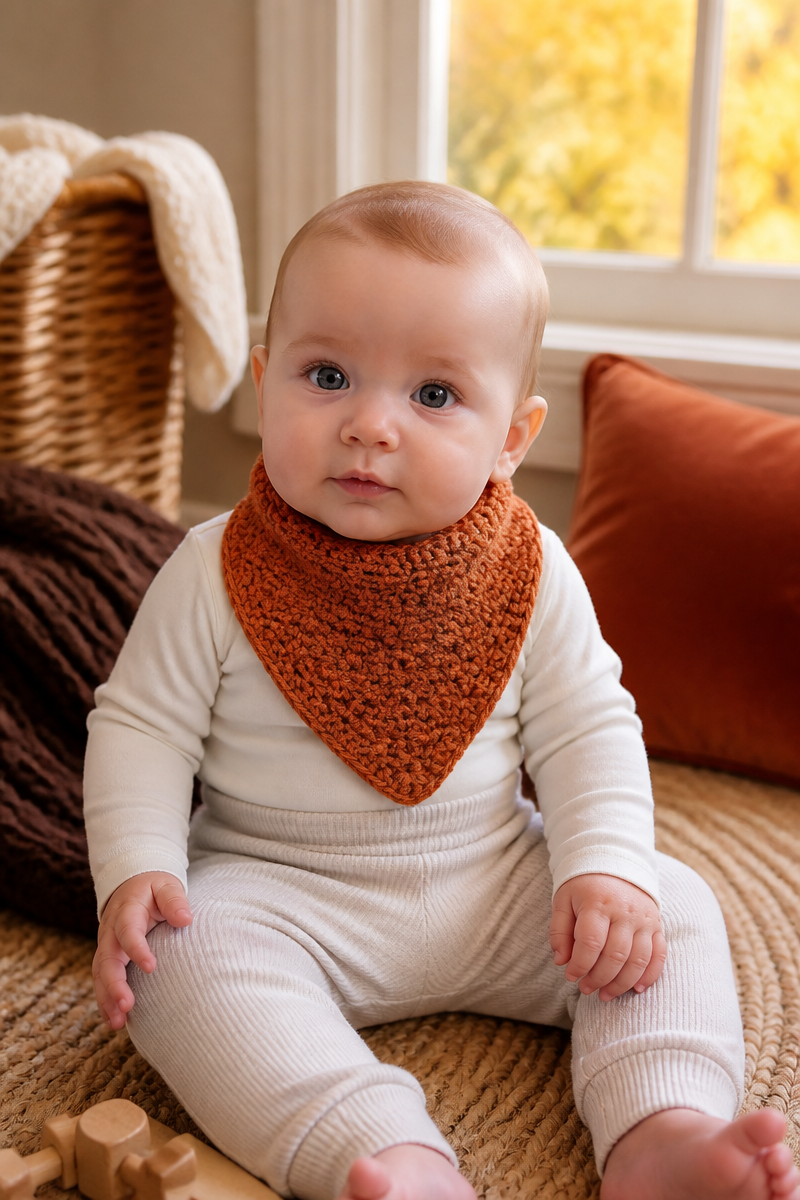
To complement your crochet baby bandana bib, consider making matching items. A simple baby blanket in sage green can provide warmth and cuteness. You could also whip up a set of baby booties using similar stitches to maintain a cohesive look. For a fun accessory, a matching toy, like a soft crochet rattler, would be delightful. These coordinated projects not only make very thoughtful gifts but could be perfect items to sell at craft fairs.
Care and Washing Instructions
When it comes to cleaning your cotton baby bib, it’s best to hand wash it in cold water with a gentle detergent. Avoid hot water, as it could lead to shrinking or fading. If you prefer machine washing, use a delicate cycle, and make sure to place the bib in a mesh laundry bag to protect its shape.
For drying, lay the bib flat on a clean towel to preserve its structure. Cotton can stretch, so hanging it vertically is not recommended. Blocking is not necessary for this item; a gentle reshape while wet will keep it looking sharp.
Pattern Info
Prep Time: 15 minutes
Make Time: 1 hour
Total Time: 1 hour 15 minutes
Level of Difficulty: Beginner
Sizing: The finished bib measures approximately 10 inches across at its widest point.
Gauge and Sizing Notes
Estimated sizing and gauge details for this pattern: It’s invaluable to check your gauge, especially since children’s items can have specific size needs. The triangle shape should ideally be about 10 inches wide and 8 inches long from the top to the tip, but feel free to adjust according to personal preference or the child’s size.
Materials Needed
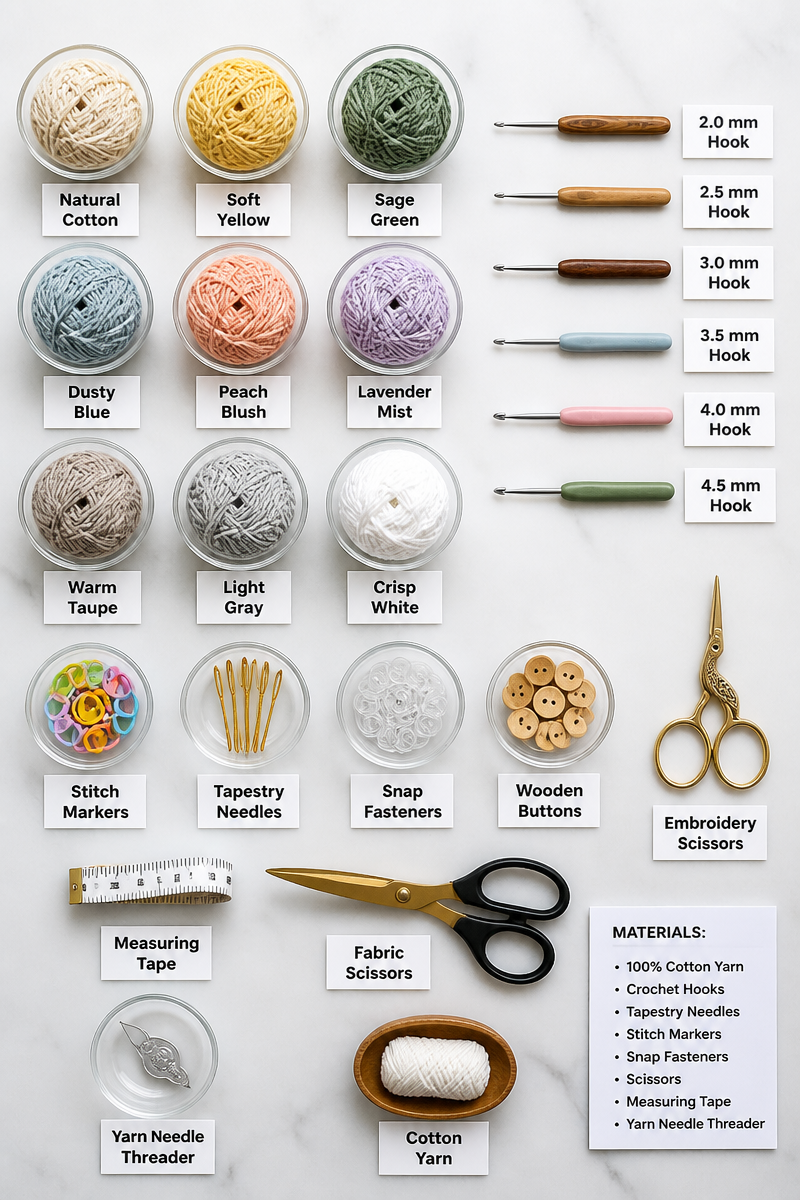
- Cotton yarn in sage green
- 4.0mm hook
- Snap fastener
- Yarn needle
Step-by-Step Instructions
Step 1: Create the Foundation Chain
Begin by chaining approximately 25 stitches to set up your foundation row. This will give you the initial length of the triangle. Once you have your chain, make sure it is not twisted before proceeding to the next step.
Step 2: Work the First Row of Single Crochet
In the second chain from your hook, begin working single crochets across your foundation chain. Continue this until you reach the end of your row. You will have a nice, even row for the base of your triangle.
Step 3: Increase the Triangle Shape
Turn your work and chain one. For the next row, you will increase stitches evenly on both sides. Work one single crochet into the first and last stitch of the row while keeping the stitches in between uniform. This technique helps build the triangle shape of your bib.
Step 4: Continue Until Desired Size Is Reached
Repeat the process of increasing and working rows of single crochet until your triangle reaches the preferred length. Remember to check your work frequently; it should measure approximately 8 inches from the top to the tip.
Step 5: Attach the Neck Straps
Once you have reached the desired size, chain an additional 10 stitches on each side of the triangle for the neck straps. Work a few rows of single crochet along each strap to create a sturdy, comfortable fit before attaching them to the top corners of the bib.
Step 6: Add the Snap Fastener and Border
To finish, sew the snap fastener onto the ends of each neck strap for easy closure. Then, go around the entire triangle with a single crochet border for a polished look. This final touch neatly encapsulates your work, and it adds just the right finish!
Concluding, the crochet baby bandana bib is not only an enjoyable project but also a practical one. I invite you to give this pattern a try and share photos of your finished work. The joy of crafting is best when it’s shared, so feel free to explore similar posts on my blog for more ideas to ignite your creativity. Happy crocheting!