Creating the Cute Amigurumi Giraffe Crochet Baby Rattle is pure comfort to make. The gentle, rhythmic motions of crocheting can be both soothing and rewarding, making this project ideal for anyone looking to unwind. Whether you are a seasoned crocheter or just starting out, this giraffe project invites you to relax while you stitch away.
This charming giraffe rattle combines vibrant yarn with the perfect crochet hook to create a delightful texture. You’ll benefit from soft stuffing that makes this rattle cuddly, while safety eyes give it an adorable character. Using a yarn needle and scissors, you’ll ensure that every detail comes together neatly. The end result is not only pleasing to the eye but also safe and comforting for little hands to hold.
You will follow an easy and enjoyable method as you start by creating a magic ring for the giraffe’s head. The pattern guides you through shaping each body part using straightforward stitches. Inserting the safety eyes at the right moment ensures your giraffe comes to life. You’ll neatly attach the legs and finish with delightful ears and horns. This step-by-step guide makes the pattern accessible, even for beginners.
Imagine gifting this beautifully crocheted giraffe to a new grandchild or using it as a wonderful decorative piece for a nursery—all while knowing it’s safe and lovingly made by hand. This project is not only a joy to create but also serves as a heartfelt, handmade gift for any occasion.
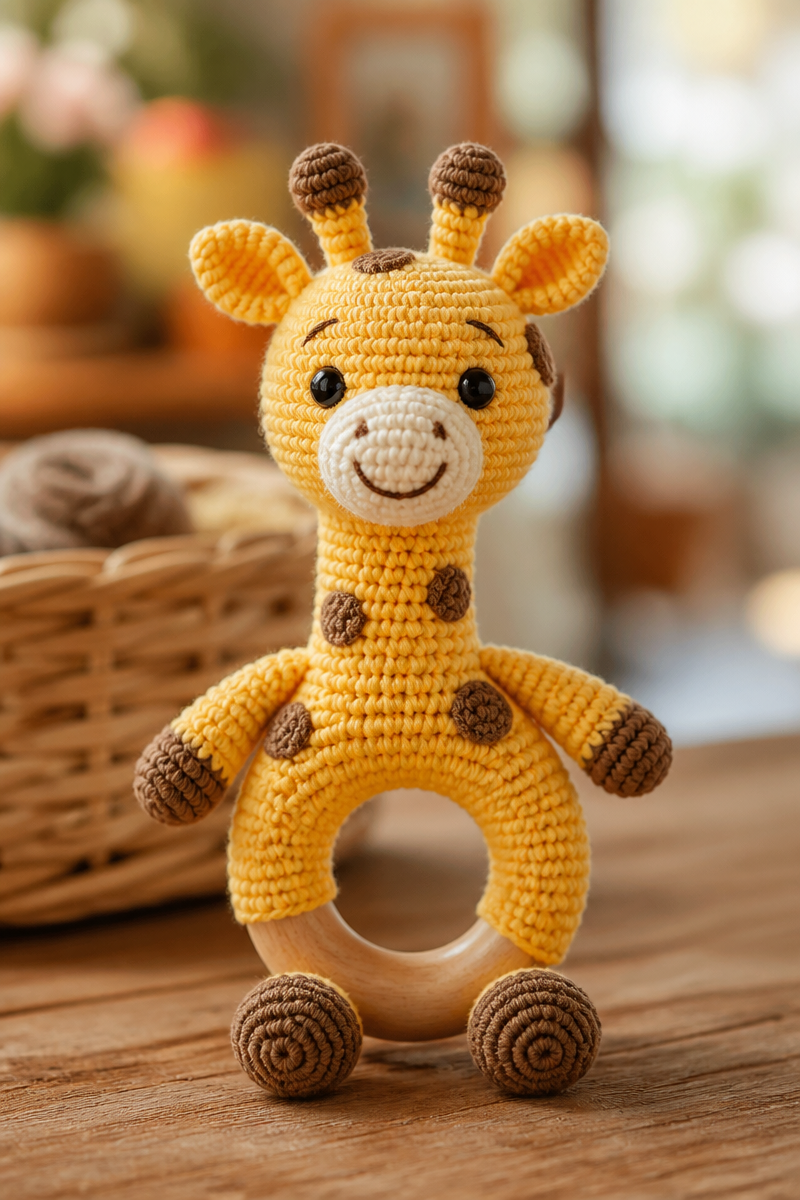
Why You Will Love This Cute Amigurumi Giraffe Crochet Baby Rattle Pattern
- Works Up Quickly: The straightforward instructions mean you can finish this rattle in no time.
- Simple Stitches: No complex techniques here. If you can make a magic ring and work in rounds, you’re set.
- Relaxing Project: The repetitive motions of crocheting allow you to unwind and enjoy the crafting process.
- Personal Touch: Handmade gifts have a special charm that store-bought items simply can’t match.
- Ideal for All Skill Levels: Whether you are a beginner or more experienced, this pattern caters to everyone.
Yarn Suggestions Tips
For this project, choosing the best yarn can make all the difference. Consider a soft acrylic yarn, which is both durable and easy to wash. Look for a worsted weight that gives your giraffe a nice structure without being too heavy. It’s also essential to avoid yarns that split easily while crocheting. This can make each stitch harder than it should be. You want your crafting experience to be as enjoyable as possible, so choose a yarn that feels great in your hands and works well with your crochet hook.
Options for Substitutions
- Swap regular acrylic yarn for cotton yarn for a cooler option, especially for summer.
- Use a larger crochet hook for a looser tension if you prefer an airy look.
- Try a different yarn brand that offers a similar blend for unique colorways.
- Replace safety eyes with embroidered features for a softer look.
- Choose a polyfill stuffing instead of fiberfill for a different feel.
- Use a smaller or larger yarn needle depending on your yarn thickness.
Watch Out for These Mistakes
Starting with the magic ring can feel tricky at first. Many beginners might forget to pull the loop tightly enough, leading to a loose start. Be sure to pull it snug so the head holds its shape.
Another common pitfall occurs when people skip inserting the safety eyes at the right stage. Ideally, place them before you stuff the giraffe. This way, you won’t need to adjust anything later.
When shaping the legs, keep an eye on tension. If your stitches are too tight, it will be difficult to attach them to the body smoothly. Striking a balance ensures everything fits just right and looks delightful.
Finally, remember to weave in all ends securely. Neglecting this step could lead to threads coming undone after plenty of playtime, compromising the plushy giraffe’s charming appearance and safety.
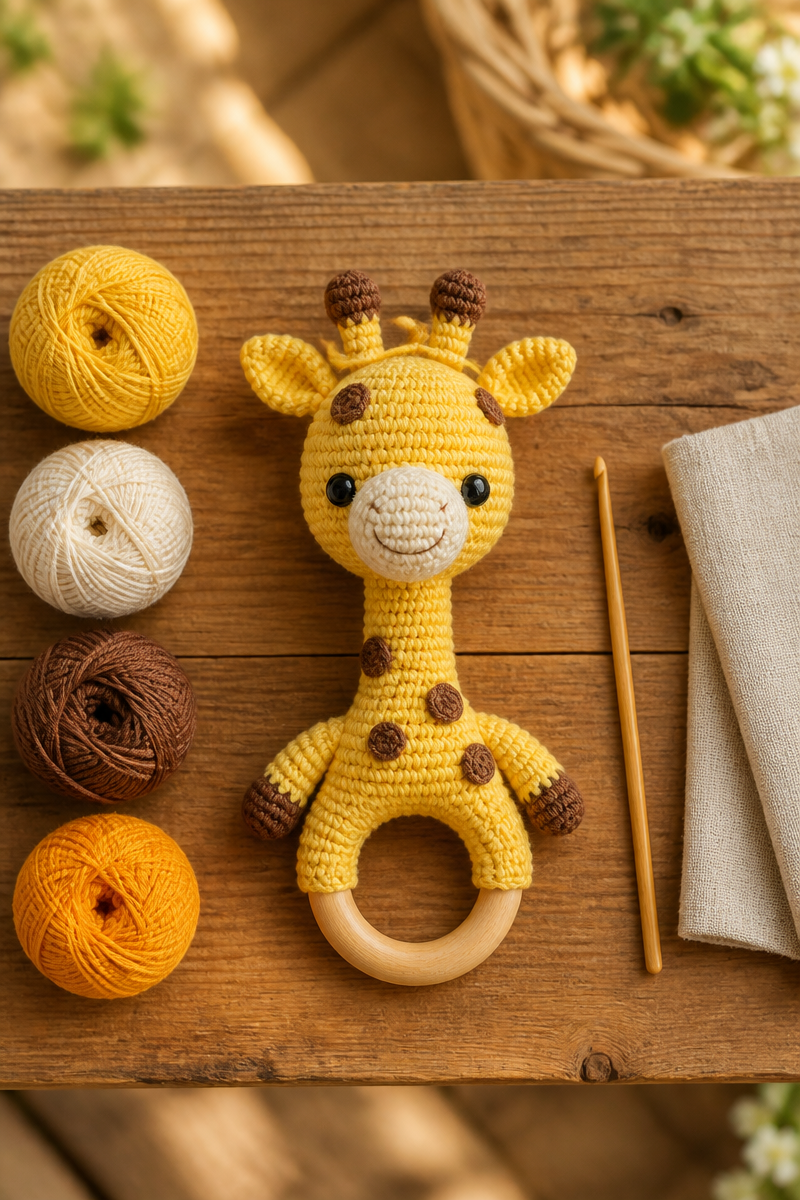
What to Pair With This Cute Amigurumi Giraffe Crochet Baby Rattle Pattern?
This cute giraffe pairs wonderfully with a set of matching amigurumi animals—perhaps a cuddly elephant or a playful monkey. You could also complement it with a soft crocheted blanket or a whimsical toy bag to hold all your handcrafted treasures. These added projects not only enhance your child’s playtime but also create a beautifully coordinated nursery.
Care and Washing Instructions
Washing your giraffe to keep it clean is easy. For best results, hand wash in cold water and use a mild detergent. Never wring out the toy, as this can distort its shape. Gently press out the excess water and lay flat to dry. Avoid machine washing, as it can be harsh on the yarn.
As for blocking, this pattern does not require any. However, if you notice any uneven stitches after finishing, a light steam blocking can help smooth everything out and perfect the finish.
Pattern Info
Prep Time: Approximately 15 minutes (to gather materials)
Make Time: Approximately 2 hours (for all steps described)
Total Time: 2 hours 15 minutes
Level of Difficulty: Beginner
Sizing: The finished giraffe measures about 8 inches tall, perfect for little hands.
Gauge and Sizing Notes
Estimated sizing and gauge details for this pattern: Checking your gauge is crucial for ensuring your giraffe turns out as intended. The right tension will affect the overall size and look of your finished project. For this rattle, aim for a gauge of about 4 inches for 10 stitches in single crochet.
Expect your giraffe to be approximately 8 inches tall when completed. Ensuring your stitches are consistent throughout will help you achieve this size.
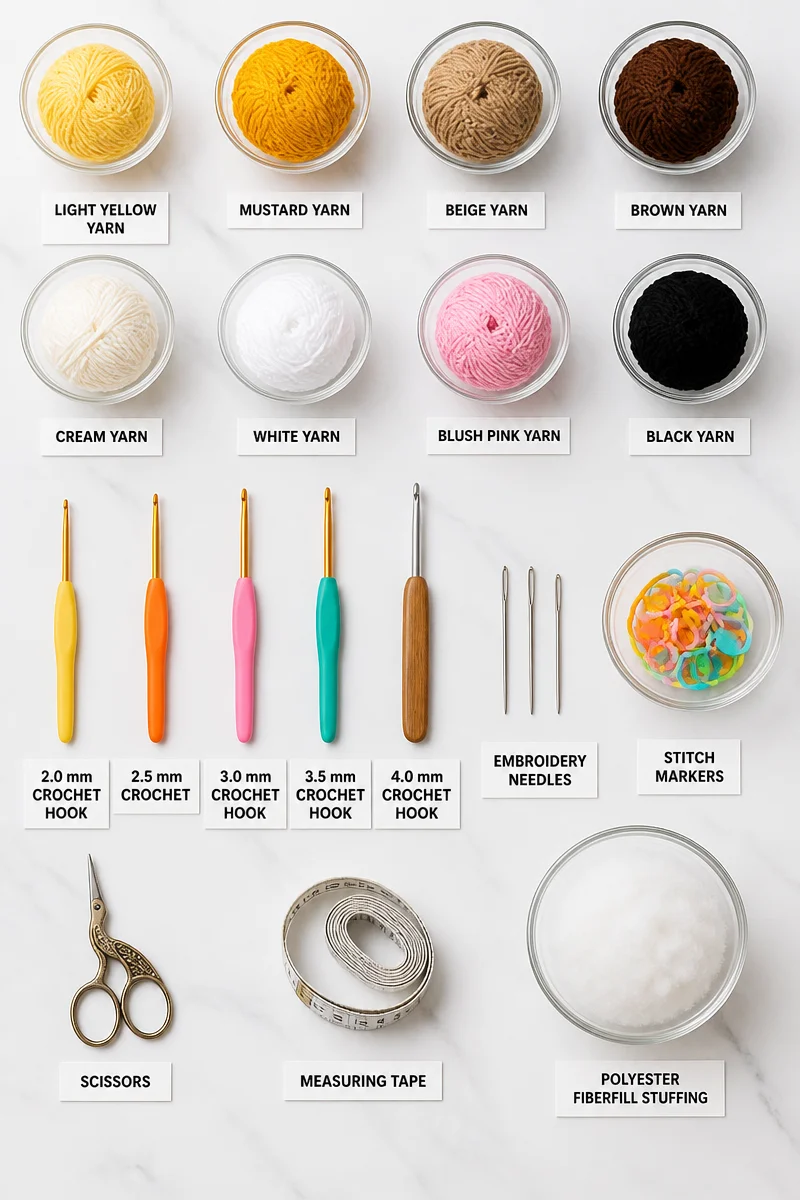
Materials Needed
- Yarn: Soft acrylic yarn, worsted weight (suggested yardage: 100-150 yards)
- Crochet Hook: Size H/8 (5 mm)
- Stuffing: Polyester fiberfill
- Safety Eyes: 12 mm
- Yarn Needle: For weaving in ends
- Scissors: For cutting yarn
Step-by-Step Instructions
Step 1: Create the Magic Ring
Start by making a magic ring. This will be the foundation of your giraffe’s head. Place the ring on your fingers and pull the working yarn through, creating a loop. Crochet the specified stitches into the ring to begin shaping.
Step 2: Shape the Head, Neck, and Body
Follow the pattern to work in rounds, ensuring you maintain consistent tension. The head should be rounded and plump, transitioning smoothly into the neck. Keep track of your stitch counts as you progress.
Step 3: Insert Safety Eyes
Once you’ve completed the head, securely attach the safety eyes at the appropriate position, ensuring they are evenly spaced. This step gives your giraffe a friendly face.
Step 4: Complete the Legs
Crochet the legs separately and then attach them to the body. Be careful to position them evenly, allowing your giraffe to stand steadily.
Step 5: Add Stuffing
Before closing the giraffe, stuff it generously with fiberfill. Ensure the filling is evenly distributed, giving your plush friend the right amount of squish.
Step 6: Create the Rattle Sound
To add a rattle sound, place a small rattle component inside the body before sealing it up. This will make the toy interactive and fun for little ones.
Step 7: Finish with Ears and Horns
Crochet the ears and horns separately, then sew them onto the head of your giraffe. Position them carefully to create a charming expression.
Step 8: Weave in All Ends
Finally, weave in all loose ends with your yarn needle. Make sure everything is secured properly to prepare your giraffe for cuddly adventures.
In summary, crocheting your Cute Amigurumi Giraffe Baby Rattle is not just a delightful project; it also creates a useful keepsake that your loved ones will treasure. I encourage you to dive into this pattern, enjoy the process, and share photos of your finished work. With each stitch, you bring a little joy into the world. Happy crocheting!