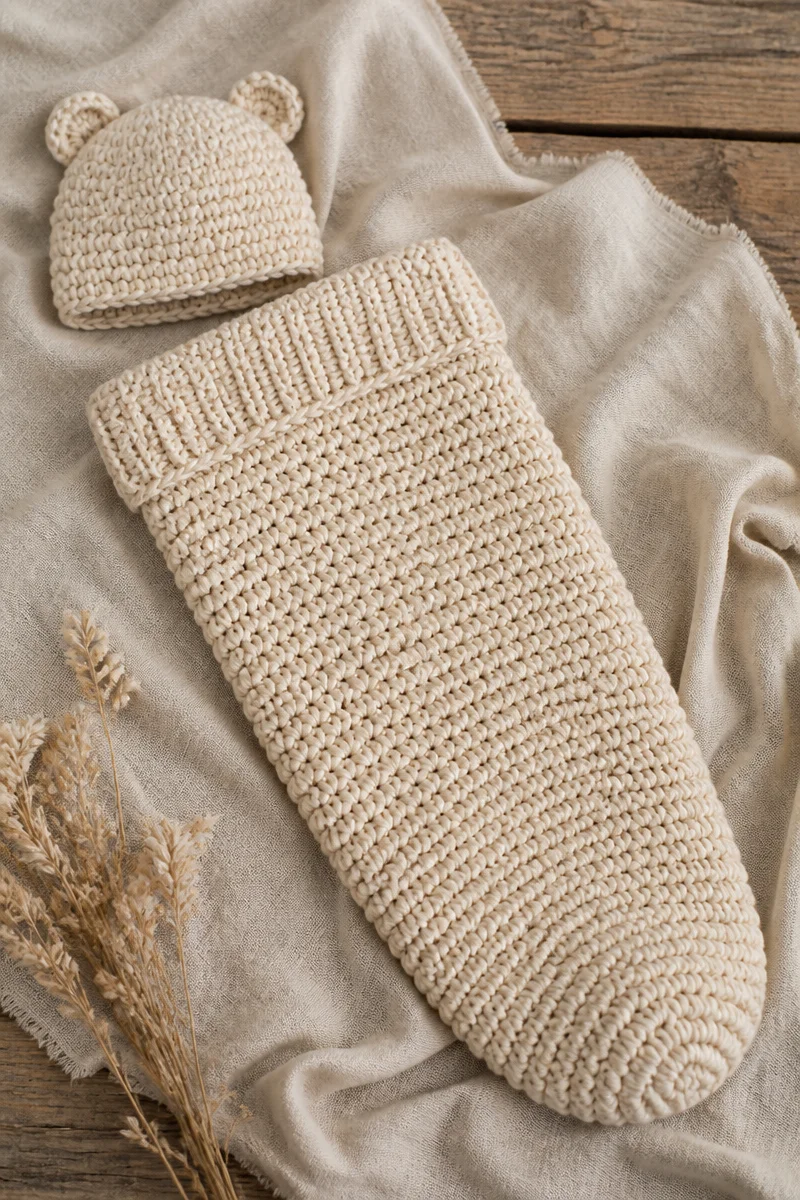
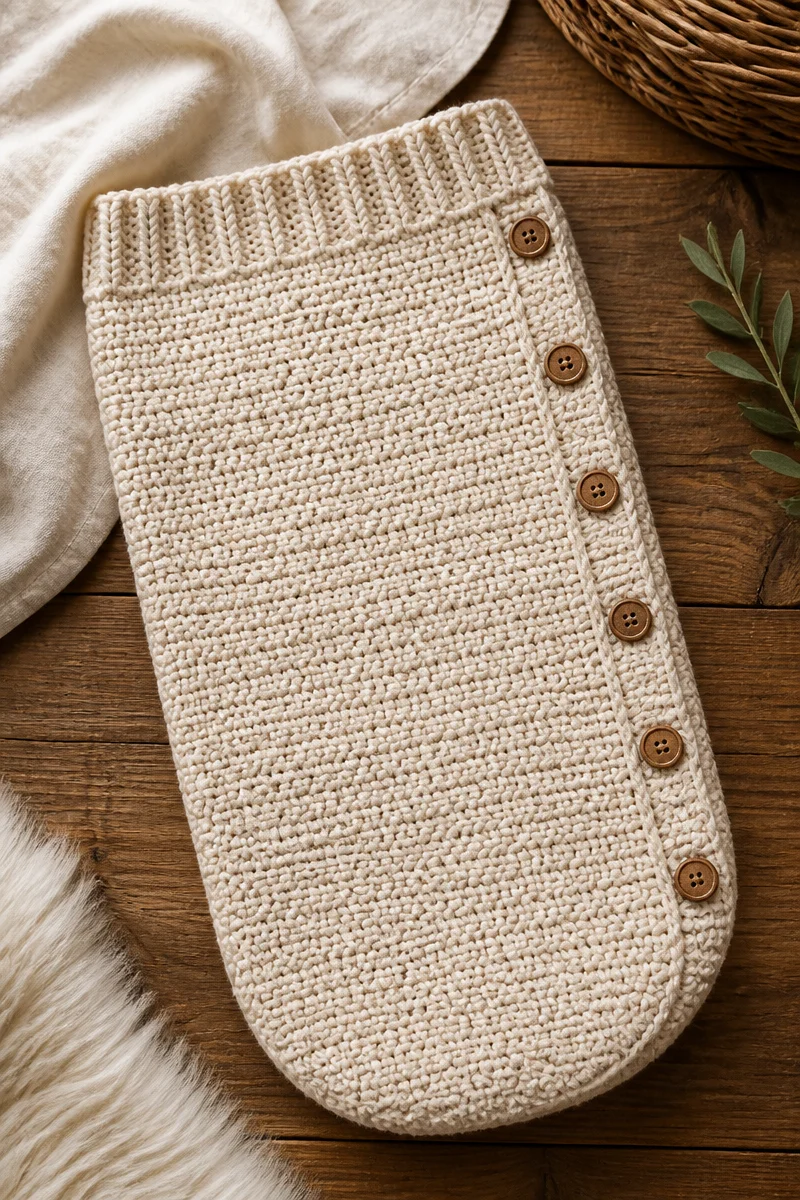
Creating a newborn crochet cocoon photo prop is pure comfort to make. There’s something deeply satisfying about feeling the soft, bulky yarn slide through your fingers as you work on this snug little piece. Whether you’re an experienced crocheter or just starting, you will find joy in each stitch. This pattern allows you to unwind and focus on something beautiful, making it ideal for those quiet moments when you want to relax and create.
The key components required for this project include bulky weight yarn, a 6mm hook, elastic thread, and a yarn needle. Bulky weight yarn gives the cocoon a wonderful texture, providing both warmth and a cozy feel for the little ones who will wear it. The 6mm hook ensures that your stitches are both strong and stretchy, allowing the cocoon to hold its shape while also providing comfort. With an elastic thread stitched in for added stretch, this prop becomes perfect for snugging around a newborn, making it great for capturing those sweet photography moments.
The method for crafting this cocoon is simple yet effective. You will work a tapered tube using half double crochet, starting narrow at the base and widening toward the top. This technique creates a snug fit that helps to keep babies cozy. To finish, you’ll add a folded ribbing cuff using elastic-reinforced single crochet. Once you’ve woven in the ends and given it a gentle steam block, your cocoon will be ready to shine in any photo shoot.
This newborn cocoon is ideal for chilly nights, transforming a simple photography session into an enchanting experience. Plus, it makes for a beautiful handmade gift, sure to be cherished by new parents. Imagine gifting this lovely creation at a baby shower or using it to create unforgettable keepsake photos that families will treasure forever.
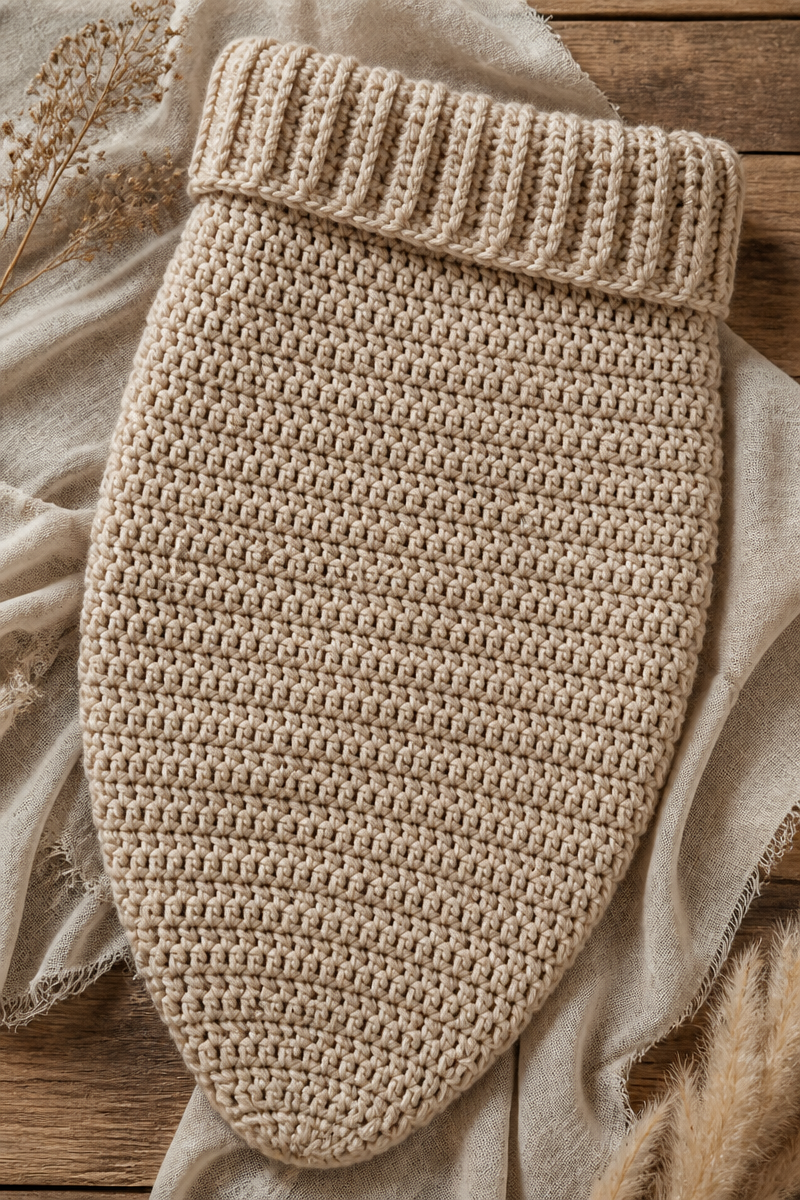
Why You Will Love This Newborn Crochet Cocoon Photo Prop
- Works up quickly: This pattern is not only fast but also rewarding, making it perfect for last-minute gifts.
- Simple stitches: The straightforward techniques involved make it an excellent choice for all skill levels.
- Relaxing project: You’ll find the repetitive nature of the stitches soothing, making this project a peaceful retreat from the daily hustle and bustle.
- Versatile use: Beyond photography, the cocoon can be a lovely prop for cozy snuggles or even as decor in a nursery.
- Gorgeous results: The finished product is visually stunning, providing a beautiful backdrop for capturing those precious newborn moments.
Bulky Weight Yarn Tips
When using bulky weight yarn, it’s important to choose yarn that is soft and baby-friendly, such as acrylic or cotton blends. These fibers are gentle against sensitive skin. Pay attention to how the yarn behaves while crocheting; avoid yarns that split easily as they can lead to frustration. Always keep your tension consistent to achieve an even, aesthetically pleasing fabric. Test a small swatch to ensure you’ll enjoy working with it throughout the project.
Options for Substitutions
- Soft acrylic yarn instead of traditional bulky weight yarn.
- Cotton yarn for a breathable alternative while maintaining bulking effect.
- Using a 5.5mm hook if you want a denser fabric.
- Adjustable hook sizes to get a tighter fit based on your crochet tension.
- Adding a blend of silk for added softness against a baby’s skin.
- Using decorative elastic thread in different colors for a unique touch.
Watch Out for These Mistakes
As you embark on making the cocoon, it’s essential to be aware of common pitfalls. One common mistake is dropping stitches, especially during transitions between rows or when changing to the elastic thread. To avoid this, keep a close eye on your stitch counts and consider using stitch markers if you need help keeping track.
Another issue can arise from uneven tension. If your stitches are too tight, the cocoon won’t have the desired snug fit. Practicing with a few rows can help you find the best pressure for your style. Lastly, skipping chain spaces or miscounting can lead to unsightly gaps. Always double-check your work to ensure a seamless finish.
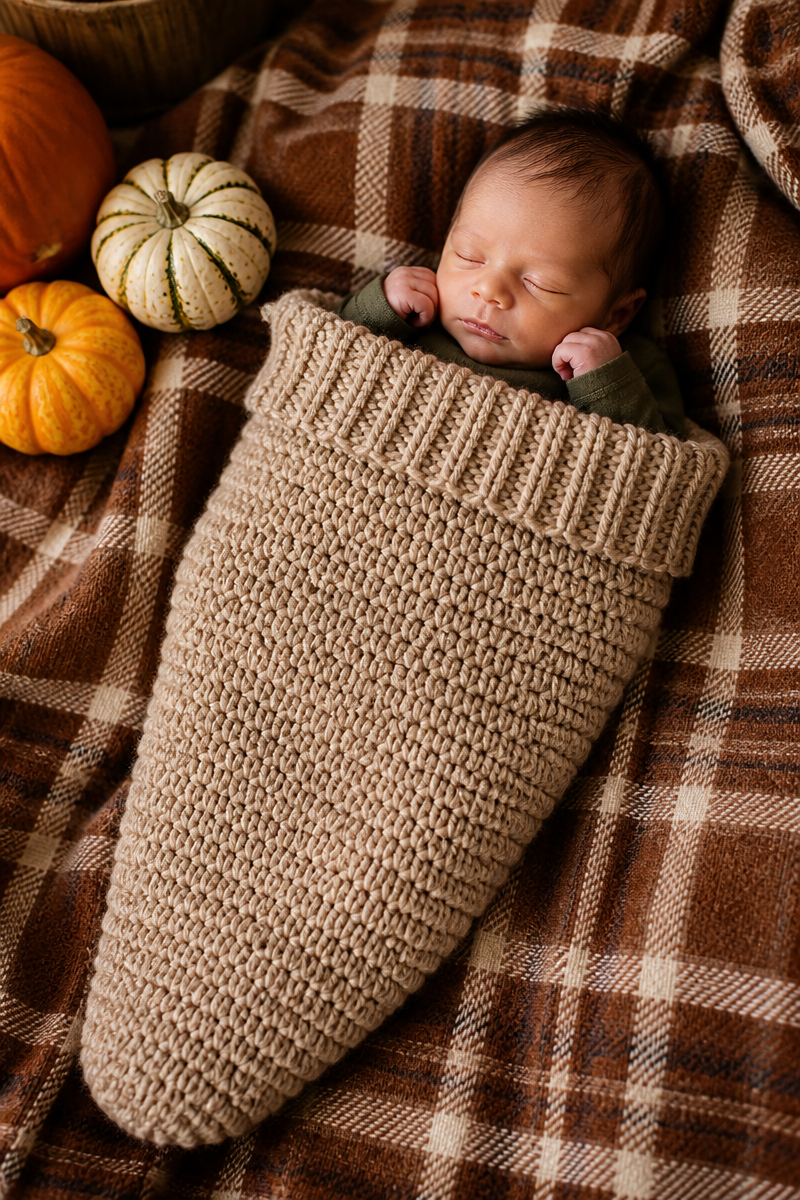
What to Pair With This Newborn Crochet Cocoon Photo Prop?
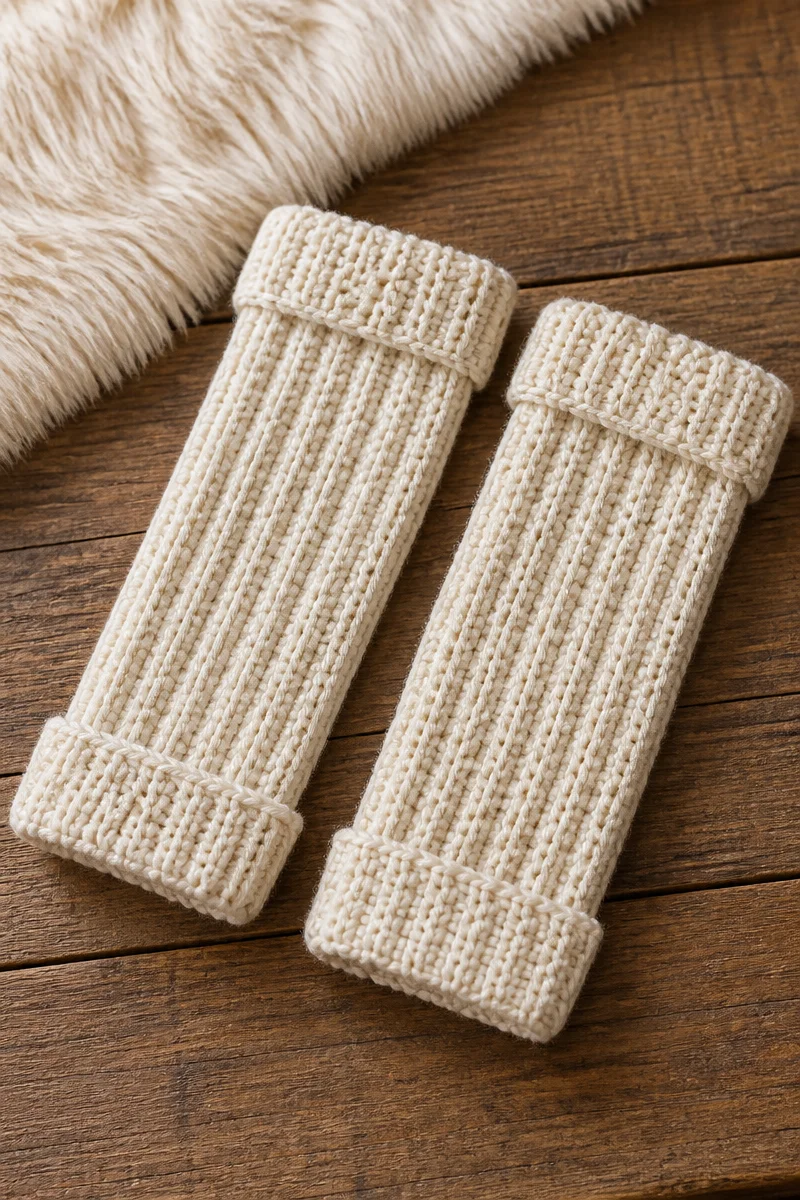
Consider creating matching crochet accessories to complete the look! A tiny crochet hat can add charm to the cocoon and make for adorable photographs. Additionally, fingerless gloves or booties can create a cozy ensemble. A delicate blanket in the same yarn will make a lovely touch for any photoshoot while providing warmth and comfort.
Care and Washing Instructions
For washing, hand wash the cocoon gently in lukewarm water, using mild soap to preserve the softness of the yarn. You can also machine wash on a delicate cycle, but placing the cocoon in a mesh laundry bag for protection is wise.
For drying, lay the cocoon flat on a clean, dry towel, reshaping it gently to maintain its form. Avoid hanging it up to dry, as this could stretch the stitches.
When it’s time for blocking, steam blocking is recommended to help set the stitches nicely, giving your finished piece a polished look. This can be done by hovering a steam iron slightly above the surface or using a handheld steamer.
Pattern Info
Prep Time: 15 minutes
Make Time: Approximately 2 hours
Total Time: Around 2 hours and 15 minutes
Level of Difficulty: Beginner
Sizing: Fits newborns comfortably, around 0-3 months.
Gauge and Sizing Notes
Estimated sizing and gauge details for this pattern: Checking gauge is crucial to ensure your finished cocoon achieves the correct size. When working with the half double crochet, the typical gauge is around 10 stitches per 4 inches (10 cm). The finished cocoon will measure approximately 20 inches (50 cm) in length and 10 inches (25 cm) in width at the top, tapering down to a snug fit at the base.
Materials Needed
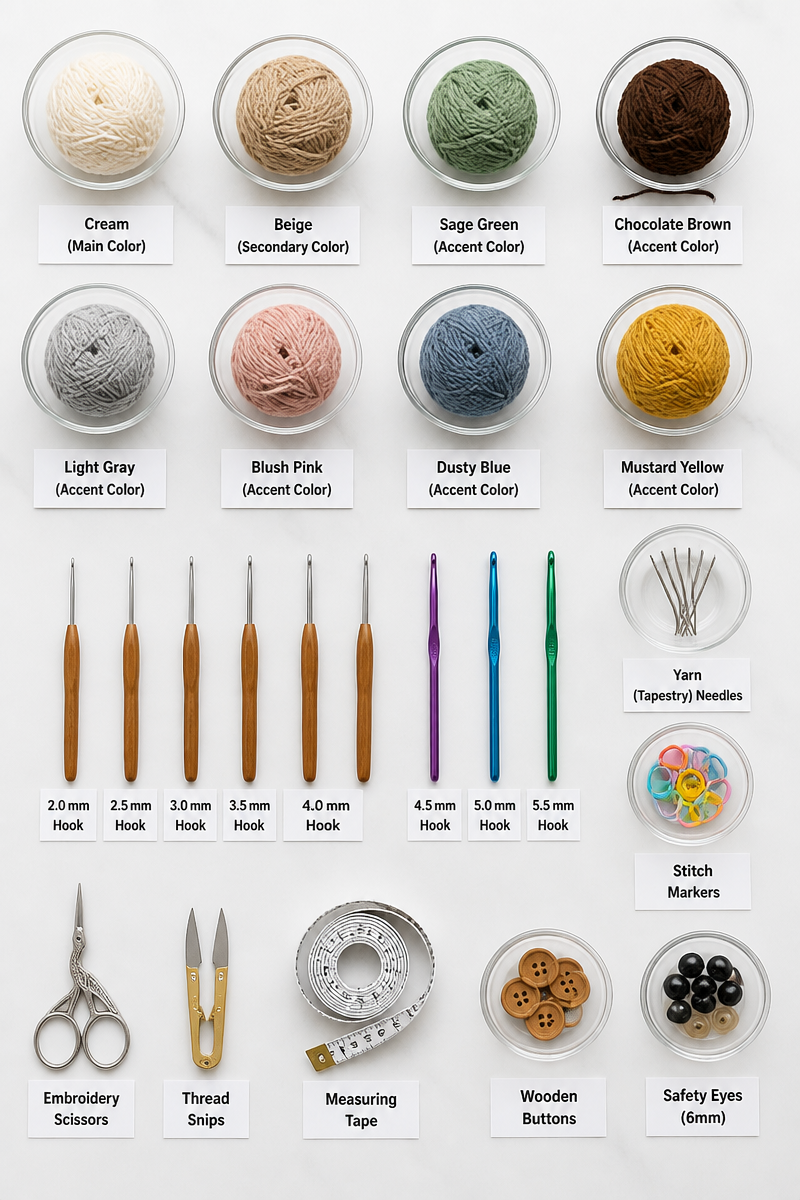
- Bulky weight yarn
- 6mm hook
- Elastic thread
- Yarn needle
Step-by-Step Instructions
Step 1: Create the Foundation Chain
Start by making a foundation chain that is 24 inches long, then work in half double crochet. This chain will establish the beginning of your tapered tube.
Step 2: Establish the Tapered Shape
In the first row, begin by working in half double crochet into the third chain from your hook. Continue to work half double crochets into each chain across. After finishing this row, chain two and turn your work.
Step 3: Form the Cocoon Body
Continue working in rows of half double crochet, gradually increasing on the last stitch of each row to create the tapered shape. As you progress, you will notice it naturally widens toward the opening. Work until the piece measures around 18 inches in length.
Step 4: Add the Ribbing Cuff
To create the folded ribbing cuff, switch to elastic-reinforced single crochet. Work this stitch around the opening, ensuring it’s snug but offers stretch. When you’ve completed a few rows, fold the cuff inward to create a finished look.
Step 5: Weave in Ends
Using your yarn needle, carefully weave in all loose ends to ensure a neat appearance. This step is crucial for maintaining the integrity of the cocoon.
Step 6: Steam Block the Finish
Lastly, gently steam block your cocoon. This will help even out the stitches and set the shape. Allow it to cool flat before displaying or using it for photographs.
In summary, this newborn crochet cocoon photo prop is a delightful project that brings joy both in crafting and in creating beautiful memories. I encourage you to try this pattern and share photos of your finished work. I would love to see how your crochet cocoon turns out, so feel free to explore similar posts for more ideas and inspirations. Happy crocheting!