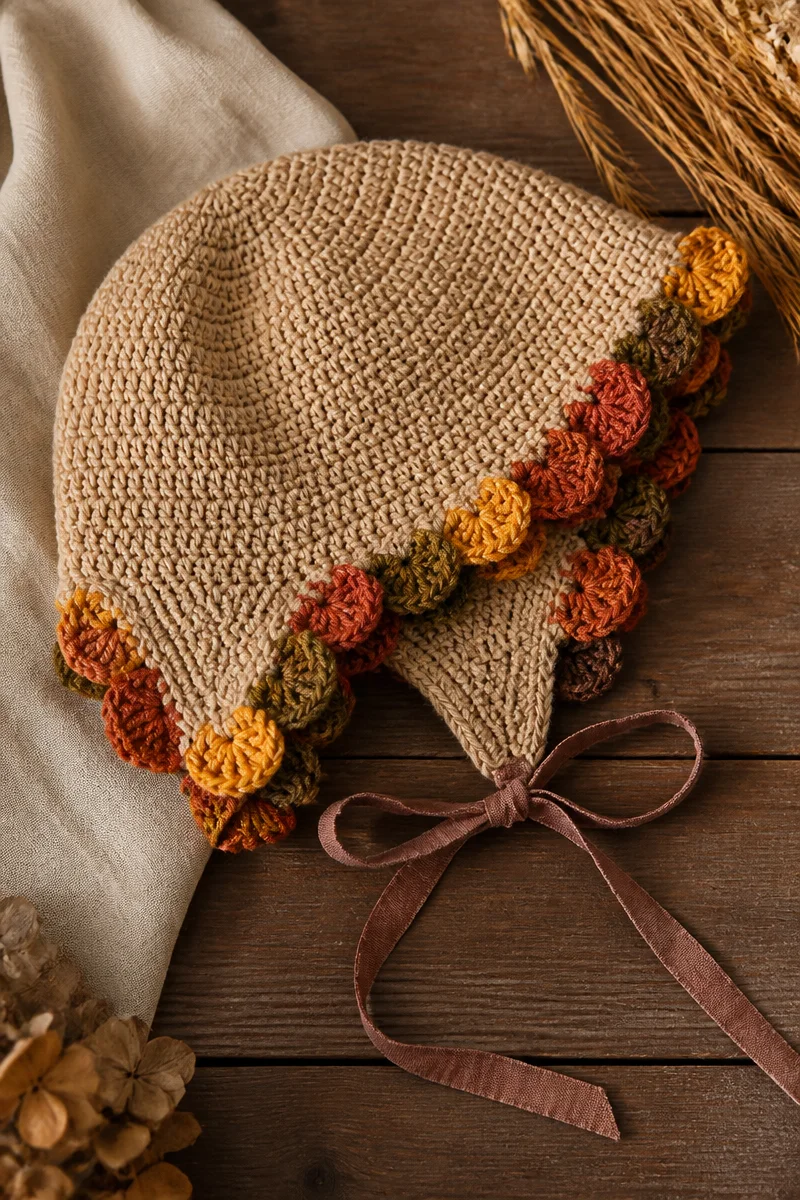
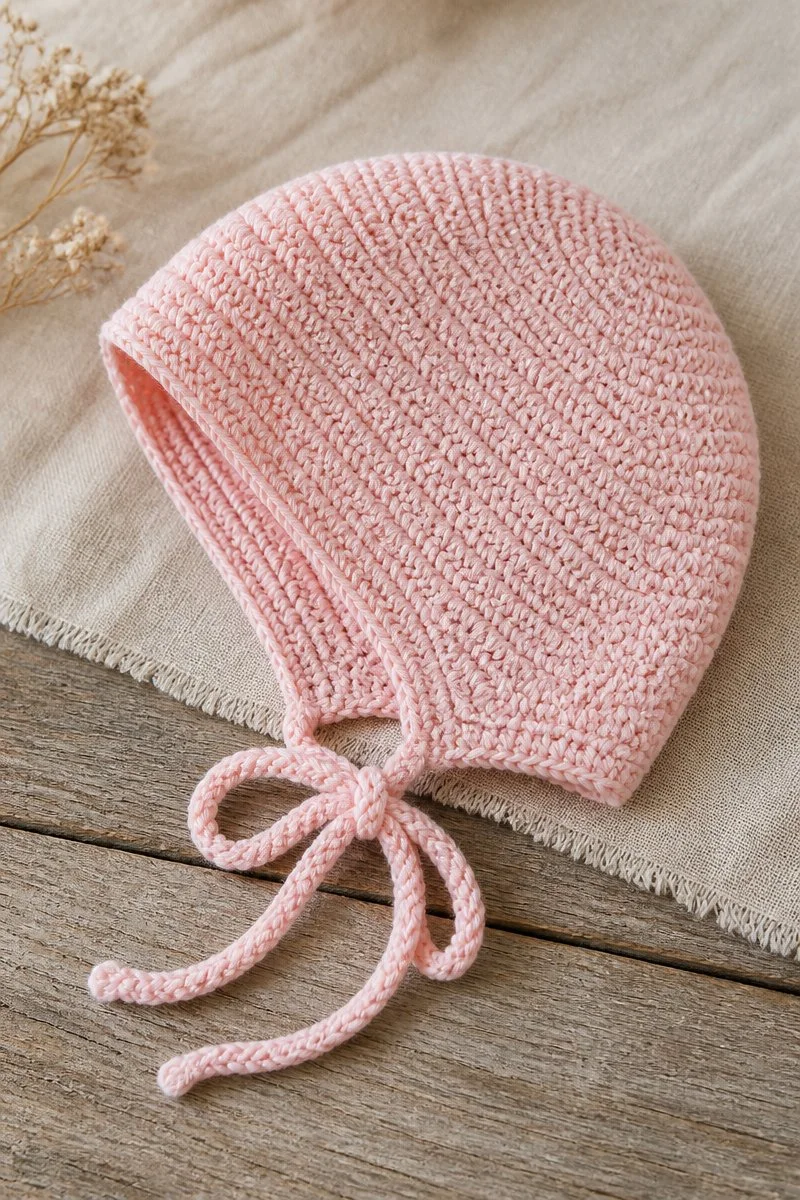
Crocheting a baby bonnet is pure comfort to make. It’s a relaxing activity that allows you to unwind while creating something truly special for a little one. There’s something so soothing about watching your yarn transform into a lovely bonnet, each stitch holding warmth and love. This Crochet Baby Bonnet Pattern is designed with simplicity in mind, making it perfect for both seasoned crocheters and those just taking their first steps into the realm of yarn.
For this project, you’ll need some delightful DK weight baby yarn that’s gentle on the little one’s skin. Using a 3.5mm hook, you’ll be effortlessly able to create a beautiful finished piece that has just the right texture. The addition of two small buttons enhances the bonnet’s charm, while the yarn needle makes any finishing touches quick and easy. The stitch marker will help keep your place as you work through the rounds, allowing you to enjoy the crafting process without any interruptions.
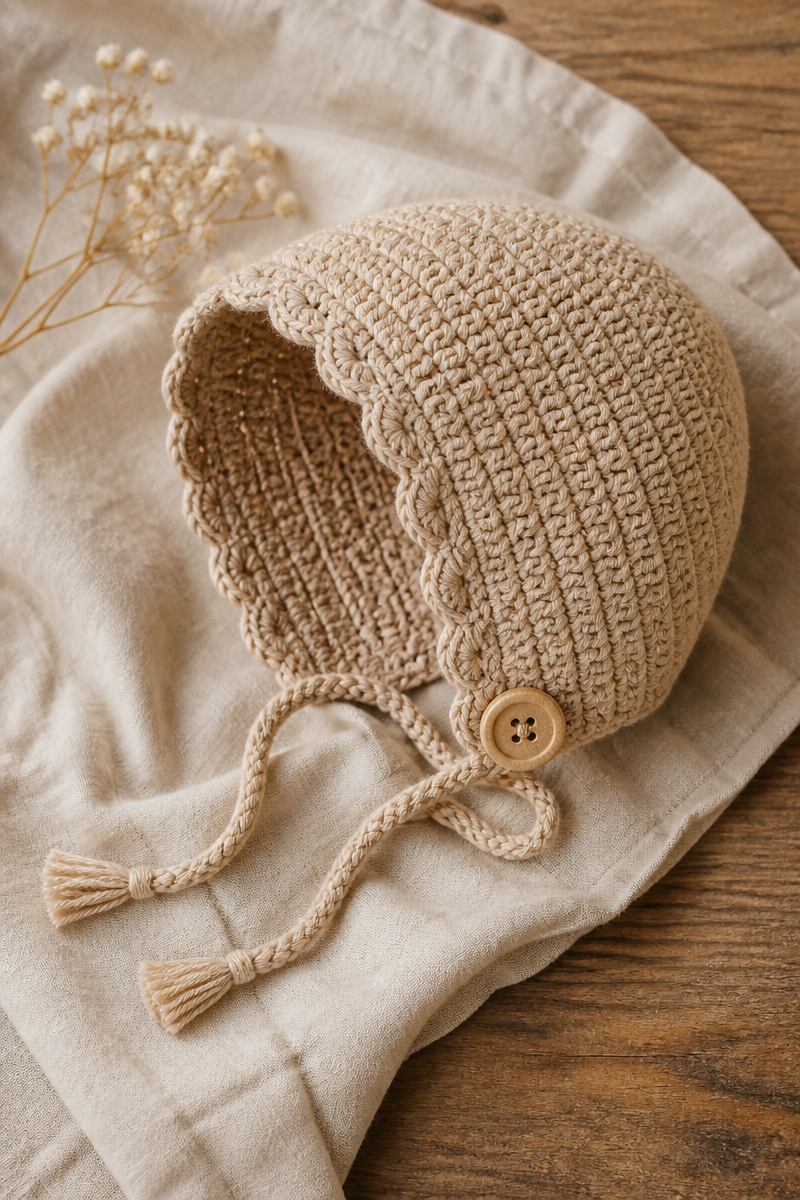
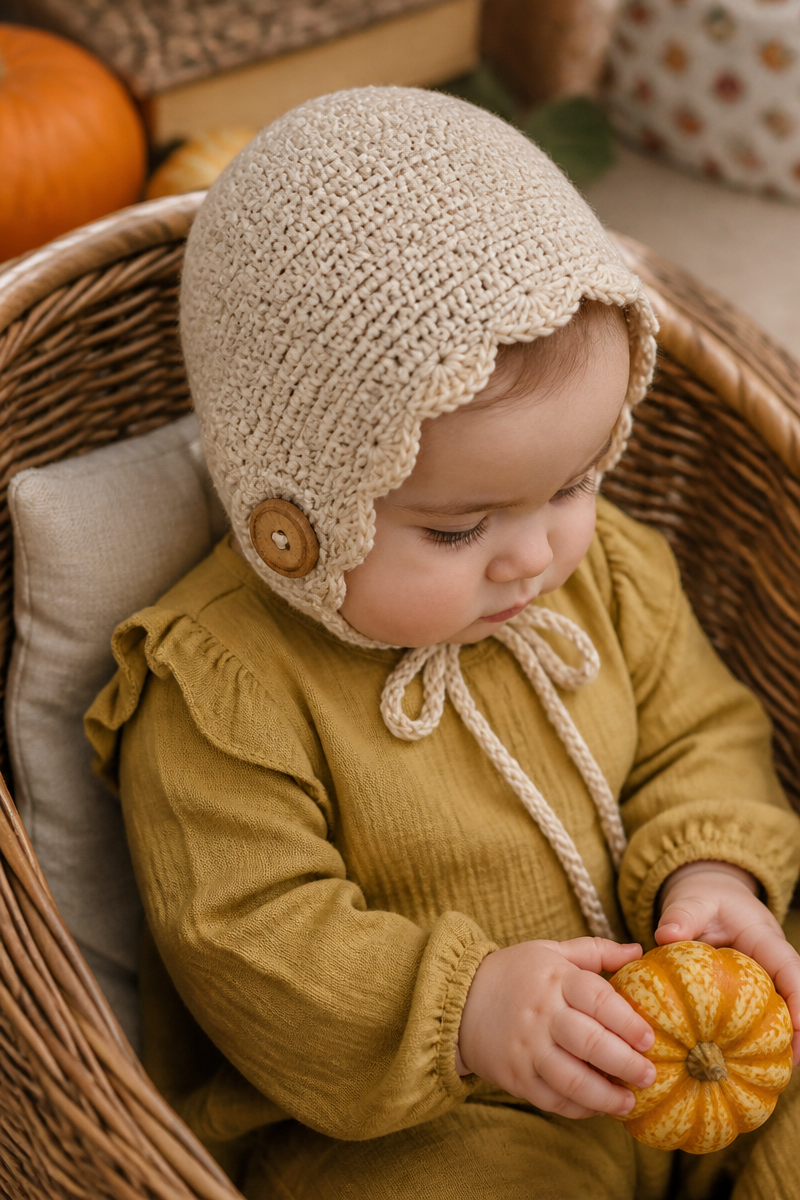
The method is straightforward and easy to follow. You start by chaining four, joining into a ring, and then working eight single crochet stitches into the ring. As you progress, you’ll increase evenly each round until the circle reaches the baby’s head circumference. After that, you’ll work even rounds for the sides and then add a delightful scalloped edge around the face opening. Finally, you can attach chain ties on each side and sew on the buttons as a sweet finishing touch.
This bonnet is perfect for chilly nights when the little one needs an extra layer of warmth. It also makes a beautiful handmade gift for baby showers or holiday celebrations. Whether you are gifting it or keeping it for your own collection, this little bonnet will surely evoke smiles and appreciation.
Why You Will Love This Crochet Baby Bonnet Pattern Easy
- Works up quickly: This pattern is designed for speed, allowing you to create adorable bonnets in no time.
- Simple stitches: The easy-to-follow instructions make this an accessible project for crocheters of all skill levels.
- Relaxing project: Enjoy the meditative nature of crocheting as you bring this charming piece to life.
- Quick and practical gift: Handmade bonnets make heartwarming gifts that any parent will cherish.
- Versatile design: Customize it with different colors and button styles to suit any baby’s wardrobe.
DK Weight Baby Yarn Tips
When selecting DK weight baby yarn, look for soft, durable fibers like acrylic or cotton blends. Ensure the yarn is labeled as baby-safe, meaning it’s gentle enough for delicate skin. Pay attention to the yarn’s twist and texture; a smoother yarn is easier to work with and helps prevent splitting as you crochet. Keeping the yarn at a consistent tension while working will help your stitches remain even and give the bonnet a polished appearance.
Options for Substitutions
- Cotton yarn instead of acrylic: For an breathable option that’s great for warmer weather.
- Wool for warmth: If you want a cozy alternative for chillier climates.
- Adjust hook size: Experiment with a 4.0mm hook if you prefer a looser texture.
- Different brands: Substitute with other DK weight brands, paying attention to yardage.
- Use decorative buttons: Personalize with unique button styles for a touch of flair.
- Utilize different colors: Create a rainbow of bonnets by swapping yarn colors.
Watch Out for These Mistakes
As you begin with the first step—chaining four and joining into a ring—be watchful for twisting your chain. It’s easy to mistakenly form a loop that isn’t flat. If this happens, unravel and try again for a cleaner start.
When you’re increasing evenly each round, keep a close eye on your stitch count. Dropping a stitch can lead to a misfit bonnet that doesn’t quite fit the baby. Using a stitch marker can greatly help maintain accuracy.
For the even rounds, be careful not to skip any stitches or spaces. This can cause the sides to appear uneven or too tight, affecting the overall appearance of the bonnet. Counting your stitches as you go is a good habit to develop.
Finally, when adding the scalloped edge, ensure you follow your pattern carefully. Skipping a chain space can ruin that lovely scallop effect. Take your time, and remember, it’s all about the joy of crafting!
What to Pair With This Crochet Baby Bonnet Pattern Easy?
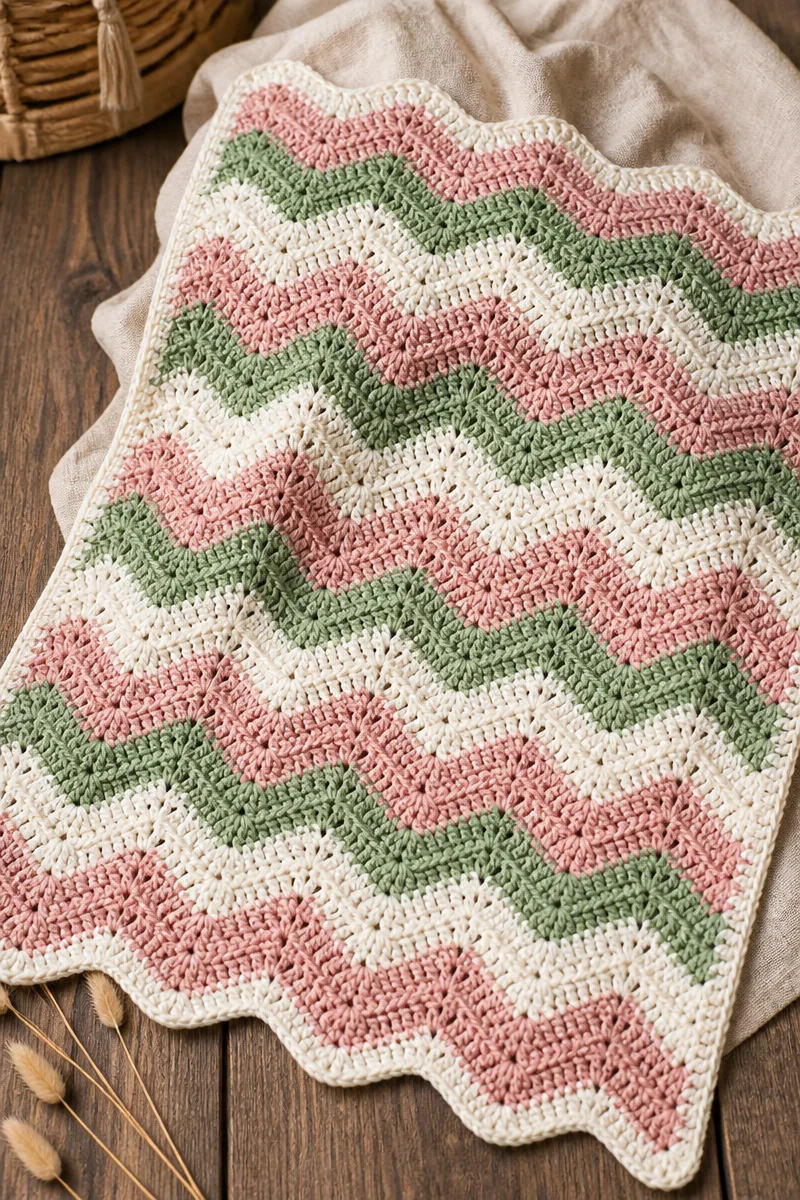
Pair this adorable baby bonnet with matching booties or a soft baby blanket for a complete gift set. You might also consider creating a cute matching set of baby mittens. These projects not only use similar techniques but also add an extra touch of love and warmth to any new baby’s wardrobe.
Care and Washing Instructions
To maintain the beautiful look of your crochet baby bonnet, it’s essential to wash it carefully. Depending on your yarn, you may hand wash in cold water. Gently roll the bonnet in a towel to absorb excess water, then lay it flat to dry. Avoid hanging, as this may stretch out the fabric. If your yarn is machine washable, always use a gentle cycle with cold water.
You don’t need to do any complicated blocking with this pattern. Simply laying it flat while it dries will help it retain its shape. However, if you wish to give it a more finished look, you can lightly steam block the edges.
Pattern Info
Prep Time: 15 minutes
Make Time: 1-2 hours
Total Time: 1.5-2.25 hours
Level of Difficulty: Beginner
Sizing: Fits a typical baby head circumference (approx. 14-18 inches)
Gauge and Sizing Notes
Estimated sizing and gauge details for this pattern: It’s important to check your gauge to ensure the bonnet fits nicely. Generally, the finished bonnet should measure approximately 14-18 inches in circumference, which suits most infants. Taking the time to check your stitches can help avoid any surprises along the way.
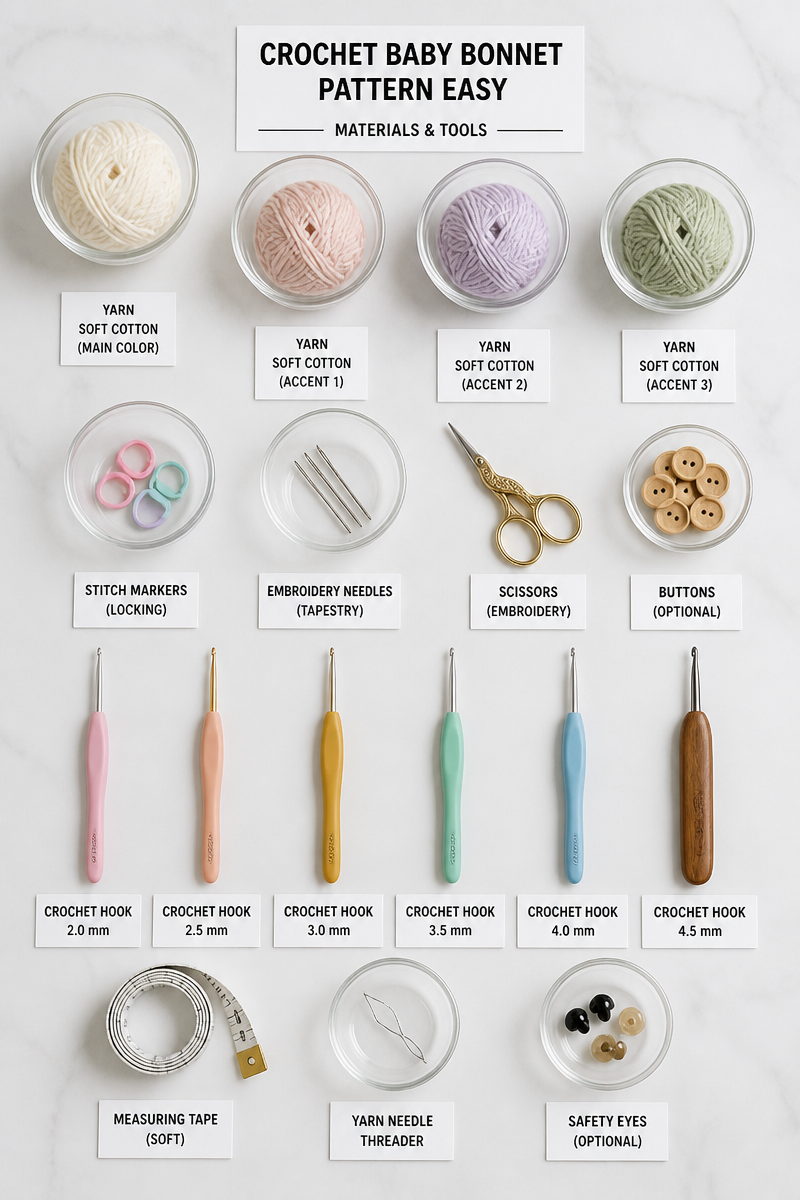
Materials Needed
- DK weight baby yarn
- 3.5mm hook
- 2 small buttons
- Yarn needle
- Stitch marker
Step-by-Step Instructions
Step 1: Create the Foundation Chain
Begin by chaining four stitches. Join the ends of the chain to form a ring. Ensure it is not twisted.
Step 2: Begin Your Bonnet
Work eight single crochet stitches into the ring. This will form the center of your bonnet. Make sure to keep your stitches tight enough so the ring stays closed.
Step 3: Increase for the Head Circumference
In each round, increase evenly by adding stitches until the circle measures the desired head circumference. Regularly check your stitch count to ensure it’s even.
Step 4: Create the Sides of the Bonnet
Once the circle is the right size, work even rounds without increasing. Continue until the sides reach the desired height for the bonnet.
Step 5: Add the Scalloped Edge
To finish the face opening, use the scalloped stitch technique around the edge. This adds a delicate touch. Take your time to get a pretty finish.
Step 6: Attach Ties and Buttons
Finally, attach a chain tie on each side and sew on the buttons. This step is optional but can enhance the bonnet’s appearance and functionality.
In summary, the Crochet Baby Bonnet Pattern is not only a simple project but also a heartfelt way to create something beautiful for a little one. I hope you enjoy making this lovely bonnet and that you feel encouraged to share photos of your creations or explore similar projects on my blog. Happy crocheting!