Starting a crochet project is nothing short of pure comfort for me. There’s something magical about watching loops and threads transform through your fingers into a cozy creation. The Crochet Baby Blanket Ripple Pattern stands out as a perfect project for both beginners and seasoned crocheters alike. Whether you’re snuggling up on the couch or searching for the ideal handmade gift, this blanket will bring warmth and joy. Plus, it’s an engaging way to relax your mind while keeping your hands busy.
Let’s talk about materials. For this project, you’ll need worsted weight yarn in three coordinating colors. The choice of colors can set the mood, whether you want something soft and pastel or vibrant and playful. A 5mm hook works perfectly with this yarn weight, providing a comfortable grip for working on those lovely, repetitive stitches. A yarn needle will help you weave in those pesky ends, while blocking pins are essential for ensuring your finished blanket lays flat and looks its best. The texture of this blanket, with its charming ripple effect, will make it a cozy addition to any home.
The method is quite simple yet enjoyable. You start by chaining a multiple of 12 stitches, which gives the blanket its characteristic shape. Then, you’ll work rows of double crochet, creating gentle peaks and valleys through paired increases and decreases, which ultimately forms the beautiful ripple pattern. Changing colors every few rows will give you a stunning striped wave effect that is visually appealing. Finally, you’ll finish with a single crochet border around all four sides to make it neat and polished, then block it flat to make all those beautiful stitches pop.
This blanket is perfect for a multitude of scenarios. Whether it’s a chilly night needing warmth, a lovely handmade gift for a baby shower, or a centerpiece for a craft fair, this crochet baby blanket will not disappoint. You will find yourself proud of your work, bringing smiles to those who receive it.
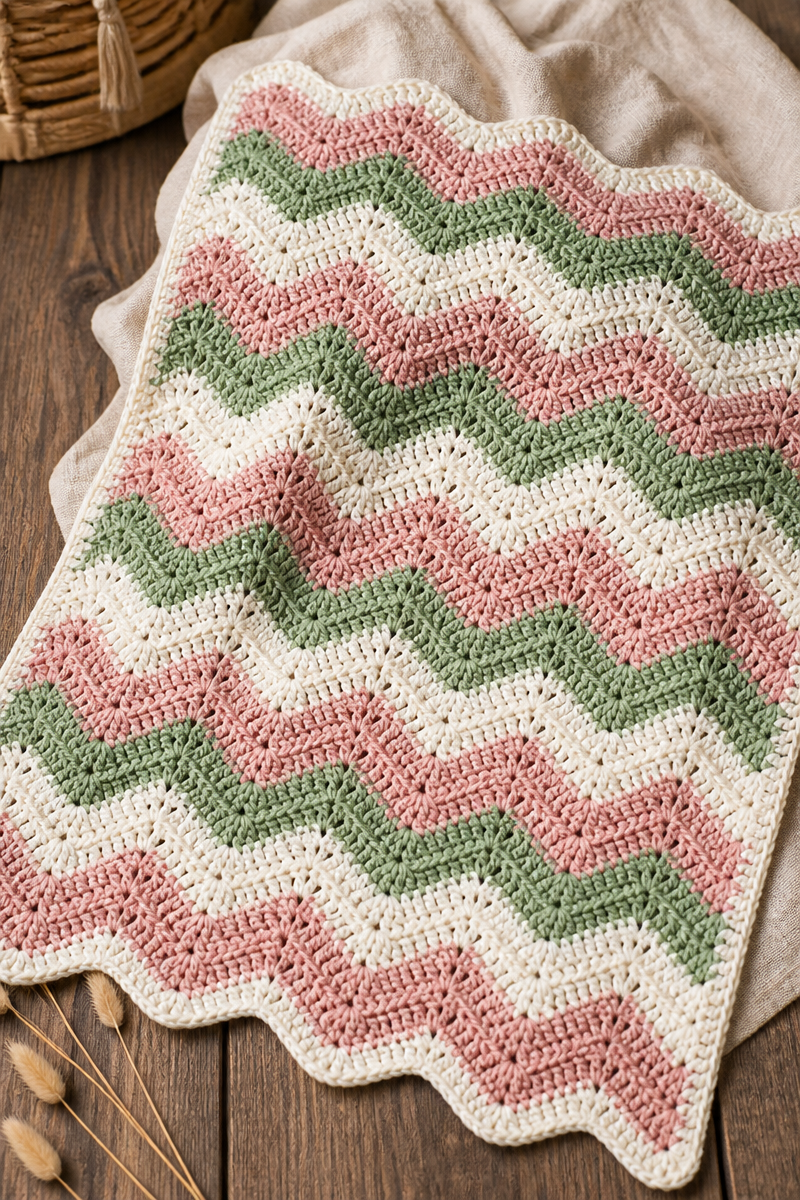
Why You Will Love This Crochet Baby Blanket Ripple Pattern
- Works up quickly, allowing for immediate coziness.
- Relies on simple stitches, perfect for enhancing your crochet skills.
- Ideal for relaxing while enjoying your favorite show or listening to music.
- Makes beautiful, thoughtful gifts for family and friends.
- Versatile and perfect for any decor style with color variations.
Worsted Weight Yarn Tips
When selecting your worsted weight yarn, it’s important to choose a quality brand that suits your desired finished look. Look for yarn that is soft and gentle against the skin, especially since this blanket may be used for babies or young children. For beginners, consider yarn with a smooth texture; this will help you avoid splitting while you work. A blend of acrylic and natural fibers often provides both durability and comfort. Take the time to feel the yarn; making the right selection can noticeably enhance your crocheting experience.
Options for Substitutions
- Use cotton yarn for a lightweight summer blanket.
- Swap out for a chunky yarn for a thicker, cozier blanket.
- Opt for a different worsted weight brand for unique colors or texture.
- Select a yarn with a blend of wool for added warmth.
- Try a different hook size, like a 6mm, for a looser finish.
- Experiment with variegated yarn for a unique color transition.
Watch Out for These Mistakes
One common pitfall is dropping stitches at the end of a row. This can lead to an uneven look in your ripple pattern. Always keep an eye on your last stitch, counting as you finish each row. Another issue many face is tension. If your stitches are too tight, the blanket may not drape as beautifully, while loose stitches can affect the entire size of the project. Practice maintaining an even tension throughout, and don’t hesitate to revisit rows as needed. Lastly, watch for skipping chain spaces, especially when working increases and decreases. Missing a chain can disrupt the lovely flowing ripple, so take your time to count as you work.
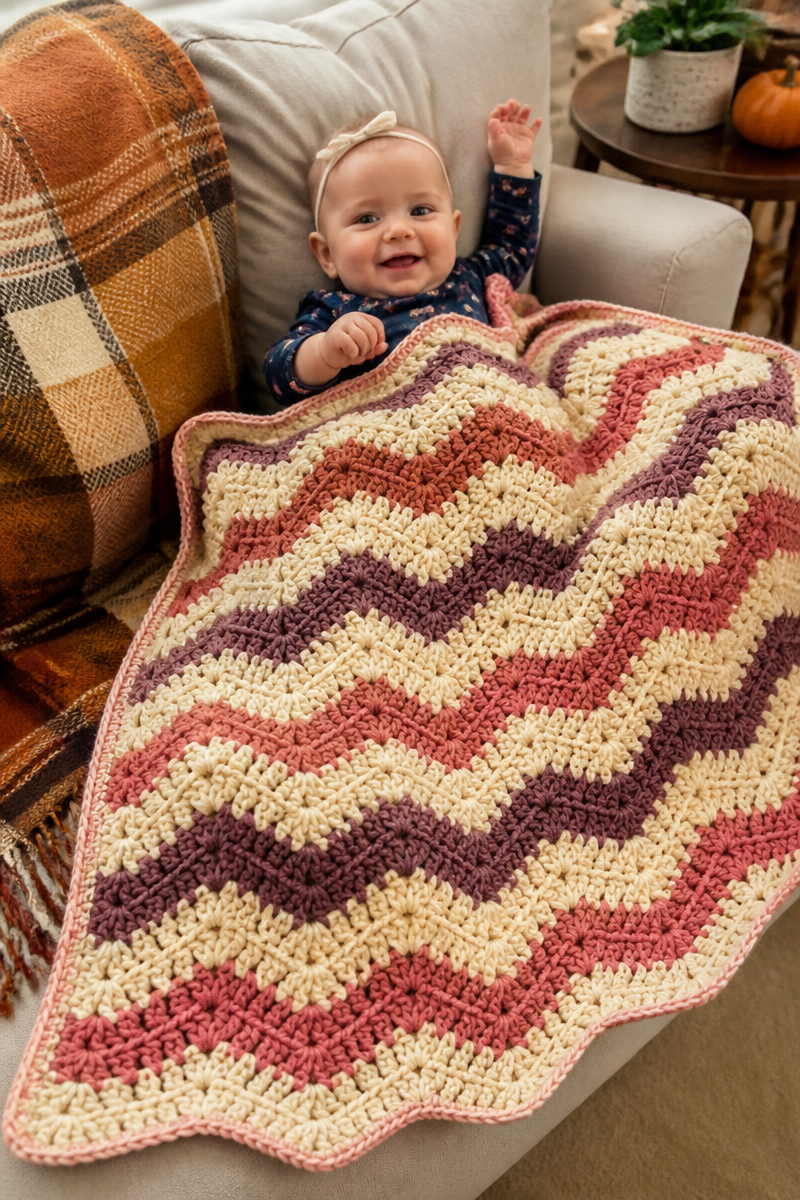
What to Pair With This Crochet Baby Blanket Ripple Pattern?
To complement your Crochet Baby Blanket Ripple, consider creating matching accessories like a soft pillow or a decorative blanket bag. A simple crochet stuffed animal can become the perfect gift set alongside your blanket. You could also whip up a cozy hat and booties for the little one to match, making for a complete handmade bundle that showcases your skill and creativity.
Care and Washing Instructions
For cleaning your blanket, hand-washing is the best approach to keep it looking fresh and new. Use cool water and a gentle detergent, then rinse thoroughly. If you prefer machine washing, use a delicate cycle and a lingerie bag for extra protection. When it comes to drying, lay the blanket flat to dry instead of hanging it, which can stretch the fibers. Finally, for blocking, you will want to use steam blocking to ensure the ripple shape holds beautifully after washing.
Pattern Info
Prep Time: 30 minutes
Make Time: 5-8 hours (varies based on experience)
Total Time: Approximately 6-8 hours
Level of Difficulty: Beginner/Intermediate
Sizing: Approximately 30 x 36 inches, based on your foundation chain of a multiple of 12 stitches and working rows of double crochet.
Gauge and Sizing Notes
Estimated sizing and gauge details for this pattern: Checking your gauge is crucial to ensure your blanket will come out as expected. Use a gauge swatch to see how many stitches and rows you knit with your yarn and hook to get the ripple effect right. Ideally, your finished project should be about 30 x 36 inches, but measuring after every few rows can help you adjust as needed.
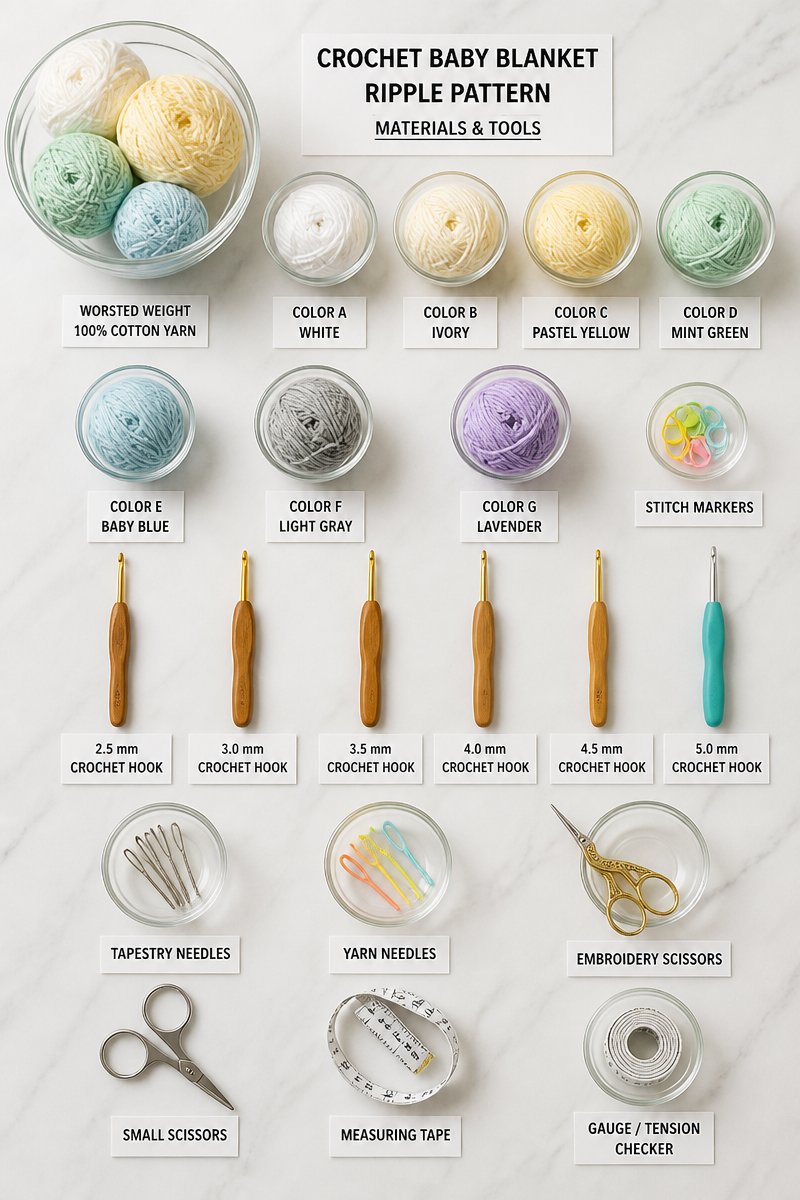
Materials Needed
- Worsted weight yarn in 3 coordinating colors
- 5mm hook
- Yarn needle
- Blocking pins
Step-by-Step Instructions
Step 1: Create the Foundation Chain
Start by chaining a multiple of 12 stitches. This will serve as the foundation for your ripple pattern. Make sure to leave a long end for your starting yarn, as this can be woven in later.
Step 2: Begin the First Row
In the fourth chain from your hook, work a double crochet stitch. Continue double crocheting in each chain across the row. By the end of the row, you should have several double crochet stitches completed.
Step 3: Form the Ripple Pattern
To create the ripple, insert a stitch marker at the beginning of your next row. Work two double crochet stitches in the first stitch to form your first peak. Skip the next stitch and work one double crochet in the following stitch. Repeat this pattern, ensuring you produce paired increases and decreases as you reach the end of the row.
Step 4: Change Colors
Every few rows or as desired, change colors for the striped wave effect. To do this, simply change your yarn at the end of the row. Secure the new color before continuing on to the next row.
Step 5: Finish with the Border
Once you reach your desired length, it’s time to add a finishing touch. Work a single crochet border around all four sides of the blanket. This will give it a polished look and help hold the blanket’s shape.
Step 6: Block the Blanket
Finally, using blocking pins, lay your blanket flat and pin it into shape. Use steam blocking to help all those stitches lay perfectly and to showcase the beautiful ripple pattern.
In conclusion, this Crochet Baby Blanket Ripple Pattern is a delightful project that will not only keep your hands busy but will also warm your heart. From the soothing rhythm of the stitches to the joy of gifting your finished work, it’s a journey worth taking. I invite you to try this pattern, share photos of your beautiful creations, and explore other posts for more crafting inspiration!