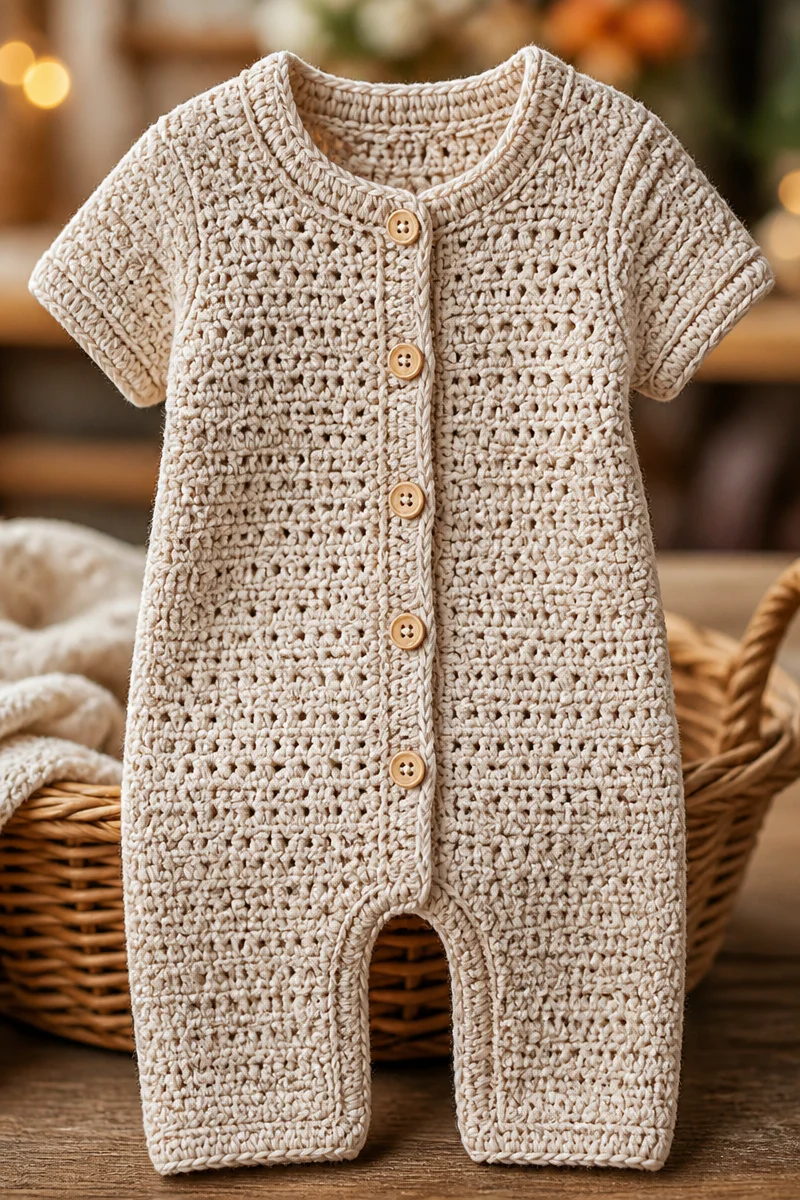
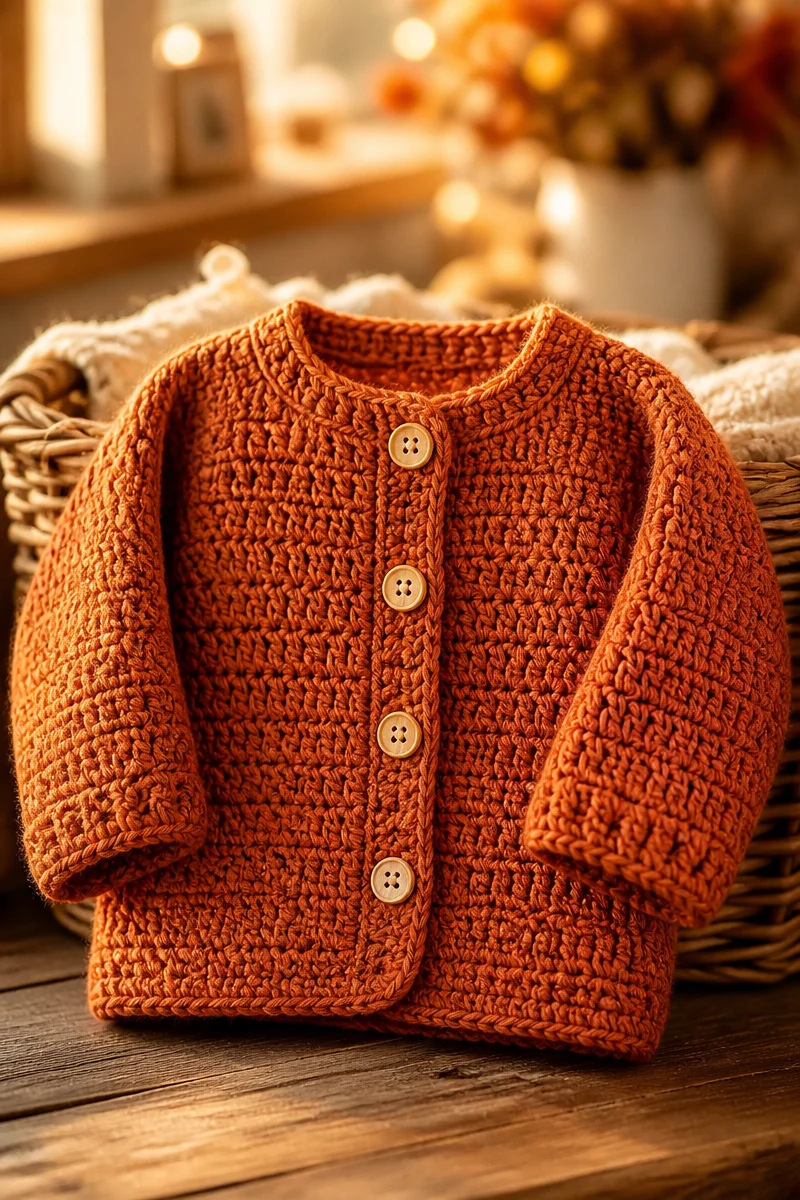
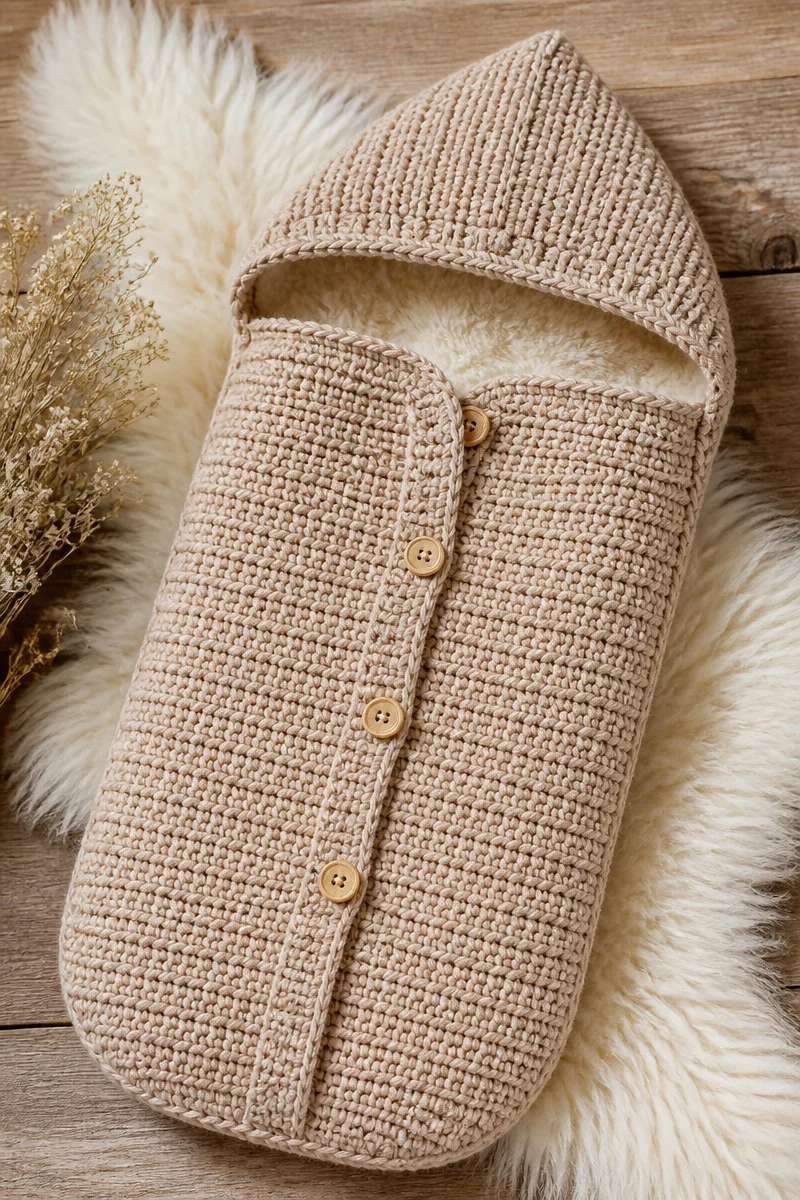
Creating a crochet baby romper with suspenders is truly a delightful experience. There’s something about working with soft yarn, crafting each stitch as you envision the finished piece that brings pure comfort to the process. It is like unwinding in a cozy armchair at the end of a long day—each round of stitches feels relaxing and rewarding.
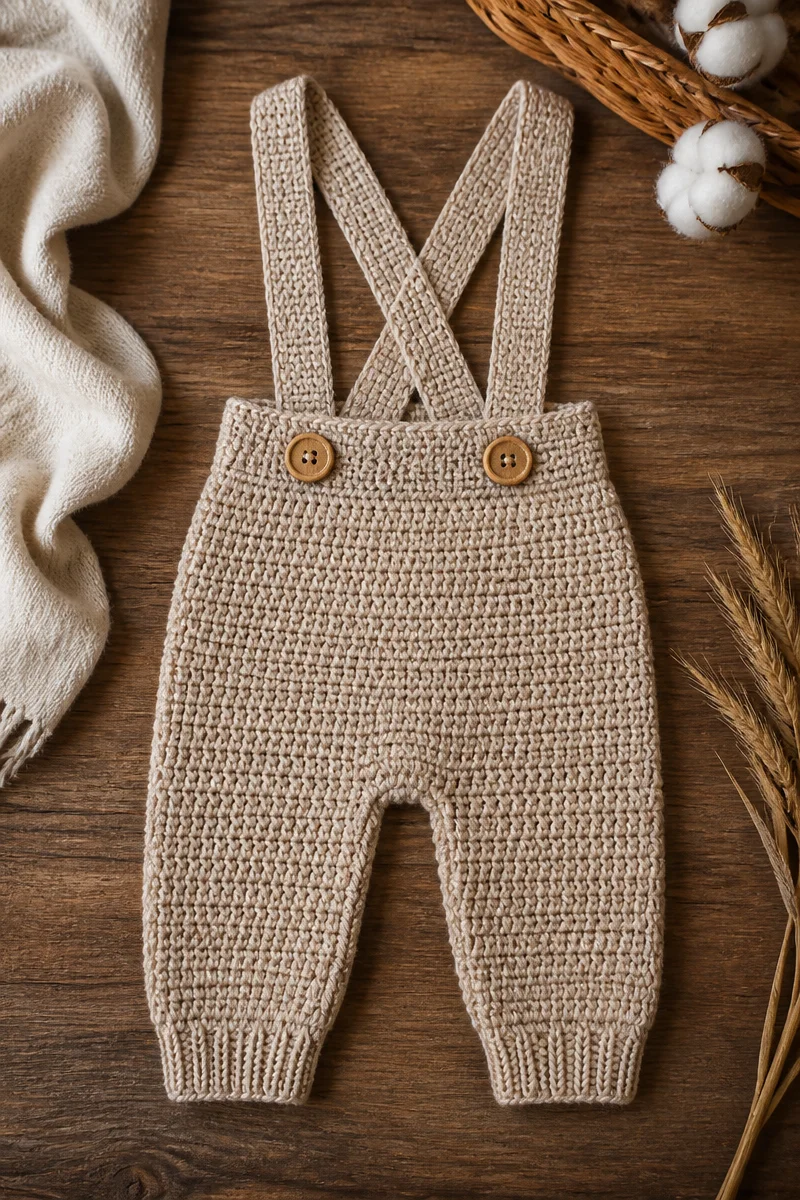
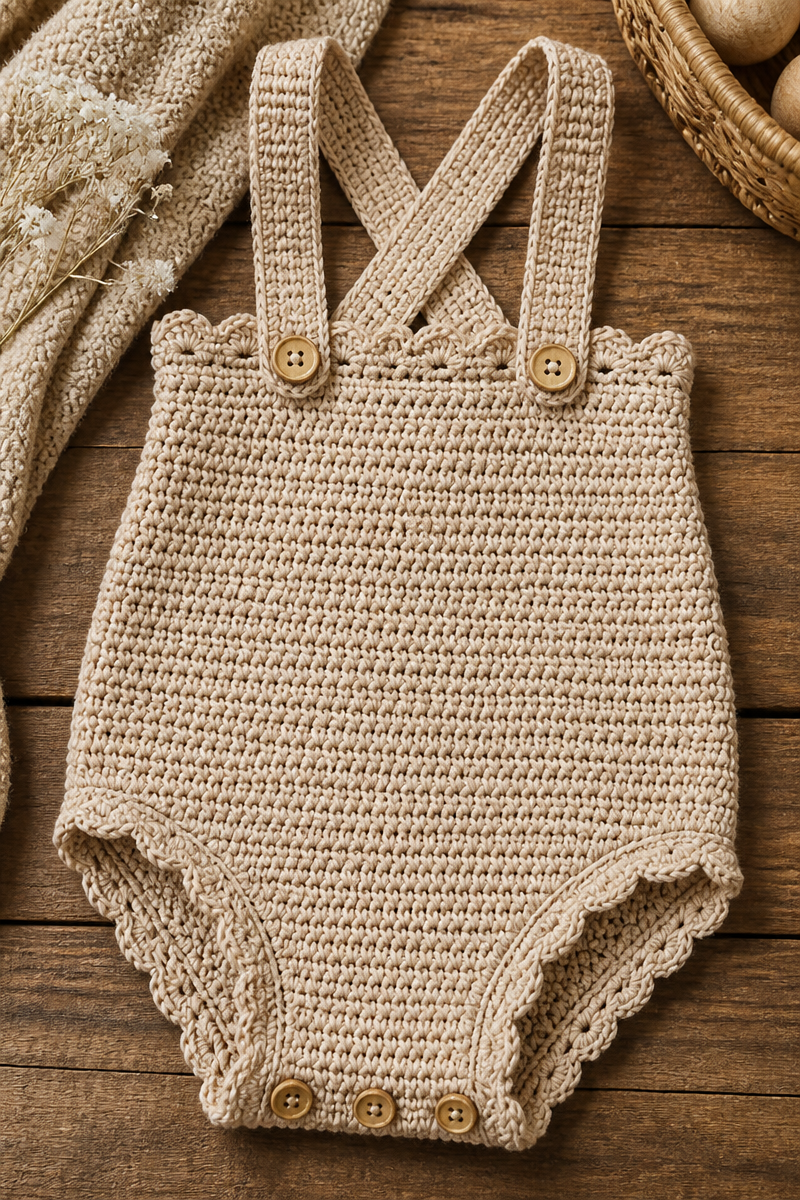
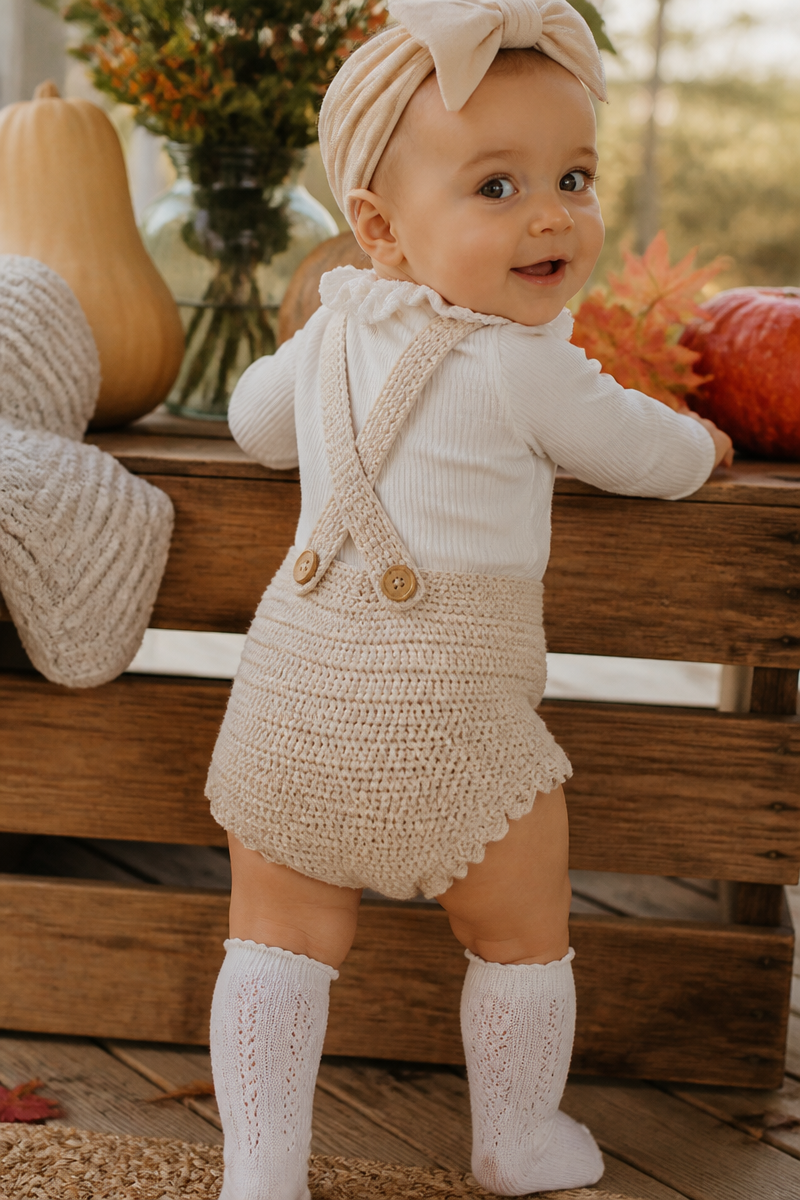
This pattern requires just a few materials, making it approachable for both seasoned crocheters and those newer to the craft. You will need cotton blend yarn, a 4mm hook, two buttons, stitch markers, and a yarn needle. The cotton blend yarn offers a soft texture and breathability, perfect for little ones. The finished romper showcases a charming style with a snug fit, completed by the crossed suspender straps that add a touch of flair.
The process is simple yet enjoyable. You’ll crochet the body in one piece starting from the leg openings and work your way up, joining at the crotch. After completing the single crochet rounds to the chest, you’ll create two crossed suspender straps, secured with button closures at the back. Lastly, finishing off the leg and neck edges with a scalloped shell-stitch trim provides a beautiful, soft finish that looks lovely and feels gentle against the skin.
Imagine gifting this romper to a new parent or dressing up your little one for a family gathering. It’s a unique creation that provides warmth and comfort, especially during those chilly nights or as a thoughtful present for a baby shower. Whether you’re attending a party or simply snapping some adorable photos, this romper is sure to stand out.
Why You Will Love This Crochet Baby Romper With Suspenders
- Works up quickly: You’ll enjoy seeing progress as the romper comes together in no time.
- Simple stitches: The straightforward design is perfect for all skill levels.
- Relaxing project: The rhythmic pattern lets you unwind and enjoy the crafting process.
- Adorable finish: The scalloped edges and button details add a charming touch perfect for any baby.
- Versatile: This romper can be customized with different colors or embellishments for a truly personalized gift.
Cotton Blend Yarn Tips
When selecting your cotton blend yarn, look for a soft and durable option that won’t split easily. Cotton blends often hold their shape, which is vital for baby clothes that need to withstand washes. Before starting, it can be helpful to wash and dry your yarn to pre-shrink it. This way, your finished romper will retain its shape and size after multiple wears.
Options for Substitutions
- Swap cotton blend yarn for 100% cotton yarn for added breathability.
- Use an acrylic blend yarn for a softer, more budget-friendly option.
- Try a thicker yarn and adjust the hook size to create a cozier romper.
- Use wooden or decorative buttons for a handmade touch.
- Experiment with a 4.5mm hook for a slightly looser weave.
- Consider adding embellishments such as embroidery or patches for personalization.
Watch Out for These Mistakes
While crocheting the body in one piece, it’s easy to accidentally drop stitches, especially at the end of a row. Keeping track of your stitches with stitch markers can help you avoid this common pitfall. Additionally, always check your tension; many beginners inadvertently crochet tighter in the beginning, which can affect the final size of the romper.
Don’t skip chain spaces when working on the suspender straps. They help maintain the necessary length and flexibility for a comfortable fit. If you find that the straps are too short, it could diminish the charm of your creation. Lastly, take your time when adding the scalloped shell-stitch trim. Rushing through this final touch may lead to uneven edges, so enjoy the process of completing your masterpiece!
What to Pair With This Crochet Baby Romper With Suspenders?
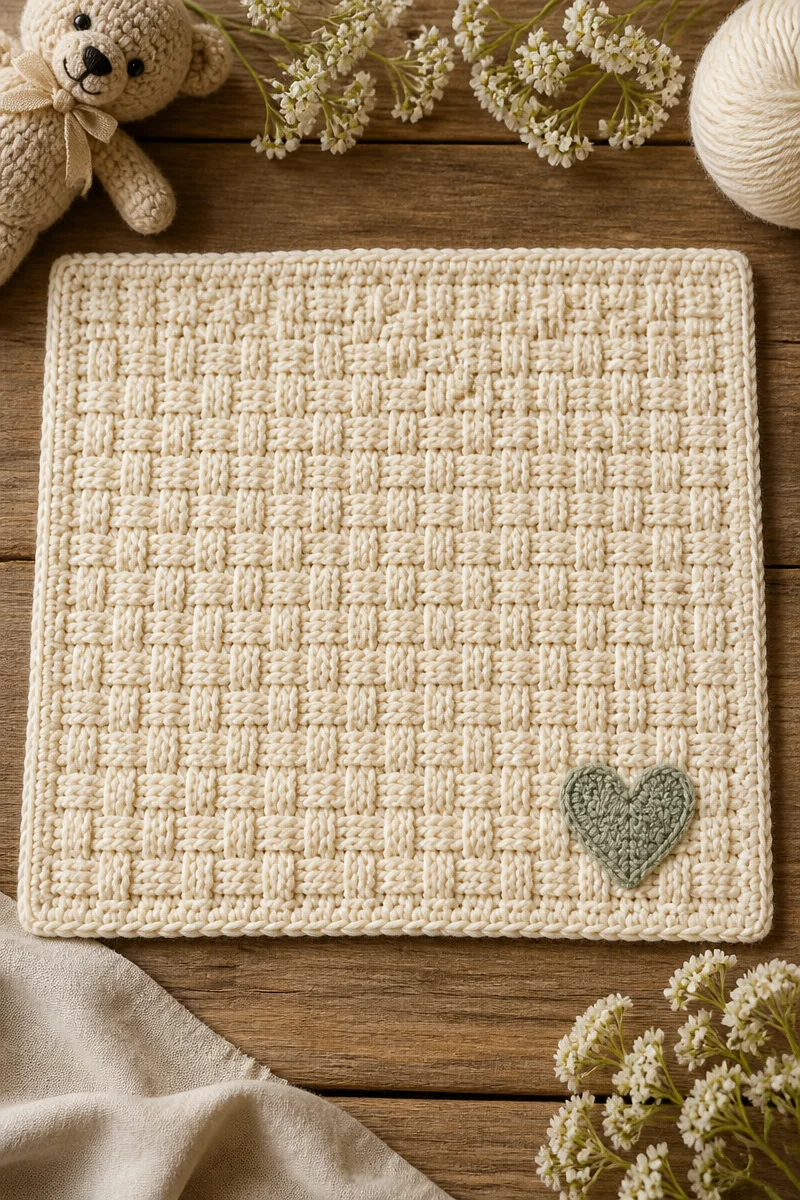
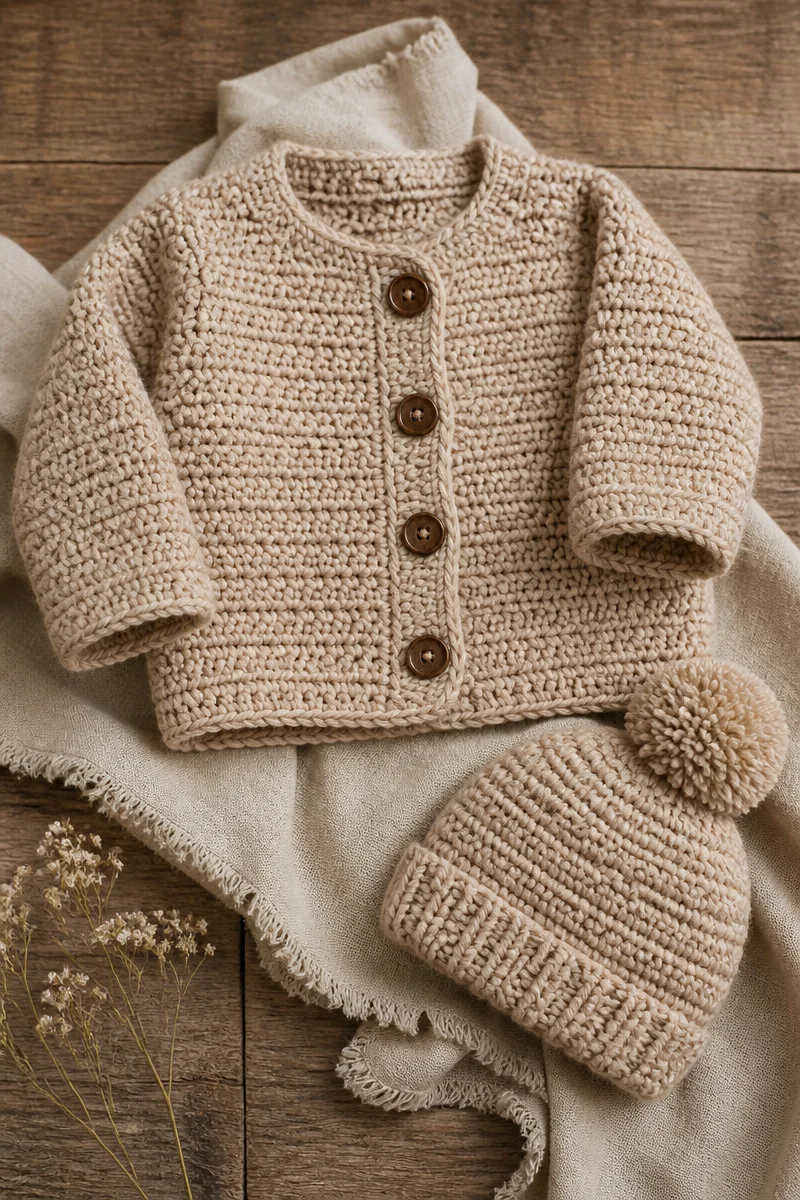
Your crochet baby romper can effortlessly pair with a variety of delightful projects. Consider making a matching baby hat with ear flaps for added warmth, or whip up a pair of booties to complete the adorable outfit. A small blanket in coordinating colors will create a lovely gift set, while a simple toy could add a whimsical touch. Each of these projects complements the romper beautifully, creating a thoughtful ensemble for a baby.
Care and Washing Instructions
Washing: For your cotton blend yarn, it’s best to hand wash your finished romper in cold water to maintain its shape and color vibrancy. If machine washing is necessary, use a gentle cycle in cold water, placing the romper in a mesh laundry bag to protect it.
Drying: Lay the romper flat to dry, avoiding direct sunlight to prevent fading. This also ensures that it doesn’t stretch out of shape, preserving the integrity of your beautiful crochet work.
Blocking: Depending on the finish you prefer, you might want to consider light steam blocking to help shape any uneven edges or scallops, ensuring a polished look for your romper.
Pattern Info
- Prep Time: 15 minutes
- Make Time: Approximately 4-6 hours
- Total Time: 4-6 hours and 15 minutes
- Level of Difficulty: Beginner to Intermediate
- Sizing: Fits baby sizes approximately 0-3 months, adaptable to larger sizes by adjusting stitch counts.
Gauge and Sizing Notes
Estimated sizing and gauge details for this pattern: Checking your gauge is essential to ensure your finished romper fits as intended. For this pattern, your gauge should be approximately 16 stitches and 20 rows in 4 inches of single crochet. It is also wise to measure against a similar garment during the making process to ensure a comfortable fit, especially since not all yarns and hooks will yield the same results.
Materials Needed
- Cotton blend yarn
- 4mm hook
- 2 buttons
- Stitch markers
- Yarn needle
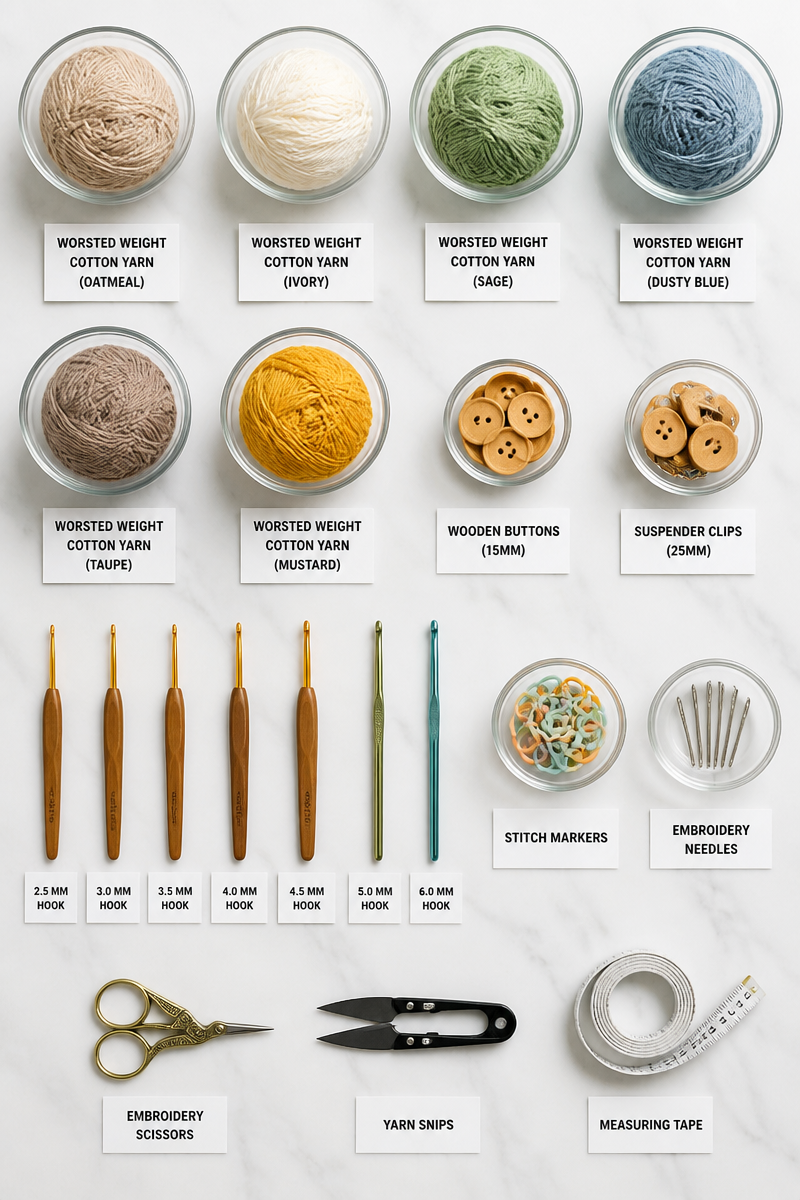
Step-by-Step Instructions
Step 1: Create the Foundation Chain
Begin by making a foundation chain of your desired length based on the size of the romper you wish to create. This will be the leg openings, so consider the dimensions carefully to ensure a comfortable fit.
Step 2: Work the Body
Once your chain is complete, join it to form a loop. Then, crochet the body in rounds with single crochet stitches. Continue until you reach the desired length, keeping an eye on stitch counts and maintaining an even tension.
Step 3: Join at the Crotch
When you reach the desired leg length, join the rounds at the crotch. Here, you will create a seamless transition from the legs to the body. This step is crucial for a polished look, so take your time.
Step 4: Create the Suspender Straps
After completing the body, you will crochet the two crossed suspender straps. These should be adjustable to fit comfortably on the baby’s shoulders and allow for easy dressing and undressing.
Step 5: Attach Buttons
Once your straps are completed, sew on your buttons for the closures at the back. Make sure to position them securely so the straps can hold up well. Testing their strength before finalizing the design is always a good idea.
Step 6: Finish with Scalloped Trim
Lastly, add a beautiful scalloped shell-stitch trim around the leg openings and neck. This step will enhance the beauty of your romper while providing a soft edge that is gentle against the baby’s skin.
In summary, this crochet baby romper with suspenders is a delightful project for all crochet enthusiasts. The steps are manageable, the materials are simple, and the result is a beautiful piece that any parent would cherish. I invite you to try this pattern, share photos of your finished work, and explore similar projects on our blog. Happy crocheting!