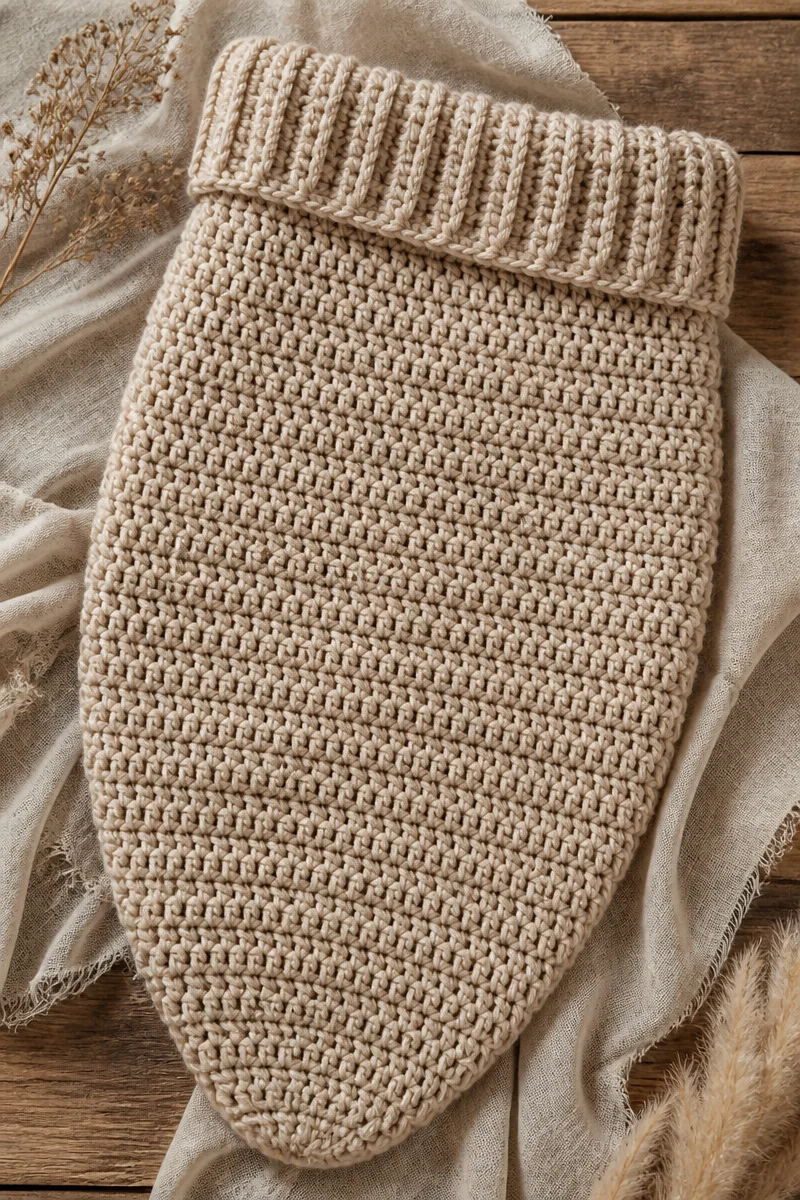
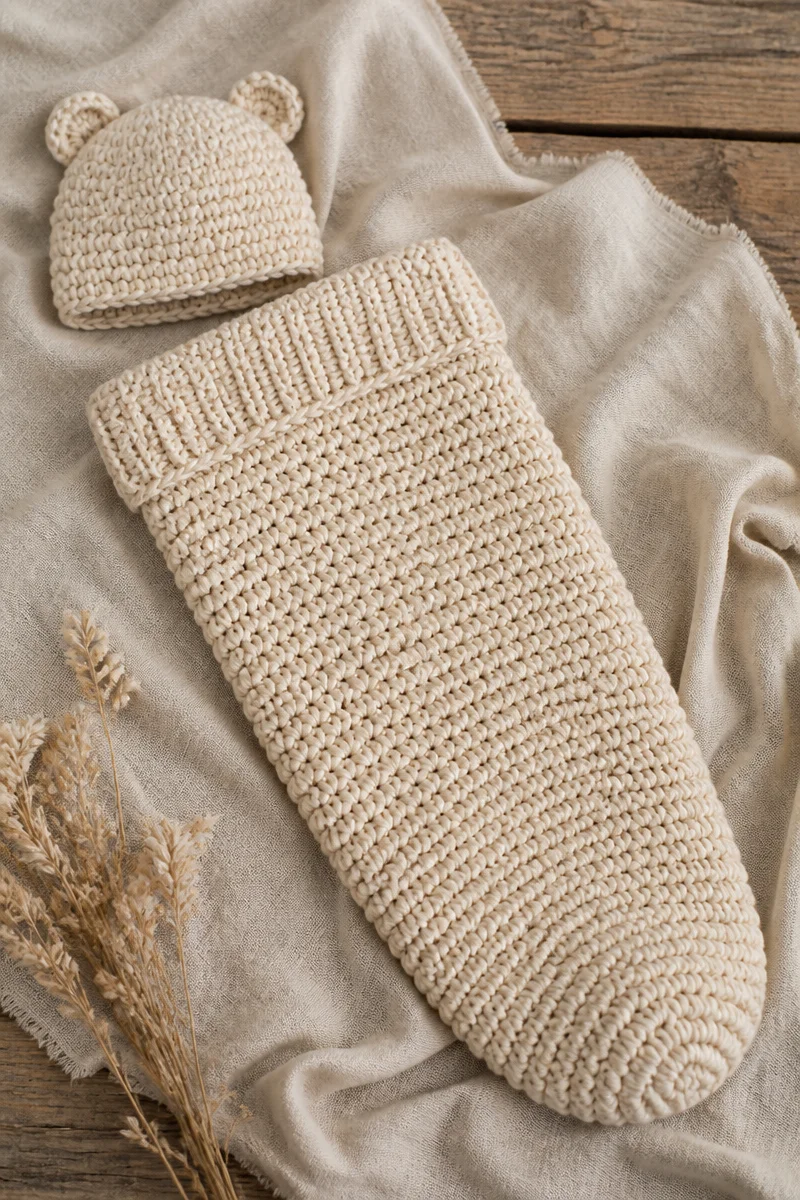
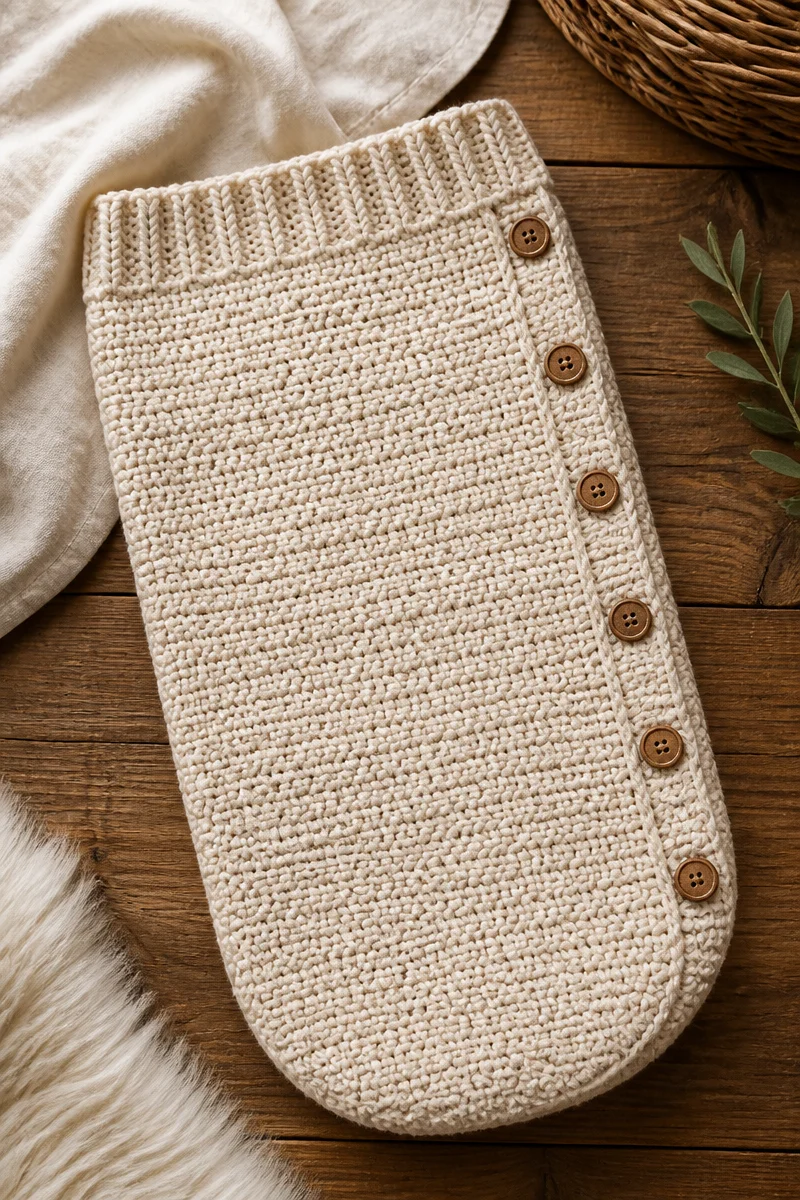
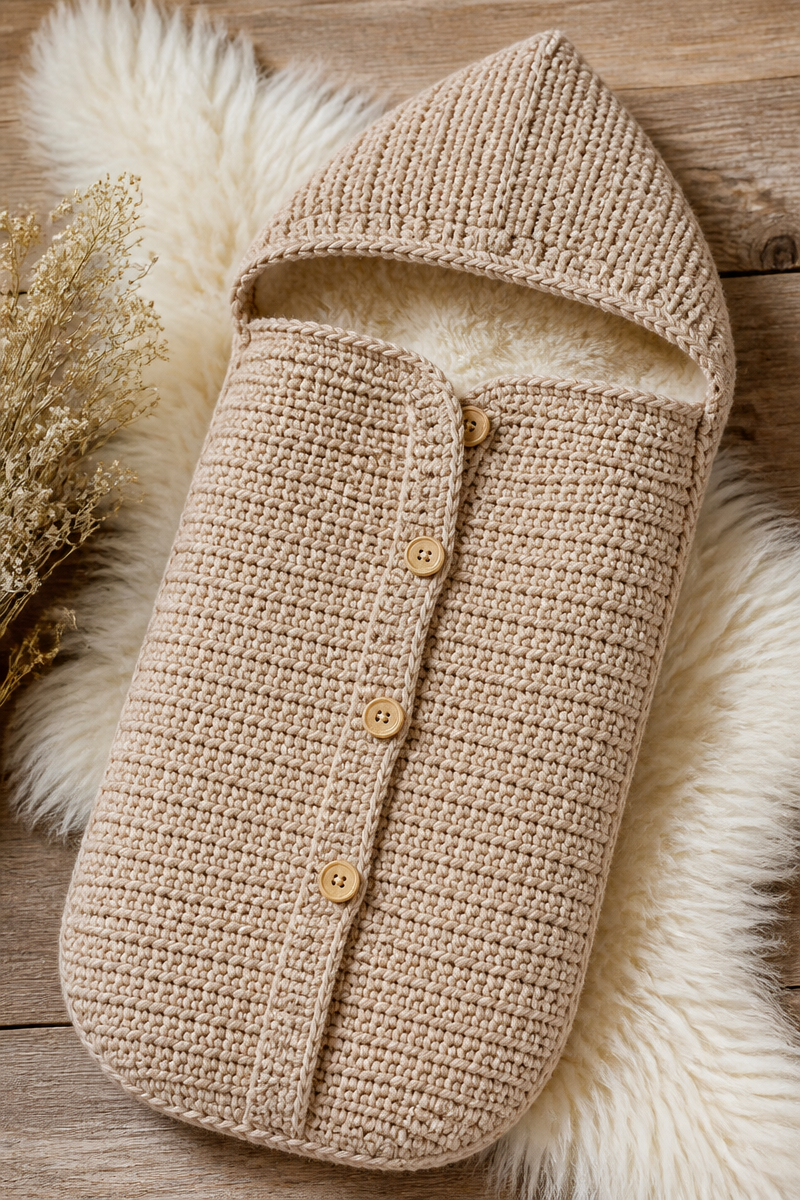
Working on a crochet project can feel like pure comfort, wrapping us in creativity and warmth. The simple act of bringing yarn and hook together is a meditative experience, one that countless crochet enthusiasts treasure. Among the many patterns we can create, the crochet baby bunting bag stands out as not only a joy to craft but also a delightful gift for a little one. There’s something incredibly satisfying about creating a cozy cocoon for a baby, evoking feelings of love and care with every stitch.
This project uses bulky weight yarn, allowing for a quick build with a soft and plush texture once completed. The 6.0mm hook makes it easy to work through the stitches, reducing hand strain. You’ll find that including a zipper or large buttons adds a charming touch to the design, offering functionality as well as aesthetics. A yarn needle and stitch markers will help keep your creation organized, making it simpler to stay within your pattern lines. Whether you envision a pastel palette or vibrant colors, the finished piece will not only look adorable but also feel comfortable against a baby’s delicate skin.
The method is straightforward and beginner-friendly, making it perfect for those new to crochet. You start by chaining and working a flat oval base in single crochet for the bag’s bottom. Gradually, you’ll work in rounds without increasing, which builds the bag’s body. When reaching the top, you have the option to split the work, creating two openings for baby legs or keeping it as a full sack style for extra warmth. Adding a fold-over hood gives the bag a nice finish, followed by either sewing in a zipper or adding buttons for closure — both charming and practical.
Imagine gifting this snuggly bunting bag on a chilly night for a newborn or using it as part of a beautiful handmade gift set. It’s a thoughtful way to give warmth while showcasing your crafting skills. And don’t forget — this bag is also perfect for craft fairs, as it can easily capture the attention of potential buyers with its cozy appeal.
Why You Will Love This Crochet Baby Bunting Bag Pattern
- Works up quickly due to bulky yarn
- Simple stitches make it beginner-friendly
- Relaxing project to unwind with
- Versatile style suits various occasions
- Ideal for practical gifting or selling at craft fairs
Bulky Weight Yarn Tips
When working with bulky weight yarn, selecting the right type is essential. A good choice would be a soft acrylic blend, which offers warmth without adding too much weight. Always check the yarn label for care instructions. A yarn that’s prone to splitting can be challenging. To minimize this, try using a hook size that’s slightly smaller than recommended if you find your yarn is slipping. This can help maintain control with your stitches and overall tension.
Options for Substitutions
- Super bulky yarn for an even thicker finish
- Cotton yarn for a lighter, breathable alternative
- Wool blends for extra warmth in colder climates
- Different hook sizes to accommodate tension preferences
- Snap closures instead of buttons for a quick fastening option
- Adding a decorative trim with contrasting yarn for flair
Watch Out for These Mistakes
When creating the flat oval base, ensure your foundation chain is not too tight or loose. A tight chain can lead to a curved base, while a loose one may cause gaps. Throughout the process of working in rounds, it’s easy to lose track of increases — but this pattern does not require any. Avoid dropping stitches at the end of a row by regularly checking your stitch count. Skipping chain spaces can also happen, especially if you’re distracted. Always count your stitches and use markers if necessary to keep your place clear. Finally, when shaping the hood, make sure your decreases are consistent to maintain the bag’s shape.
What to Pair With This Crochet Baby Bunting Bag Pattern?
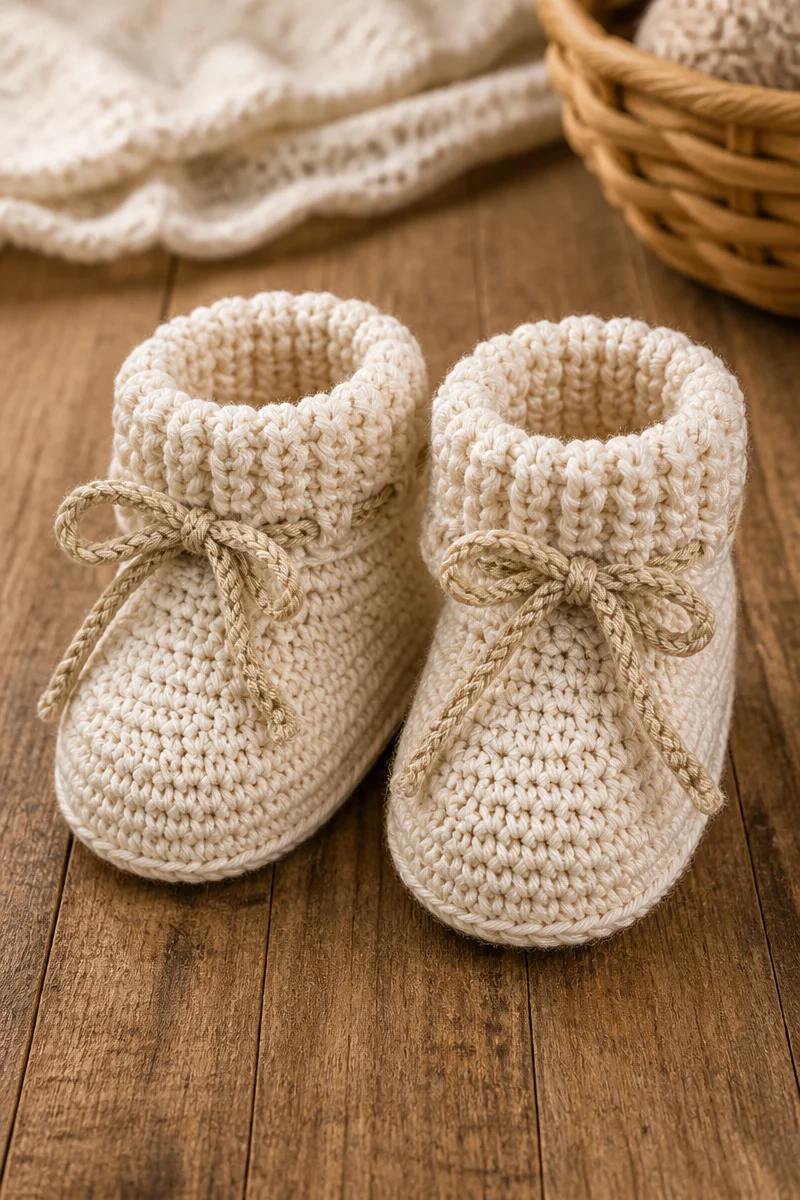
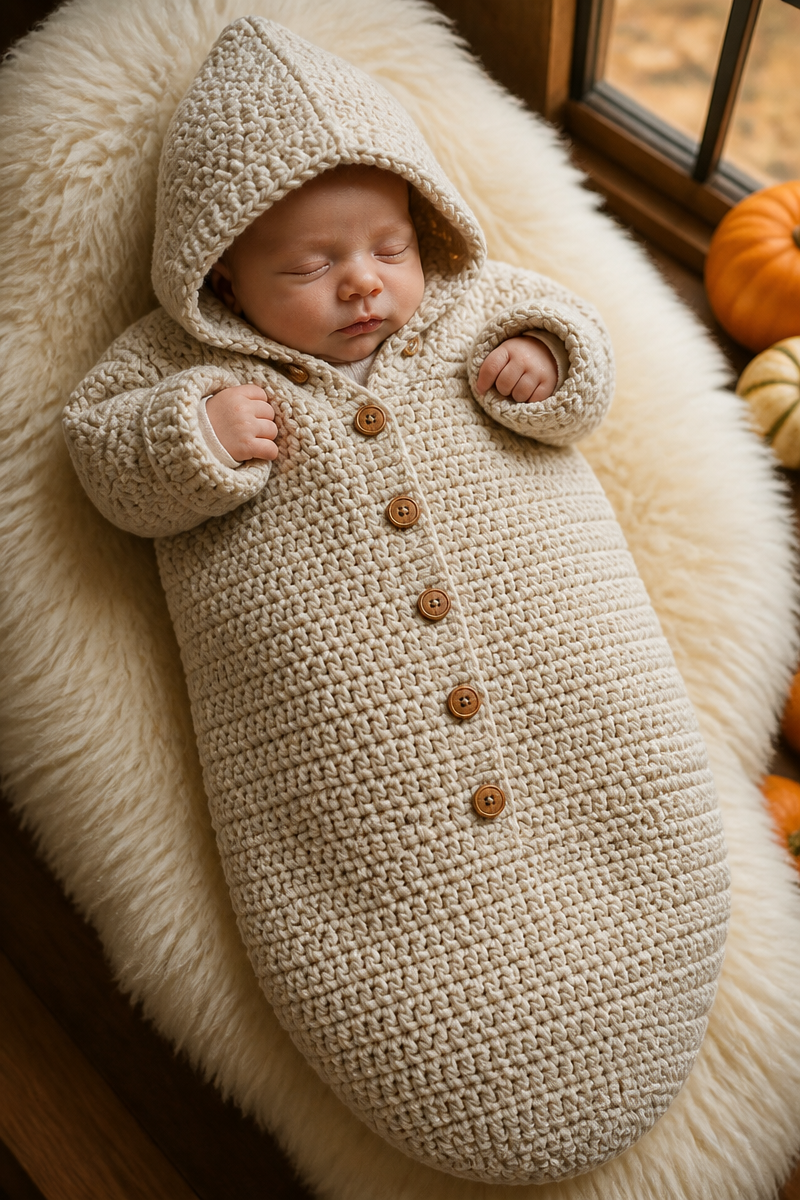
Consider pairing this bunting bag with a matching hat or booties for a one-of-a-kind gift set. A soft blanket can complement the bunting perfectly, keeping little ones cozy on chilly days. For a full set, a cute stuffed animal or toy can create an adorable welcome package for any baby. These options not only enhance the gift but also showcase your skills in crafting multiple pieces.
Care and Washing Instructions
Washing: For hand-washable yarns, use cool water and a mild detergent to preserve the softness. If machine washing is needed, opt for a gentle cycle, placing the item in a mesh laundry bag first.
Drying: Always lay the bunting bag flat to dry, as this prevents stretching of the form. Avoid hanging it to preserve its shape.
Blocking: With bulky yarn, steam blocking can help even out stitches. Gently mist the finished piece and lay it flat to dry.
Pattern Info
Prep Time: 15 minutes (for gathering supplies)
Make Time: Approximately 3-4 hours
Total Time: 3.5–4 hours
Level of Difficulty: Beginner
Sizing: Estimated sizing will comfortably fit newborns up to a few months old
Gauge and Sizing Notes
Estimated sizing and gauge details for this pattern: It’s crucial to check your gauge to ensure the final product fits as intended. For this pattern, aim for a gauge of about 10 stitches per 4 inches in single crochet. The finished bunting bag should measure approximately 24 inches long by 12 inches wide, providing an ample cozy space for a newborn.
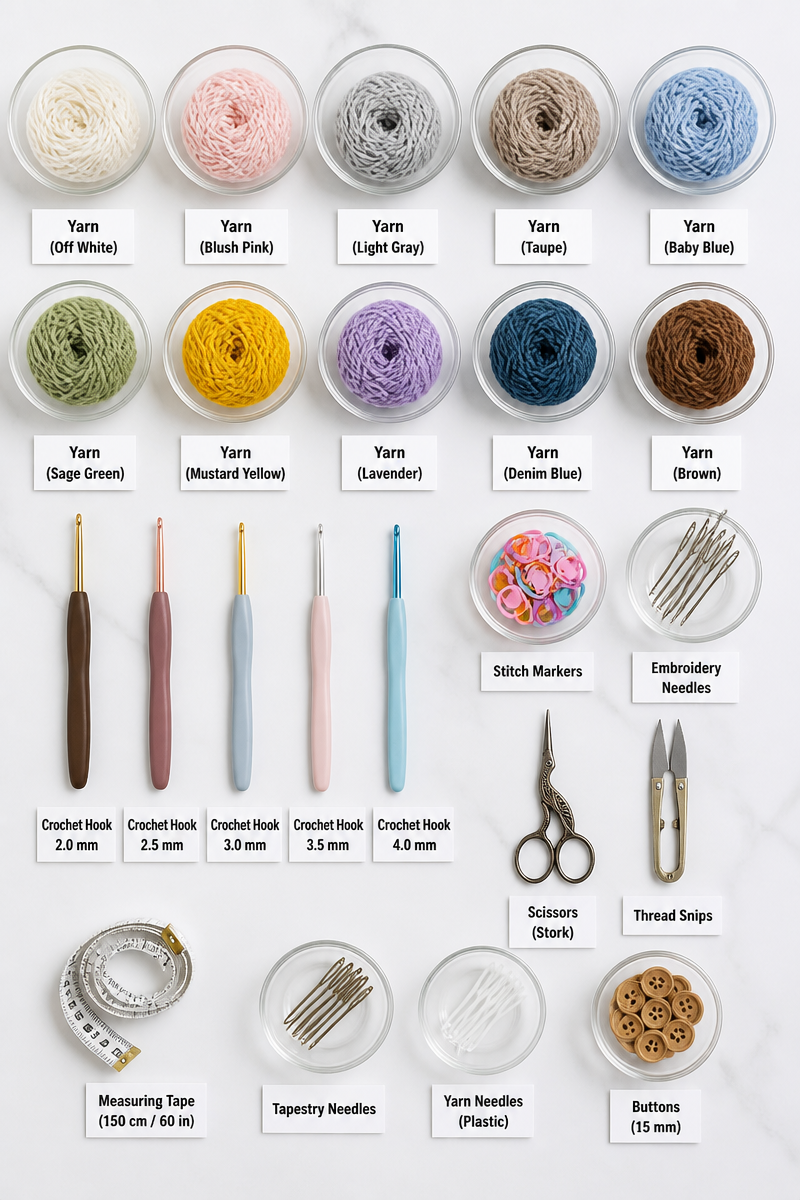
Materials Needed
- Bulky weight yarn
- 6.0mm hook
- Zipper or large buttons
- Yarn needle
- Stitch markers
Step-by-Step Instructions
Step 1: Create the Foundation Chain
Begin by making a foundation chain of 30 stitches, then gently turn and work a single crochet stitch in each chain. This will form the oval base for the bunting bag. To create the oval shape, you will crochet in the round, working 1 single crochet into each stitch.
Step 2: Work in Rounds Without Increasing
Continue working in rounds; you’ll want to keep the same number of stitches throughout. This is crucial to maintain the consistent shape of the bag. You’ll continue until the body reaches an adequate height, generally around 12 inches.
Step 3: Split for Leg Openings
When you reach the desired height, you have a choice to make. You can split the piece for two leg openings, creating a functional design, or keep it sewn shut for a full sack style. If you choose to split, ensure both sides are even.
Step 4: Create the Fold-over Hood
To add the fold-over hood, work additional rows until you reach about 4 inches. Use decreases at the ends of these rows to shape the top of the bag, ensuring that it curves nicely to fit securely around a baby’s head.
Step 5: Add Fastening
Finally, decide on your closure. You can sew in a zipper along the front or attach large buttons. Whichever option you choose, make sure it’s securely fastened to withstand usage.
Step 6: Finishing Touches
Weave in loose ends with a yarn needle, making sure everything is tidy and secure. Give your creation a gentle wash and lay it flat to dry, ensuring it’s ready to welcome the little one.
In conclusion, crafting your own crochet baby bunting bag is an exciting process, turning yarn into a cozy masterpiece. Its practicality, cuteness, and quick creation time make it a must-try project. I encourage you to dive in, try the pattern, and share photos of your lovely creations in the comments. Your finished work could inspire others to pick up their hooks too!