Crocheting has always been a cherished hobby of mine, and there’s something purely comforting about creating handmade pieces that can bring joy to a little one’s life. The act of crocheting, especially a soft, sweet project like a baby bib teething set, feels like wrapping love and care into each stitch I make. As I work with the yarn and feel the rhythm of the hook, it becomes a delightful escape, one where creativity flows freely, and relaxation is just a stitch away.
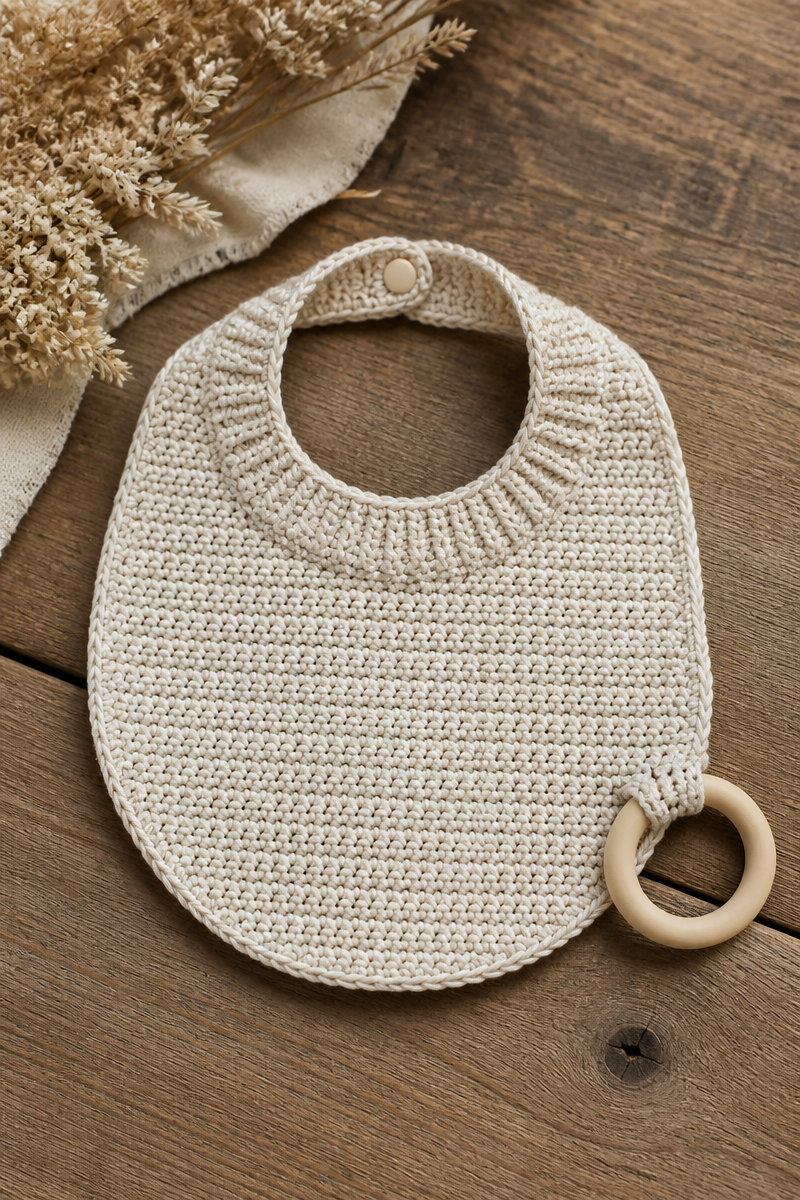
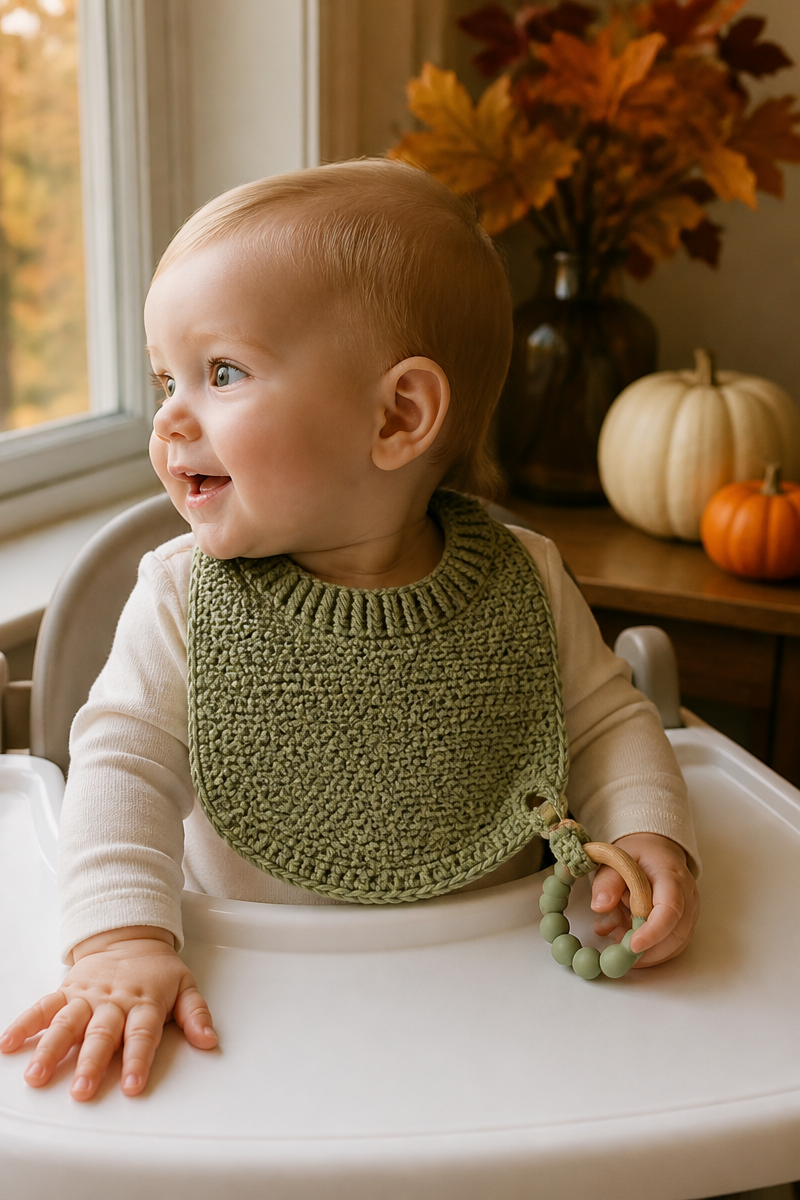
When you gather your materials, you will notice the beauty of cotton yarn in soft hues, the sturdy yet comfortable 4mm hook, and the small but essential snap fastener. The addition of a silicone teething ring makes this pattern practical for babies who need comfort during teething pain. The delicate texture of the finished piece is inviting; it’s gentle enough for a baby’s sensitive skin while being durable for everyday use.
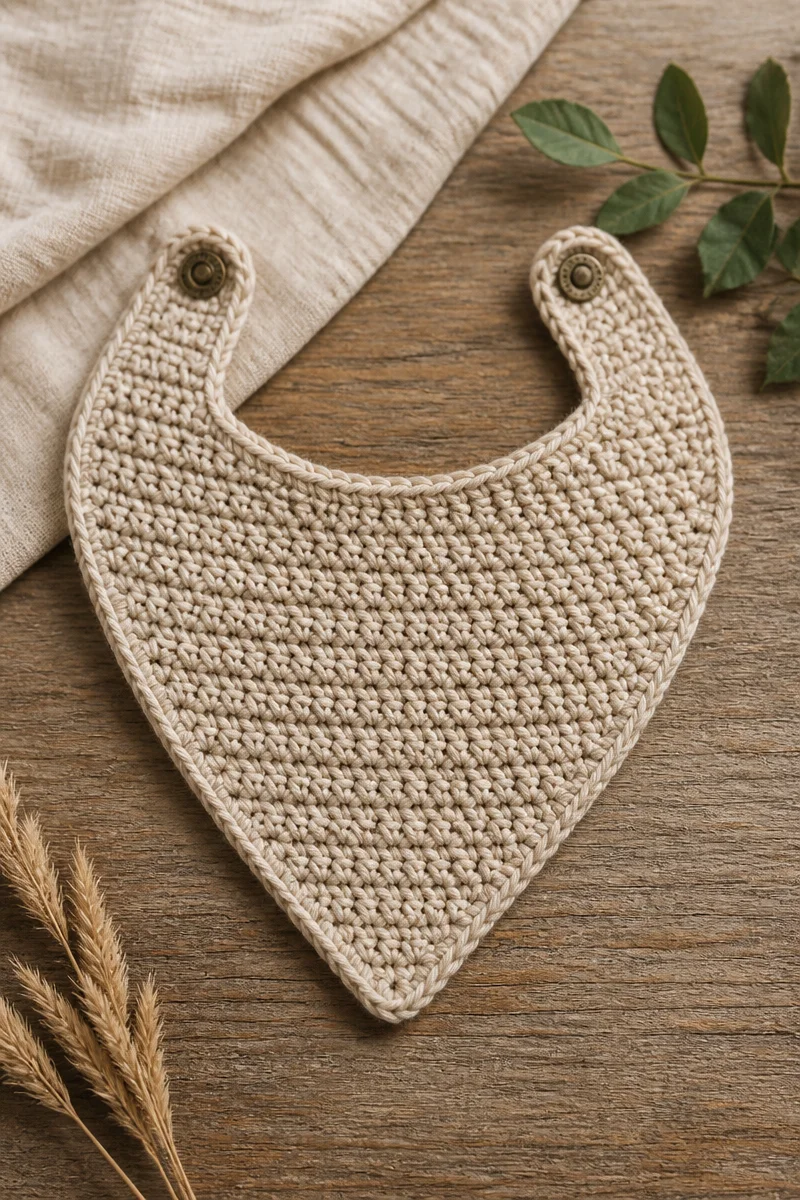
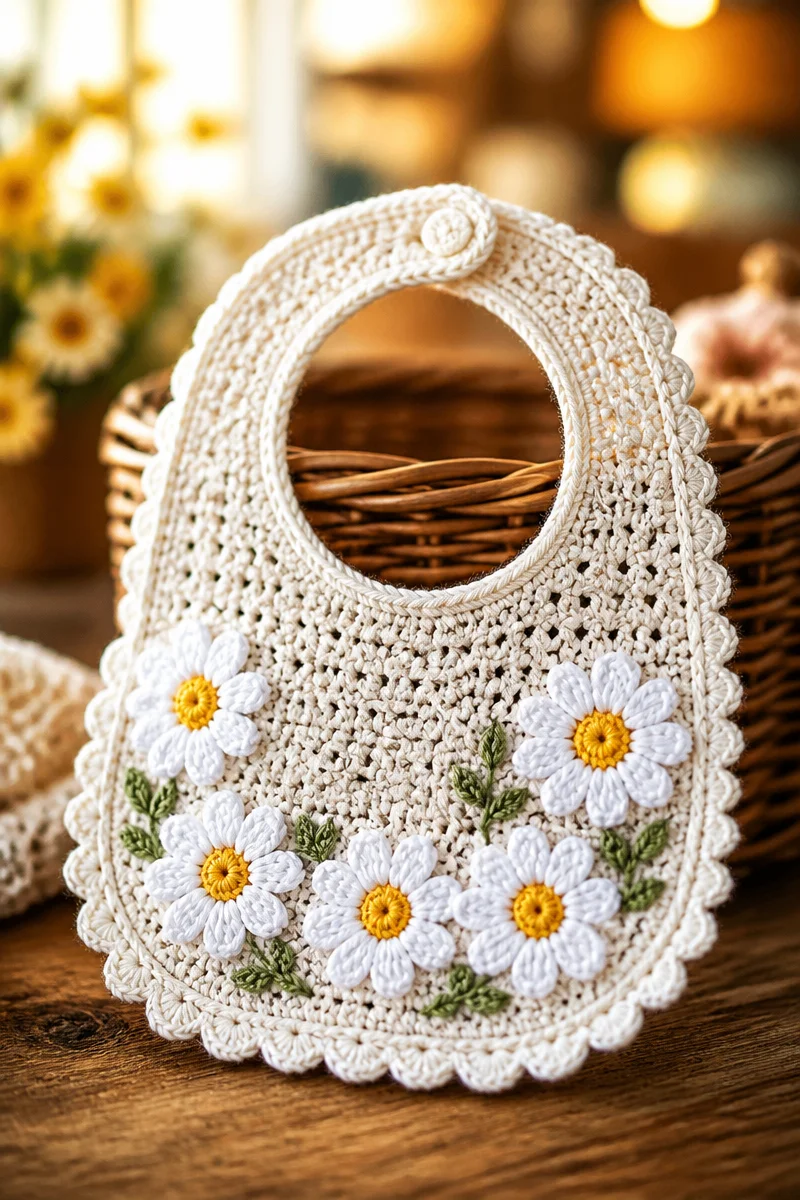
The method to create this lovely set is straightforward and beginner-friendly. You will crochet a rounded bib shape using simple single crochet stitches. The ribbed neckband adds a stylish touch, while the snap closure at the back ensures it stays in place. A small crocheted loop in one corner allows for threading the silicone teething ring, making it a functional and adorable accessory. Always remember to use baby-safe cotton yarn since this item may go near a baby’s mouth.
This baby bib teething set is ideal for various scenarios. It makes the perfect handmade gift for expecting parents, a thoughtful present at baby showers, or a delightful addition to your craft fair tables. Each time I see a little one wearing something I made, my heart fills with pride and warmth.
Why You Will Love This Crochet Baby Bib Teething Set
- Quick to crochet, making it perfect for gifts.
- Utilizes simple stitches, great for beginners.
- Offers a relaxing crafting experience.
- Customizable in color and design, making it uniquely yours.
- Combines functionality with adorable aesthetics.
Cotton Yarn Tips
When working with cotton yarn, there are a few important tips to keep in mind to ensure your project turns out beautifully. Cotton yarn is breathable and perfect for sensitive skin, making it an excellent choice for baby projects. To avoid splitting while crocheting, use a 4mm hook and try to keep your tension even. This approach will help maintain a smooth texture throughout your work. Additionally, if you feel the yarn fibers tangling, gently smooth them out with your fingers as you go along.
Options for Substitutions
- Use bamboo yarn instead of cotton for a softer feel.
- Try a lighter weight cotton yarn for a more delicate finish.
- Substitute the 4mm hook for a 5mm hook for a looser gauge.
- Opt for a snap button closure instead of a snap fastener if preferred.
- Use a fabric teething ring instead of a silicone one for a different texture.
- Experiment with color blends to create a unique look.
Watch Out for These Mistakes
As you embark on your journey with the crochet baby bib teething set, it’s important to be aware of common pitfalls. One frequent mistake is dropping stitches at the end of a row. Always double-check your last stitch to ensure you’ve completed it, especially when transitioning to the next row. Tension issues can also arise; if your stitches are too tight, it can make the finished bib uncomfortable for the baby. Relax your grip on the yarn to maintain an even tension.
Another common error is skipping stitch spaces when attaching the neckband or the loop for the teething ring. This can disrupt the overall look of the bib, so take a moment to count your stitches when you find yourself at a tricky point in the pattern. Lastly, ensure you are using only baby-safe materials. This is crucial for keeping the little ones safe.
What to Pair With This Crochet Baby Bib Teething Set?
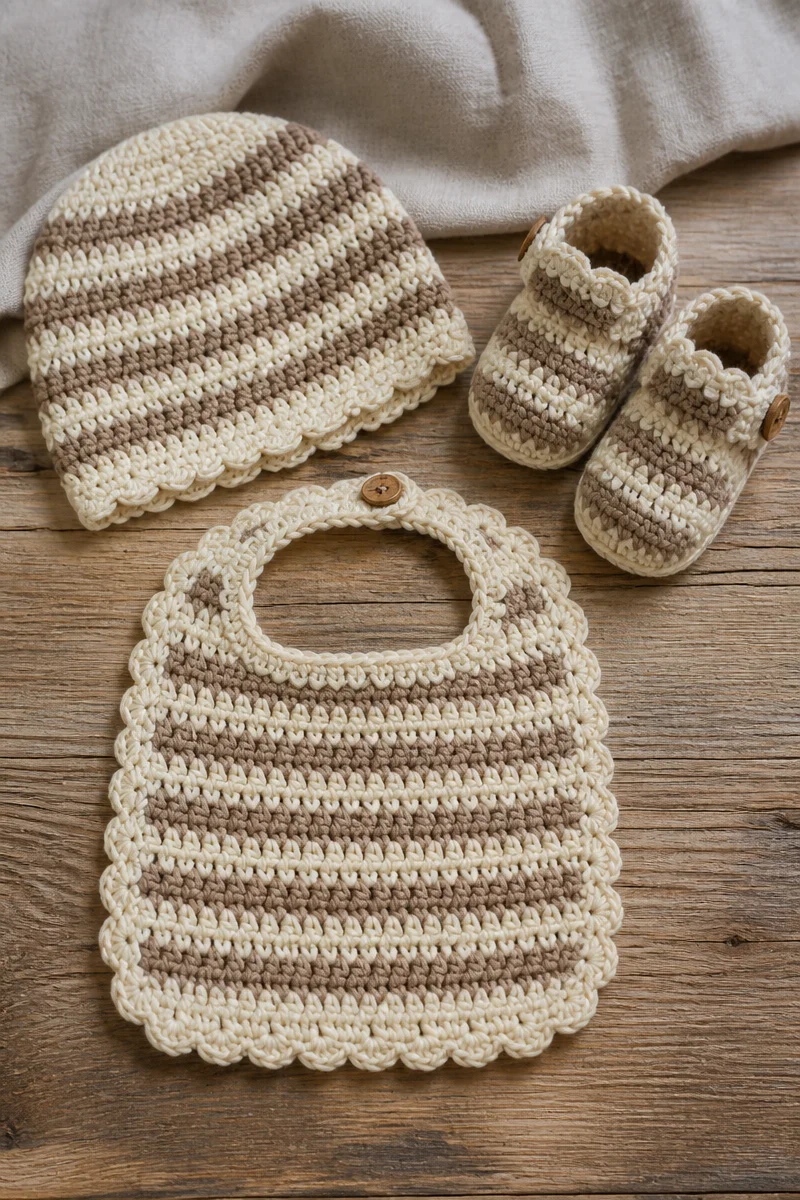
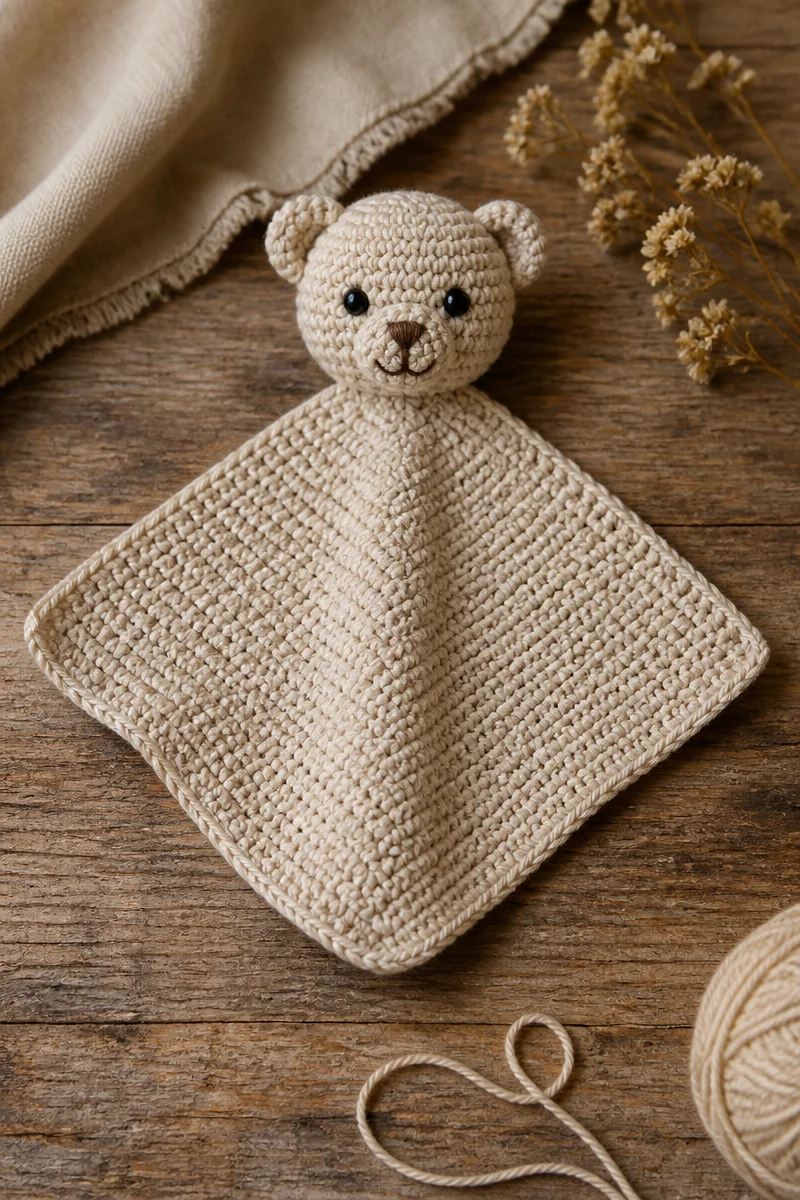
To complement your beautiful crochet baby bib teething set, consider making matching items such as a crochet baby hat, a soft blanket, or even a toy. These pieces will create a charming and coordinated gift set. Each project can be made with the same colors or patterns, ensuring a delightful theme that will impress new parents and provide years of comfort to their little ones.
Care and Washing Instructions
To keep your crochet baby bib teething set looking its best, consider these care instructions. Hand wash in cold water with gentle detergent to avoid any wear and tear on the cotton fibers. If you prefer machine washing, use a delicate cycle with cold water. Always air dry your project. Lay it flat on a clean towel to dry to prevent any stretching or misshaping.
When it comes to blocking, a light steam blocking is enough to help the finished item take shape. Avoid soaking the item completely, as this can cause it to lose its form. Instead, use a steam iron held at a distance to ease any wrinkles.
Pattern Info
Prep Time: 30 minutes
Make Time: 1-2 hours
Total Time: 1.5-2.5 hours
Level of Difficulty: Beginner
Sizing: Designed to fit babies aged 0-12 months, adjustable neckband for comfort.
Gauge and Sizing Notes
Estimated sizing and gauge details for this pattern: It’s important to check your gauge to ensure that the bib fits comfortably and securely. The finished bib should measure approximately 8-10 inches wide and 8-9 inches long, depending on your tension. Checking your gauge will help maintain this sizing, especially since cotton yarn tends to behave differently depending on the tightness of your stitches.
Materials Needed
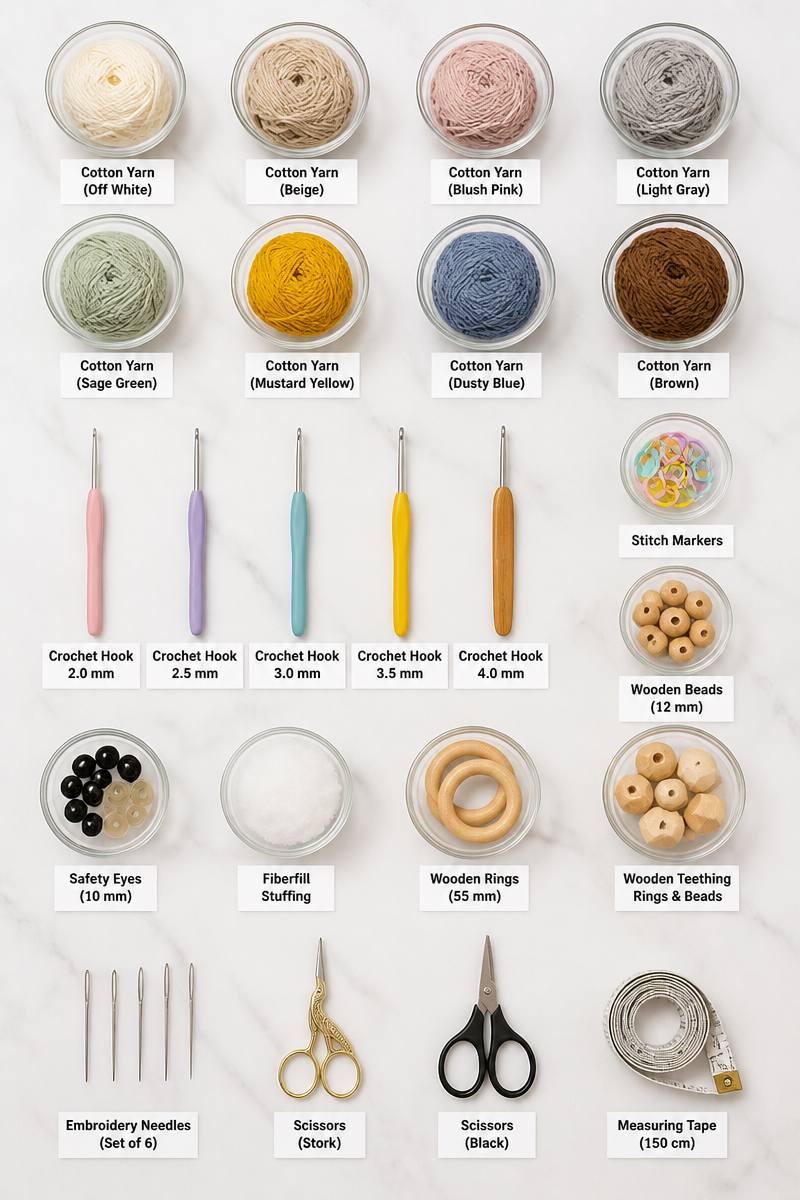
- Cotton yarn (preferably a baby-safe cotton)
- 4mm hook
- Snap fastener
- Silicone teething ring
- Yarn needle
Step-by-Step Instructions
Step 1: Create the Foundation Chain
Begin by creating a foundation chain of 30 stitches using your 4mm hook and cotton yarn. Ensure that the chain is not too tight, allowing for easy movement as you start your stitches.
Step 2: Form the Bib Shape
In the second chain from the hook, crochet a single crochet stitch. Continue this for each chain across the row. At the end of the row, chain one and turn to start the next row. Repeat single crochet until you reach your desired length, forming a rounded shape.
Step 3: Add the Neckband
Once you have achieved the desired width, create a neckband by working in rows of single crochet. Make the band ribbed by alternately working into the back loop only every third row, until the neckband is approximately 2 inches wide.
Step 4: Create the Snap Closure
To attach the snap fastener, fold the neckband and sew down one side. Position the snap so it stays secure during use. This will create a comfortable and stable closure for the bib.
Step 5: Attach the Crocheted Loop
In one corner of the bib, create a small loop by chaining 5 stitches and single crocheting back down it. Secure the loop to the corner, ensuring it is strong enough to hold the silicone teething ring.
Step 6: Thread the Teething Ring
Finally, thread the silicone teething ring through the loop you just created. Make sure it is secure and ready for little hands to grasp.
In conclusion, this crochet baby bib teething set has everything to offer—functionality, style, and a heartfelt touch. I hope you find a moment to try this pattern yourself and perhaps even share photos of your finished work. We would love to see how you personalize this beautiful project or explore similar patterns on our blog. Happy crocheting!