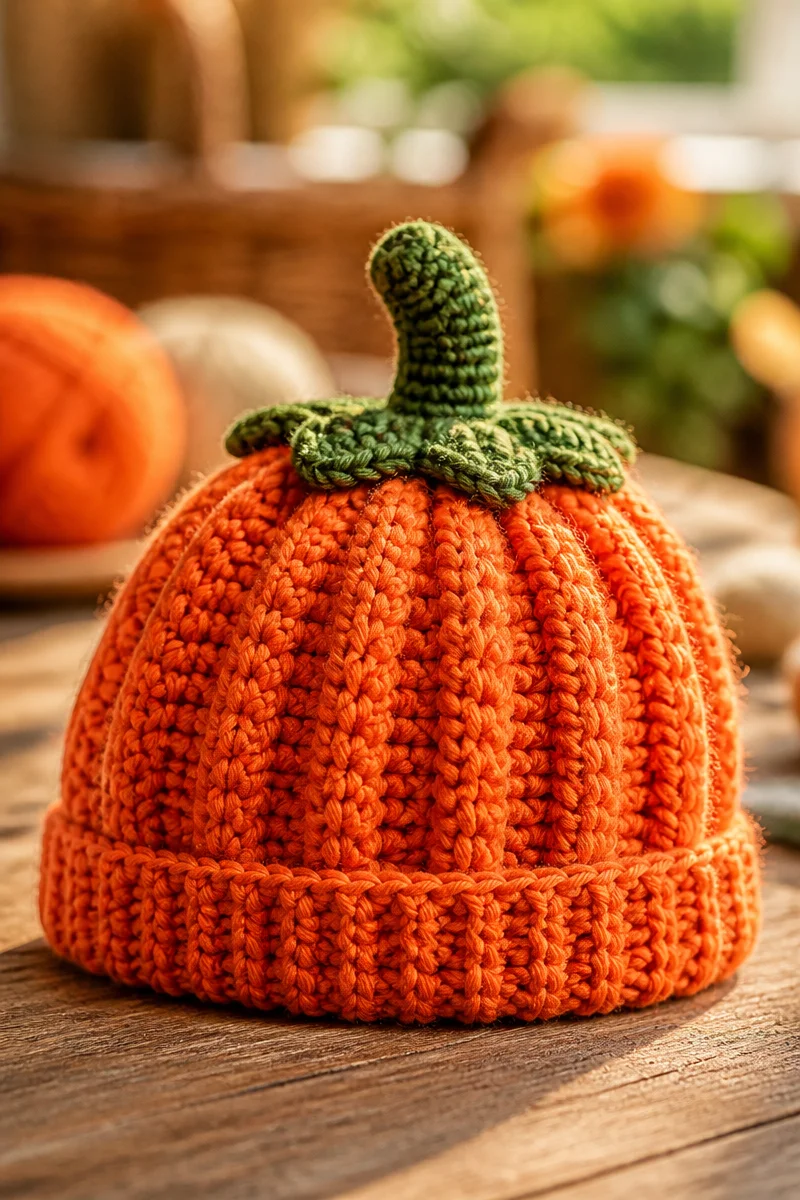
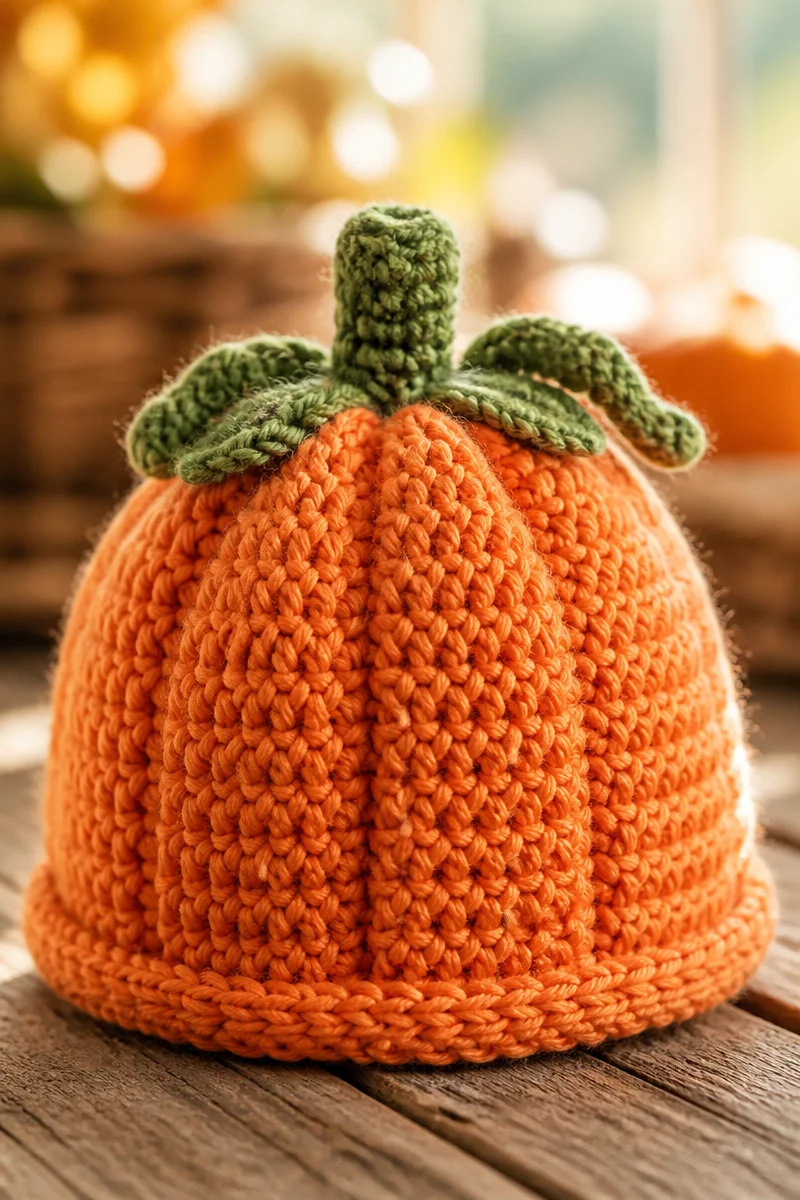
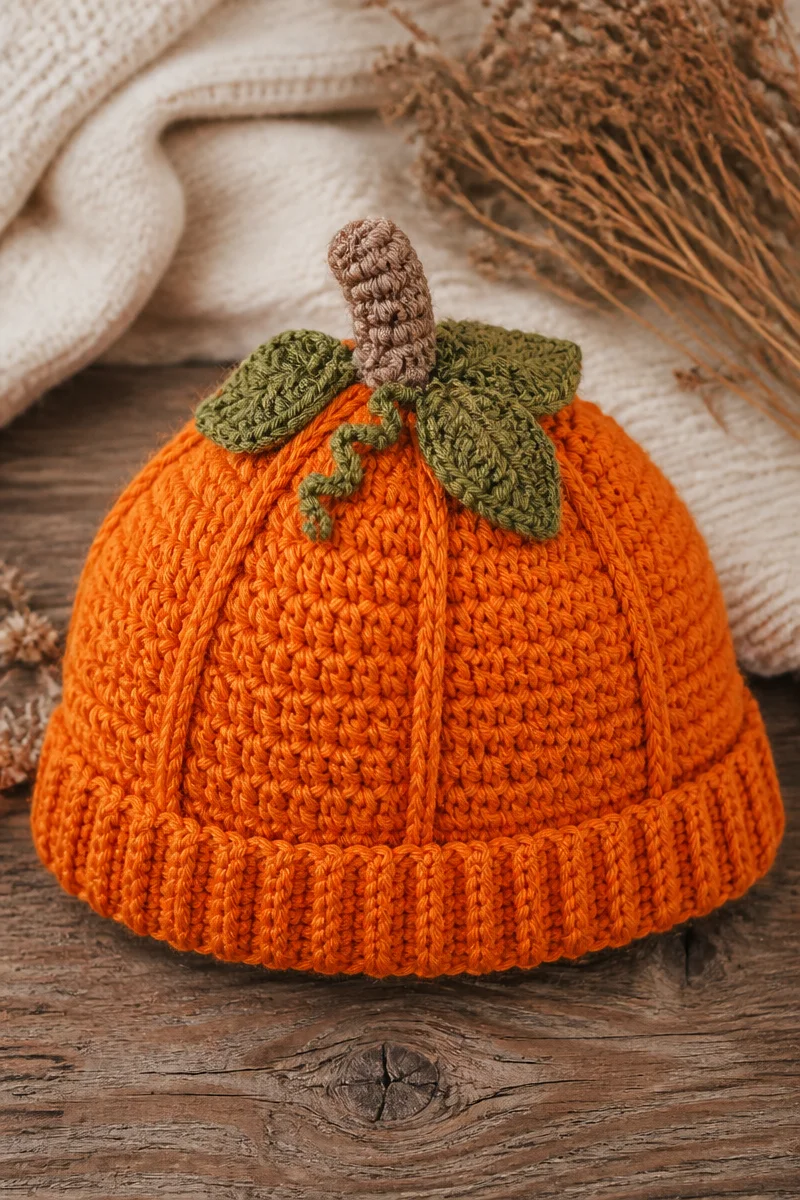
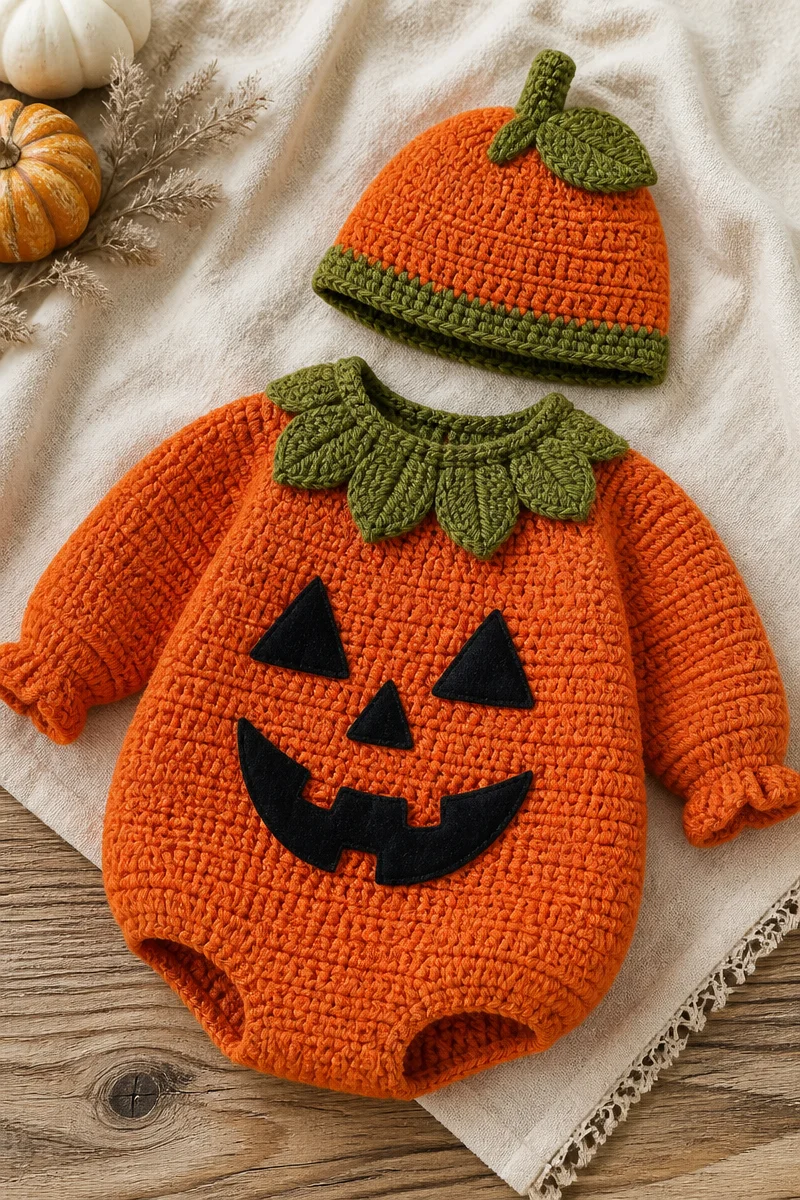
Crocheting has a delightful way of wrapping us in comfort, much like the cozy pieces we create. The Baby Pumpkin Crochet Hat Pattern embodies that pure comfort to make. As you sit with your yarn and hook, you’ll find that this project is perfect for relaxing and letting creativity flow. There’s something undeniably soothing about working with familiar stitches, and this pumpkin hat is no exception.
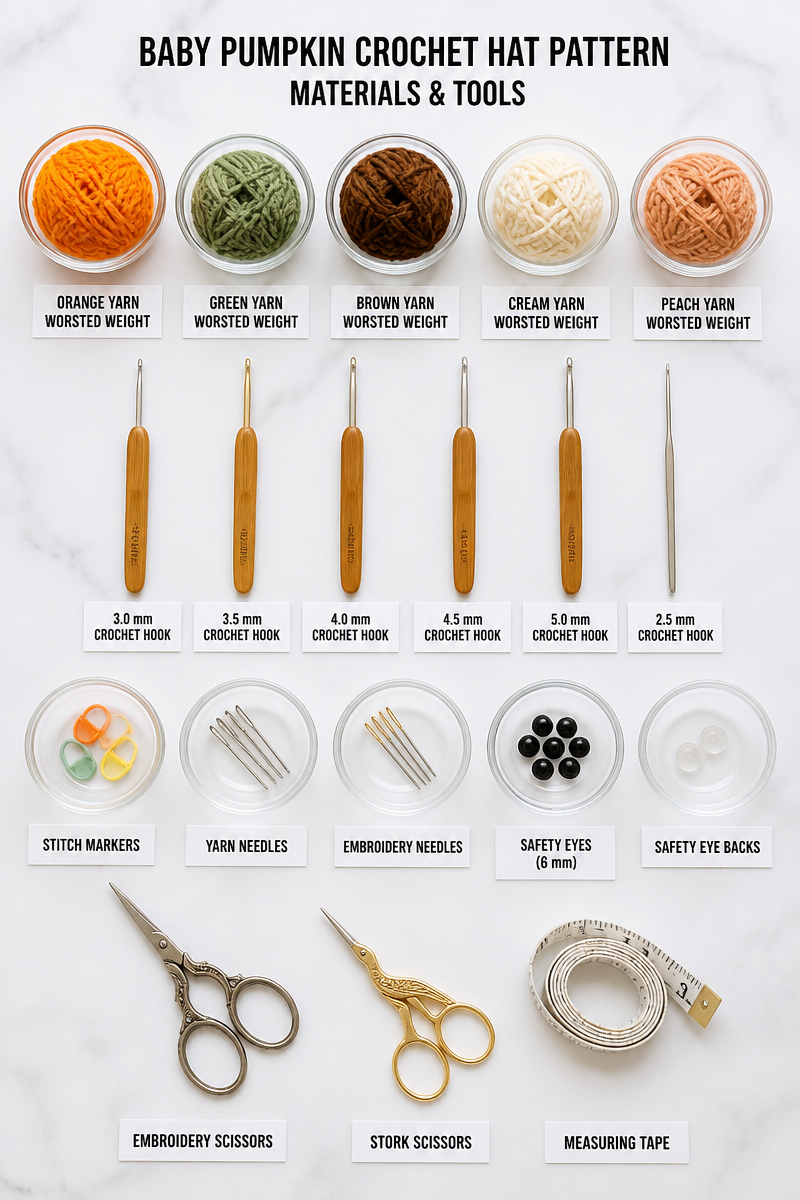
To get started on this project, you’ll need some lovely materials. Using worsted weight yarn in bright orange and vibrant green will bring your pumpkin to life. Pair it with a 4.5mm crochet hook for the perfect tension. A yarn needle and stitch marker will also come in handy, while fiberfill, though optional for the stem, can add a delightful touch of plushness. The texture will be smooth and warm, ideal for keeping little heads snug and stylish.
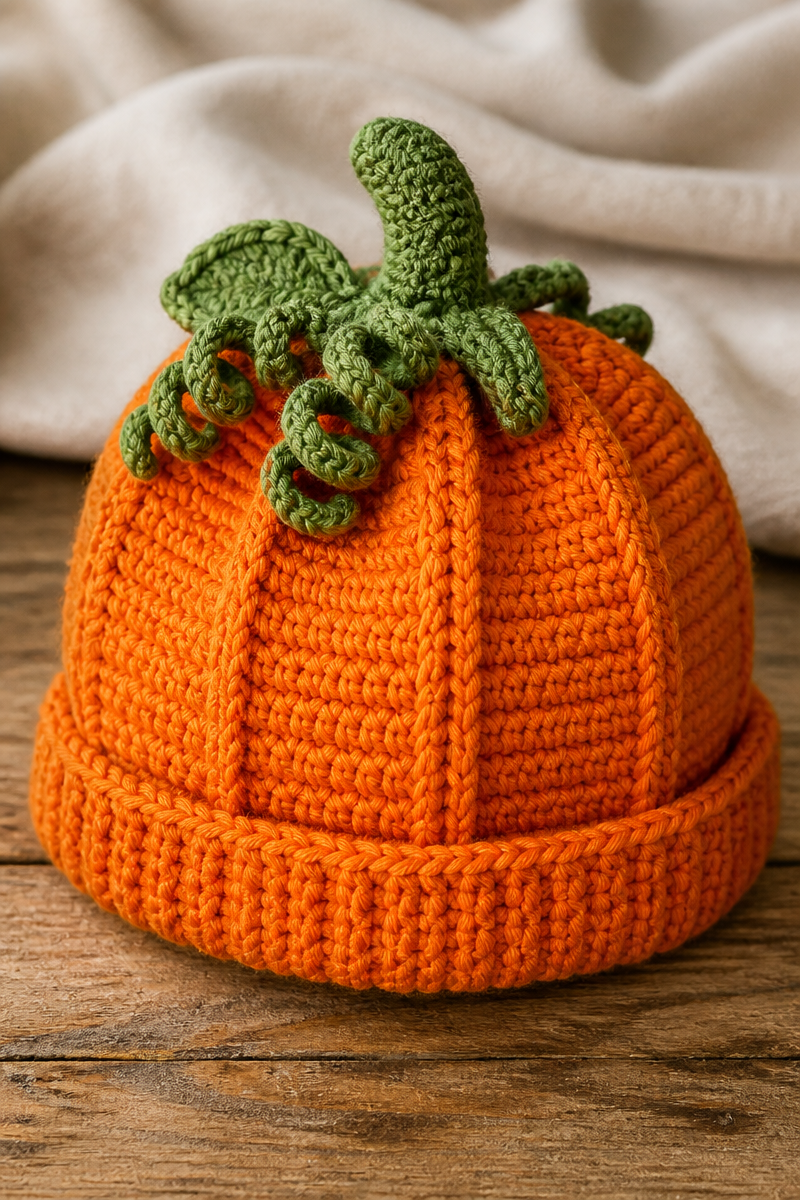
In just a few simple steps, you’ll be using a magic ring to begin the hat and working single crochet rounds that increase evenly to fit newborns up to six months old. Once you switch to the green yarn, you can create a lovely curled leaf-and-vine stem on top. After fastening off, weaving in the ends, and blocking gently, your pumpkin ribs will take shape beautifully with a few rows of front post double crochet.
Imagine this charming little hat on a chilly night, perfectly suited for ensuring your little one stays warm while looking adorable. It would also make a beautiful handmade gift or be an enchanting addition to a craft fair display.
Why You Will Love This Baby Pumpkin Crochet Hat Pattern
- Works up quickly, making it a great project for beginners.
- Features simple stitches that are easy to master.
- A relaxing project, perfect for those quiet evenings.
- It’s a sweet and fun accessory for fall or Halloween.
- Makes for a memorable handmade gift that new parents will cherish.
Worsted Weight Yarn Tips
When selecting worsted weight yarn for your pumpkin hat, choose a brand that has a soft touch and good stitch definition. Look for yarn with a smooth texture to minimize splitting and ensure even tension while crocheting. Consider a blend that includes a bit of acrylic for washability or soft cotton for breathability. When working with such vibrant colors, always check that the brand you choose dyes their yarn without the risk of bleeding or fading.
Options for Substitutions
- Swap out orange yarn for a soft pastel color for a more subtle pumpkin.
- Choose organic cotton yarn instead of acrylic for a more breathable option.
- Use a 4mm crochet hook if you prefer a tighter fabric or different gauge.
- Consider a variegated yarn for a unique visual effect.
- Utilize a different stitch marker, like a clip-on or rubber ring, for ease of use.
- Try a fluffy or textured yarn to add extra charm to your pumpkin design.
Watch Out for These Mistakes
As you embark on this crochet journey, be aware of some common pitfalls. One mistake is dropping stitches at the end of a row, especially if you are working quickly. Always double-check your stitch count to ensure you maintain the increase evenly. Tension issues can also arise, making your hat either too tight or too loose. If you feel your stitches are uneven, consider slowing down and allowing yourself some extra time to focus on your technique.
Additionally, ensure that you carefully complete the magic ring. It’s easy to miss the starting point when you are excited to get going. Take your time to follow the instructions closely, especially when transitioning to the green yarn for your leaf and stem. Skipping a chain space can lead to an uneven finish that won’t help your adorable pumpkin hat shine.
What to Pair With This Baby Pumpkin Crochet Hat Pattern?
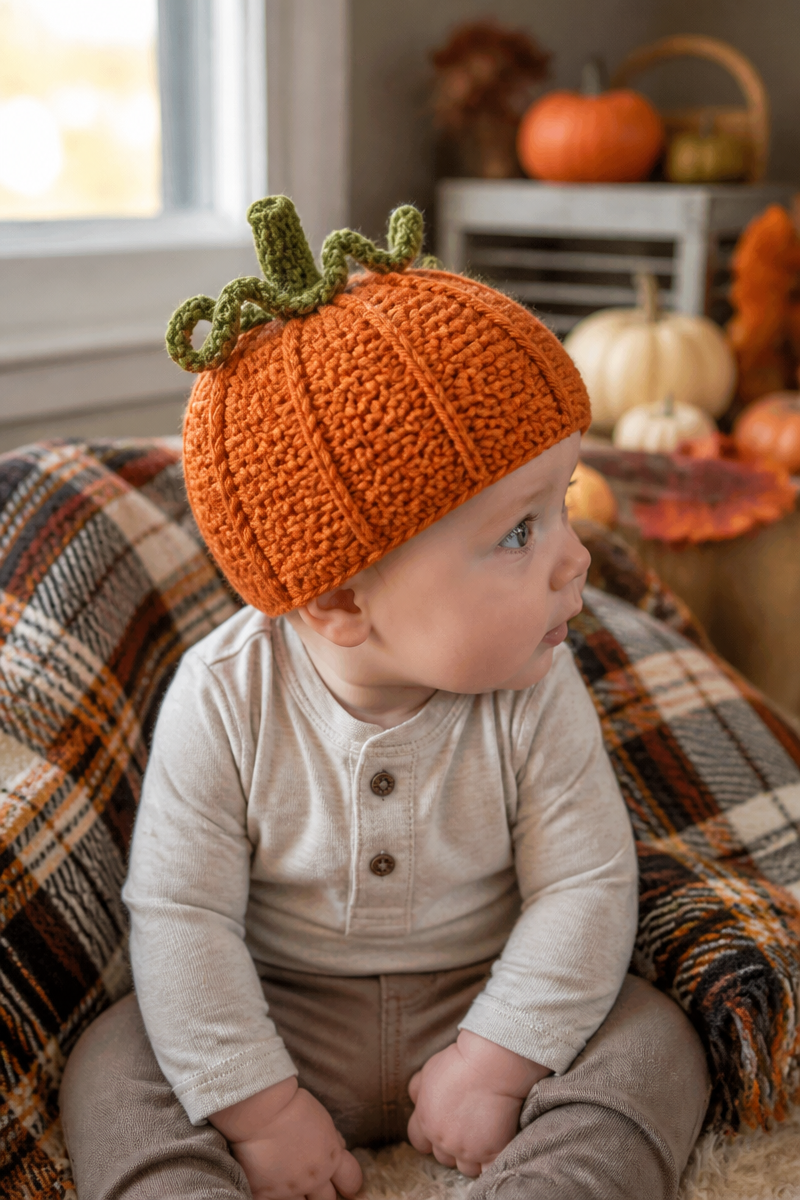
Once you’ve crafted this delightful pumpkin hat, consider pairing it with a matching pumpkin-themed blanket or booties to complete the set. A baby blanket featuring fall-themed motifs or a cozy real pumpkin soft toy could make for an adorable photography backdrop. Furthermore, little pumpkin-themed headbands can complement your hat, adding an extra touch of charm for photo sessions.
Care and Washing Instructions
For the best care of your finished pumpkin hat, hand-washing is always recommended, especially if you used wool or specialty yarns. Use lukewarm water and minimal detergent to avoid shrinkage. If you prefer machine washing, ensure you place the hat in a laundry bag to minimize friction.
For drying, lay the hat flat on a clean towel, shaping it gently into its intended form. Avoid hanging the hat, as this may stretch the fabric. Make sure it fully dries before storing or wearing.
Blocking can enhance the finished look of your pumpkin hat. You can opt for a wet block by dampening the fabric and pinning it to shape or using steam to help coax it into form. This will ensure your pumpkin ribs appear crisp and vibrant.
Pattern Info
Prep Time: 30 minutes
Make Time: 2 hours
Total Time: 2 hours 30 minutes
Level of Difficulty: Beginner
Sizing: Fits newborn to 6 months
Gauge and Sizing Notes
Estimated sizing and gauge details for this pattern: Checking your gauge is crucial for ensuring that the hat fits your little one perfectly. You should aim for a gauge of approximately 4 inches = 10 single crochet stitches in your final fabric. The finished hat should comfortably fit a head circumference of approximately 14-16 inches when completed.
Materials Needed
- Worsted weight yarn in orange and green
- 4.5mm crochet hook
- Yarn needle
- Stitch marker
- Fiberfill (optional for stem)
Step-by-Step Instructions
Step 1: Create the Foundation
Start with a magic ring. Make sure to leave a long tail for weaving in later. This will be the foundation for your pumpkin hat.
Step 2: Increase Rounds
Work single crochet stitches into the magic ring, increasing evenly. Continue adding single crochet rounds until you reach the target head circumference of about 14-16 inches. You can adjust the count based on how snug you want the fit.
Step 3: Switch to Green Yarn
Once you’ve reached the desired size, switch to your green yarn. Begin crafting your curled leaf and vine stem. This adds a beautiful detail that enhances the pumpkin look.
Step 4: Fasten Off and Weave In Ends
After you’ve completed the stem, fasten off the yarn. Make sure to weave in your ends securely, keeping everything tidy.
Step 5: Block Your Hat
To finish, gently block your pumpkin hat. Focus on shaping the ribs with a few rows of front post double crochet. This helps highlight the pumpkin effect and gives your hat a polished look.
Step 6: Enjoy Your Creation
Once everything is finished, it’s time to try the hat on your little one. Enjoy the cozy goodness of your handmade creation, and consider sharing it with loved ones or showcasing it at craft fairs.
In conclusion, this Baby Pumpkin Crochet Hat Pattern offers both comfort and joy in the process of creating. The simple techniques and charming design make it a perfect project for anyone looking to add a touch of handmade warmth to their family or to gift to new parents. So gather your materials, find a cozy spot, and start crocheting—don’t forget to share photos of your finished hat or explore more projects on your crafting journey!