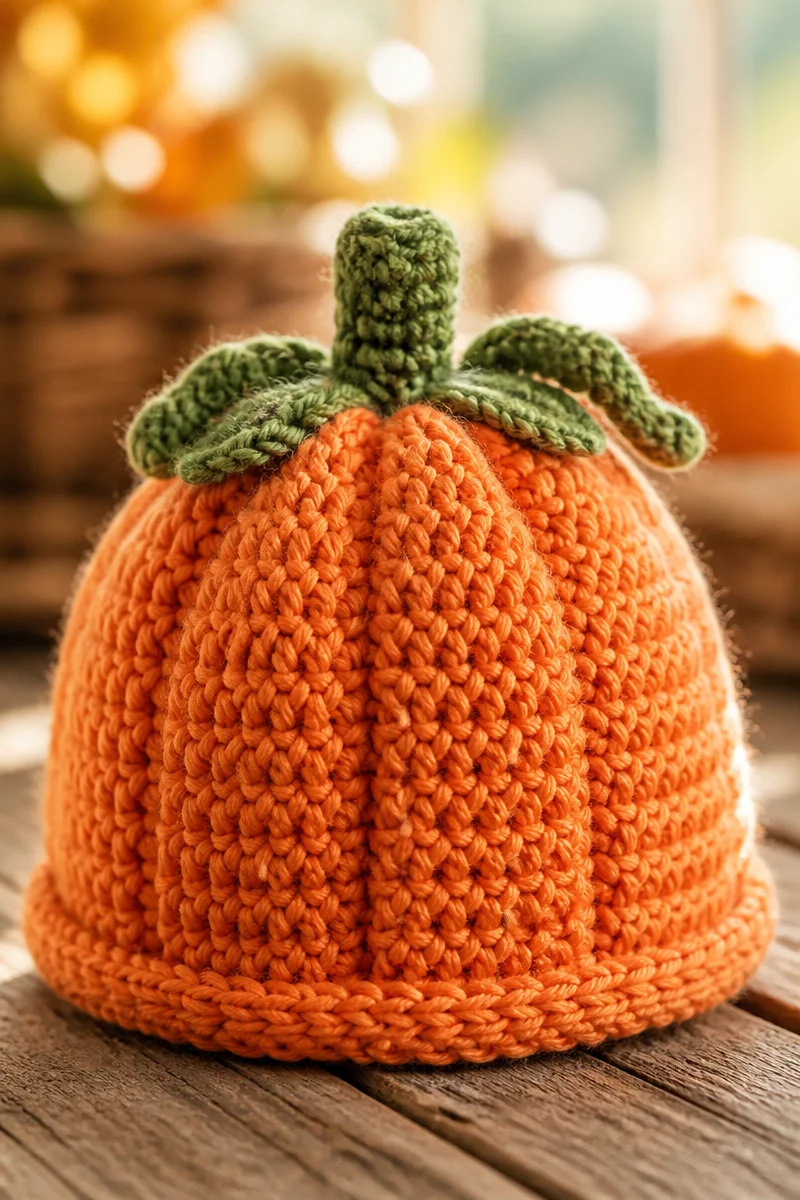
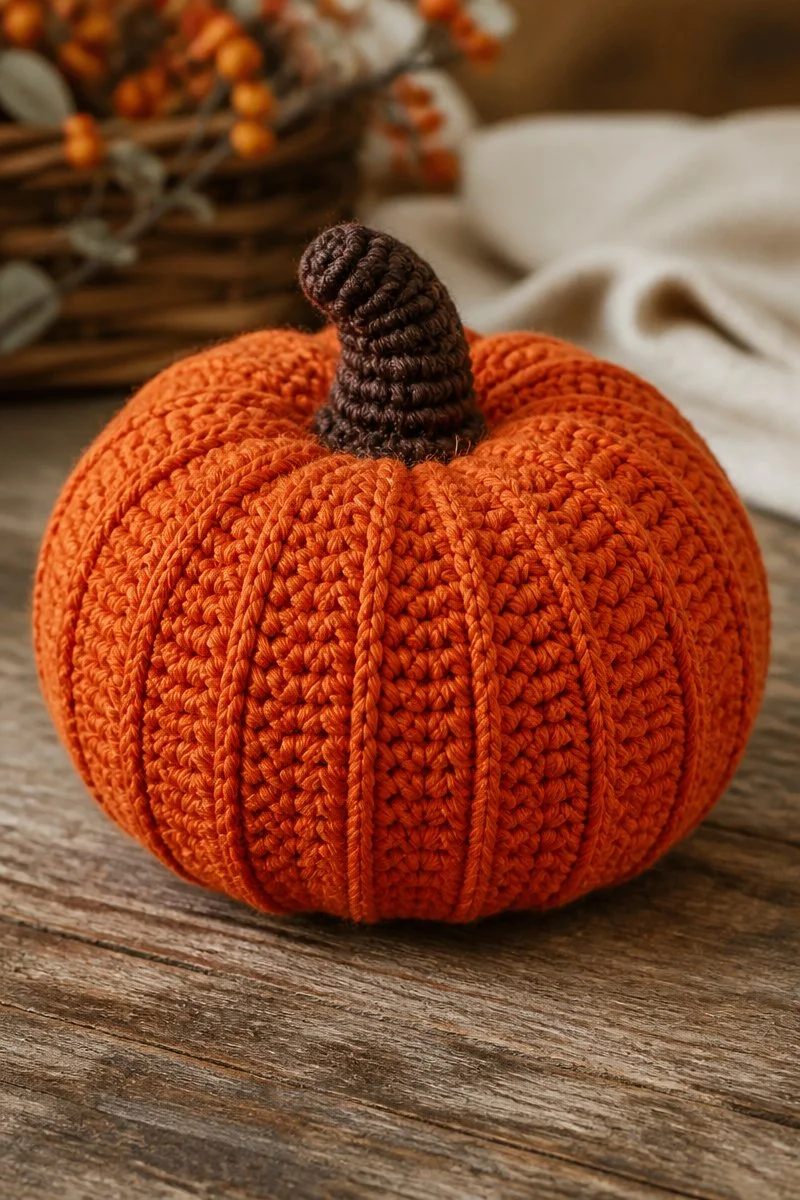
Creating a crochet pumpkin hat for your little one is pure comfort to make. There’s something delightfully cozy about working with soft, bulky yarn, and the cheerful orange color brings warmth and a sense of festivity. Whether you’re curled up in your favorite chair or enjoying a sunny afternoon in the garden, this project is perfect for relaxing while producing something truly adorable.
For this hat, you’ll need bulky orange and green yarn, a 5.5mm crochet hook, polyester stuffing for that extra cuteness, and a yarn needle. The yarn’s thickness gives the hat a lovely texture while ensuring warmth. It’s so gratifying to feel the sumptuous softness of the finished piece, knowing you crafted it by hand.
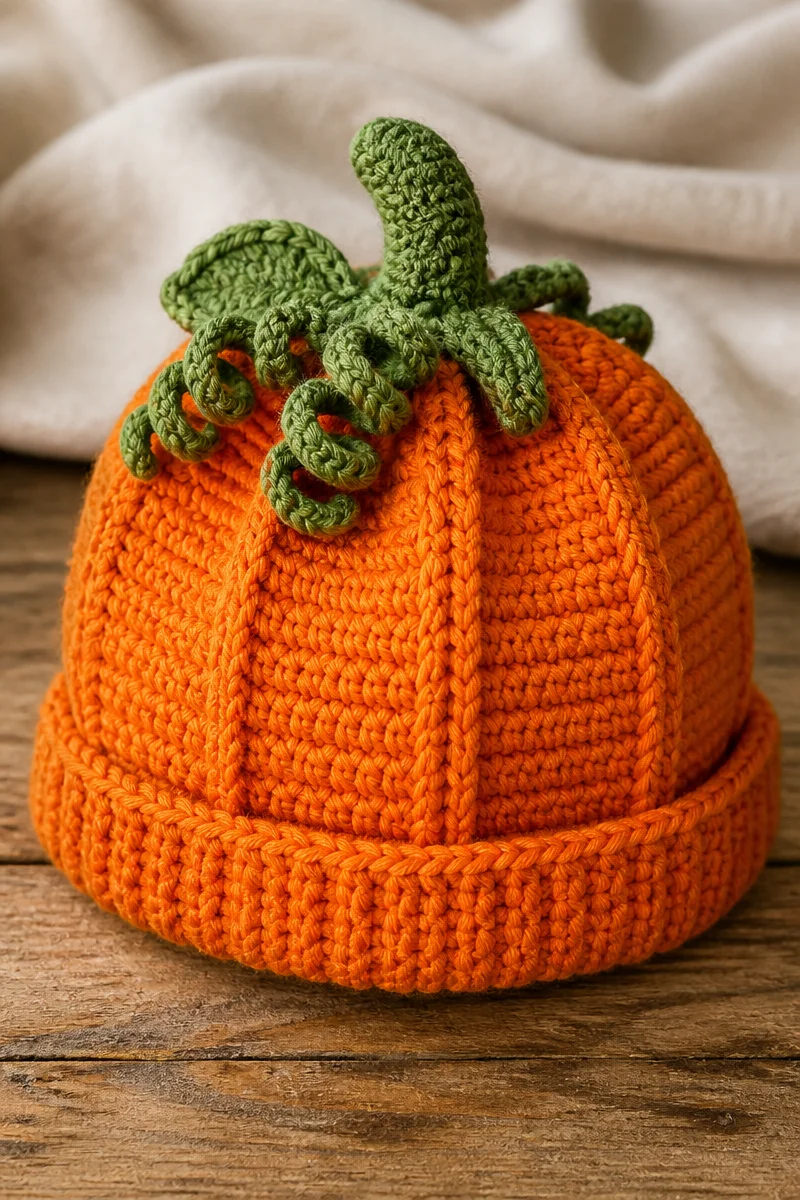
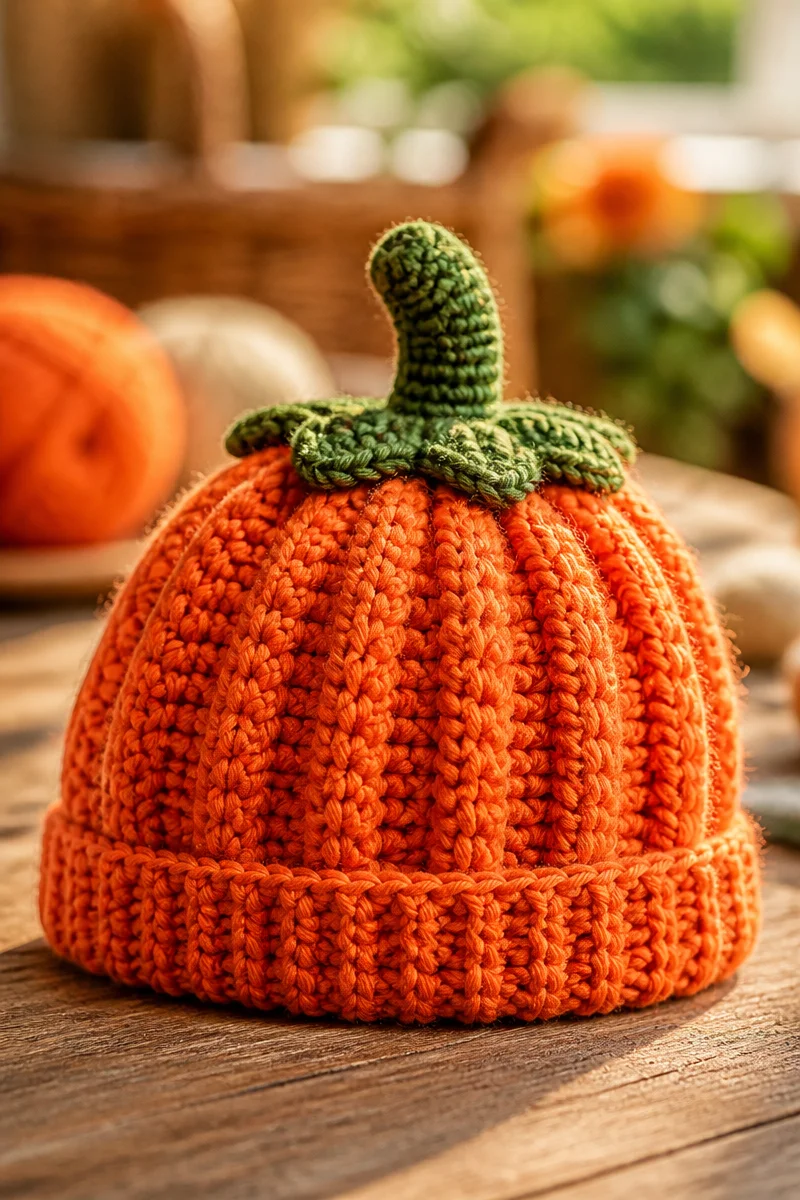
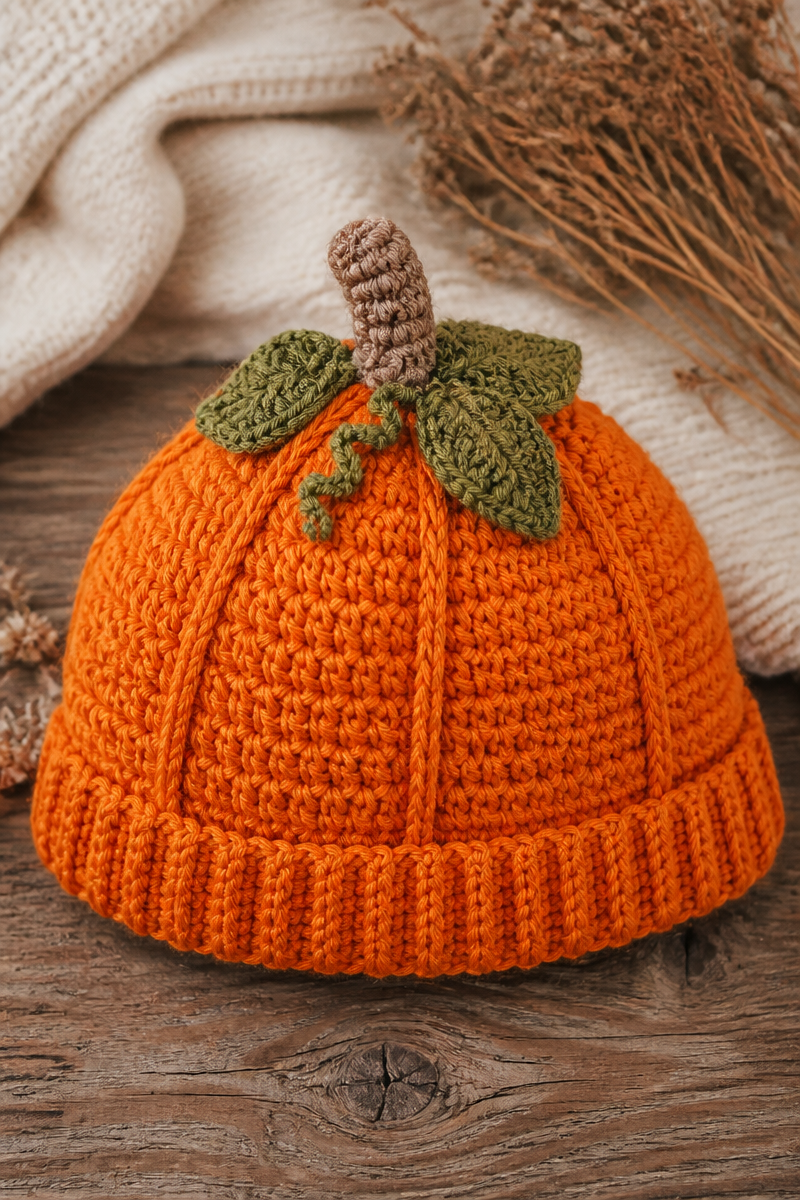
This crochet pattern is straightforward, even for beginners. You’ll start by chaining 4, then join to form a ring, working increasing rounds of single crochet to build the crown. After that, continue with even rounds to fit your baby’s head. Adding a ribbed-look brim using half double crochet in the back loop only gives it a polished finish. Finally, you’ll crochet a small stuffed stem and a few leafy shapes to adorn the top, using a simple length of yarn to create those charming pumpkin ridges.
Imagine gifting this hand-crocheted treasure on chilly nights, or using it as a lovely gift for a baby shower. It’s also great for craft fairs, helping you share your passion with the community while bringing smiles to everyone who sees it.
Why You Will Love This Crochet Pumpkin Hat Baby Pattern
- Works up quickly, making it perfect for last-minute gifts.
- Utilizes simple stitches that are easy to master.
- A relaxing project with a charming end result.
- The design is versatile, suitable for a variety of ages.
- A delightful way to celebrate the fall season.
Bulky Yarn Tips
When working with bulky orange and green yarn, you’ll want to select a yarn that offers both plushness and durability. Look for yarn blends that balance softness with warmth, like a mix of acrylic and wool. This combination prevents splitting while crocheting and creates a beautiful, full-bodied look. Always keep in mind that the heavier weight of bulky yarn can affect your tension, making it wise to choose a hook that feels comfortable in your hands.
Options for Substitutions
- Swap with medium-weight yarn for a lighter style.
- Use 100% cotton yarn for a breathable option, especially for warmer climates.
- Choose a different craft blend like alpaca or bamboo for a unique texture.
- Adjust your hook size to 6.0mm for a looser gauge if desired.
- Try a size 4 worsted yarn with a 4.5mm hook for a slightly different fit.
- Use polyester fiberfill instead of cotton stuffing if you want a different feel for the stem.
Watch Out for These Mistakes
One common issue when starting with a chain is dropping stitches at the end of a row. To avoid this, keep your tension consistent while making sure your stitches sit neatly on the hook. Always double-check your chain count and ensure it’s tight enough that it won’t slip.
Another pitfall can occur when working increasing rounds for the crown. If you find your work starting to spiral, it could be due to inconsistent stitch count. Remember to mark your rounds if necessary, keeping your increases evenly spaced.
When adding that ribbed brim using half double crochet in the back loop only, watch for skipping chain spaces. It’s crucial to keep good form and ensure each stitch gets the attention it deserves. This will avoid unevenness in your brim.
Lastly, while creating the pumpkin ridges, be careful when wrapping the yarn around the crown. Too tight can lead to bunching, while too loose may not give you that coveted ridged look. Adjust as needed for the ideal pumpkin style.
What to Pair With This Crochet Pumpkin Hat Baby Pattern?
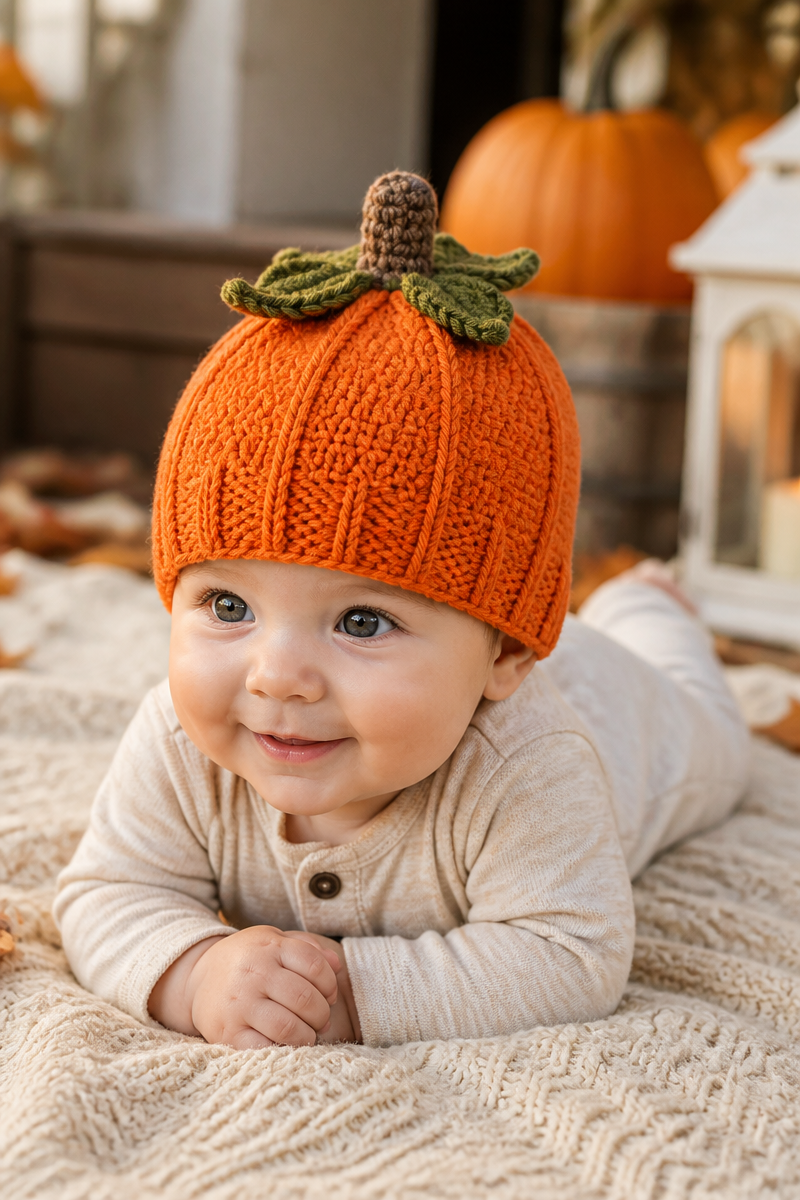
This pumpkin hat pairs beautifully with a matching pumpkin-themed blanket or a cozy pair of booties. You might also consider adding a cute pumpkin-shaped bag for little tricks or treats, or a simple bib with fall motifs. These projects can create a lovely set that’s perfect for babies to snuggle and play with as the seasons change.
Care and Washing Instructions
When it comes to washing your beautifully crafted crochet pumpkin hat, gentle care is key. Hand washing is often the safest option, using lukewarm water and a mild detergent. Rinse thoroughly to ensure no soap lingers.
For drying, lay the hat flat on a clean towel to maintain its shape. Avoid hanging it, as this could cause stretching.
Blocking may not be necessary, but if you want to tidy up the stitches, a light steam press can bring out the hat’s characteristics without losing its shape.
Pattern Info
Prep Time: 30 minutes
Make Time: 2-3 hours
Total Time: Approximately 3-4 hours
Level of Difficulty: Beginner
Sizing: Suitable for infants aged 0-6 months
Gauge and Sizing Notes
Estimated sizing and gauge details for this pattern: It is essential to check your gauge to ensure that the hat fits snugly without being too tight. The finished dimensions of the hat should be approximately 16 inches in circumference, but keeping an eye on your gauge during the crown-making phase is crucial, especially for the stretch needed around the brim.
Materials Needed
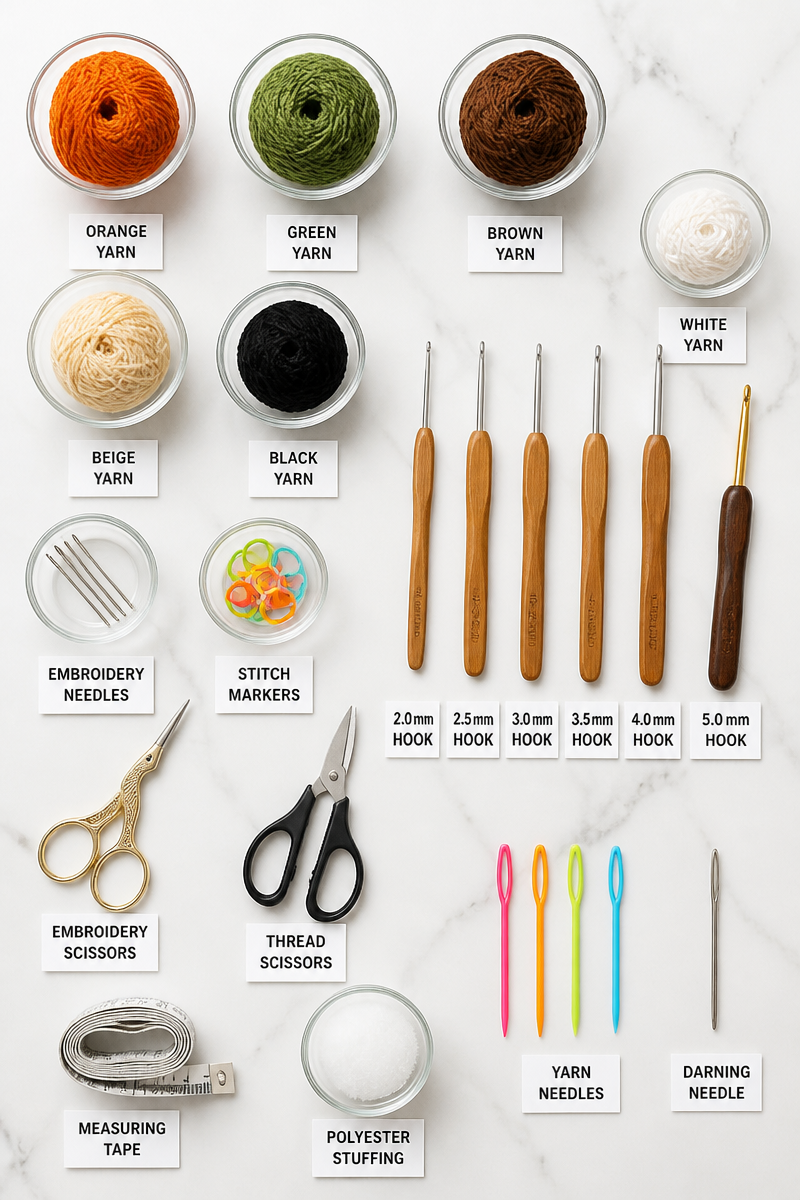
- Bulky orange and green yarn
- 5.5mm hook
- Polyester stuffing
- Yarn needle
Step-by-Step Instructions
Step 1: Create the Foundation Chain
Begin by chaining 4 stitches. Join your chain with a slip stitch to form a ring. This small foundation will become the crown of your pumpkin hat.
Step 2: Build the Crown
Work increasing rounds of single crochet into the ring. Start by making 2 single crochets in the first stitch. For each subsequent round, increase by adding one more single crochet in each stitch for the first round, repeating this pattern until you reach the desired width of the crown.
Step 3: Continue Even Rounds
Once the crown is built to fit your baby’s head, continue crocheting even rounds of single crochet. This part of the hat will remain consistent until you measure the desired length.
Step 4: Add the Brim
Switch to half double crochet for the brim. Work in the back loop only, which gives a lovely ribbed effect. This step adds an extra touch of detail and comfort to the final design.
Step 5: Create the Stem and Leaves
For the pumpkin’s stem, crochet a small piece that is stuffed lightly with polyester filling. Additionally, create a few leaf shapes by chaining and single crocheting to create adorable accents for the top of the hat.
Step 6: Wrap for Ridges
With a length of yarn, wrap it around the crown of the hat to create those lovely pumpkin ridges. Make sure to space them evenly for a polished appearance, securing each end with a hidden stitch when done.
In conclusion, this crochet pumpkin hat baby pattern is an inviting project that celebrates creativity and the joy of crafting. I encourage you to try it out, share photos of your finished work with friends and family, and explore more patterns that bring warmth and color into your crochet journey. Happy Crocheting!