Creating a crochet baby sleep sack brings an overwhelming sense of joy and comfort. The feeling of soft yarn gliding through your fingers while you create something beautiful for a little one is truly rewarding. As you work on this pattern, you’ll find that each stitch weaves a little bit of love into every row, making this project not just a warm accessory but also a heartfelt treasure.
This Cozy Ribbed Crochet Baby Sleep Sack requires just a few essential materials: yarn, a crochet hook, scissors, and a measuring tape. Choose a soft, baby-friendly yarn, ideally something that offers a bit of stretch and warmth, like a light acrylic blend. A 5mm crochet hook is a popular choice for this project, offering sufficient grip and comfort in your hands. As you examine the texture of the finished sleep sack, you will appreciate how the ribbed design adds a lovely, cozy feel.
When it comes to creating this piece, the technique for achieving the ribbed effect is straightforward. You’ll be following a simple pattern that emphasizes foundation stitches and consistent measurements to ensure a snug fit. With clear guidance and a little patience, you will soon find yourself crafting a lovely sleep sack, perfect for babies to snuggle into.
Imagine presenting this gorgeous sleep sack as a thoughtful gift at a baby shower or using it to keep your own little one warm on chilly nights. It’s a practical yet stunning addition to any baby’s wardrobe, ensuring comfort while showcasing your crafting skills.
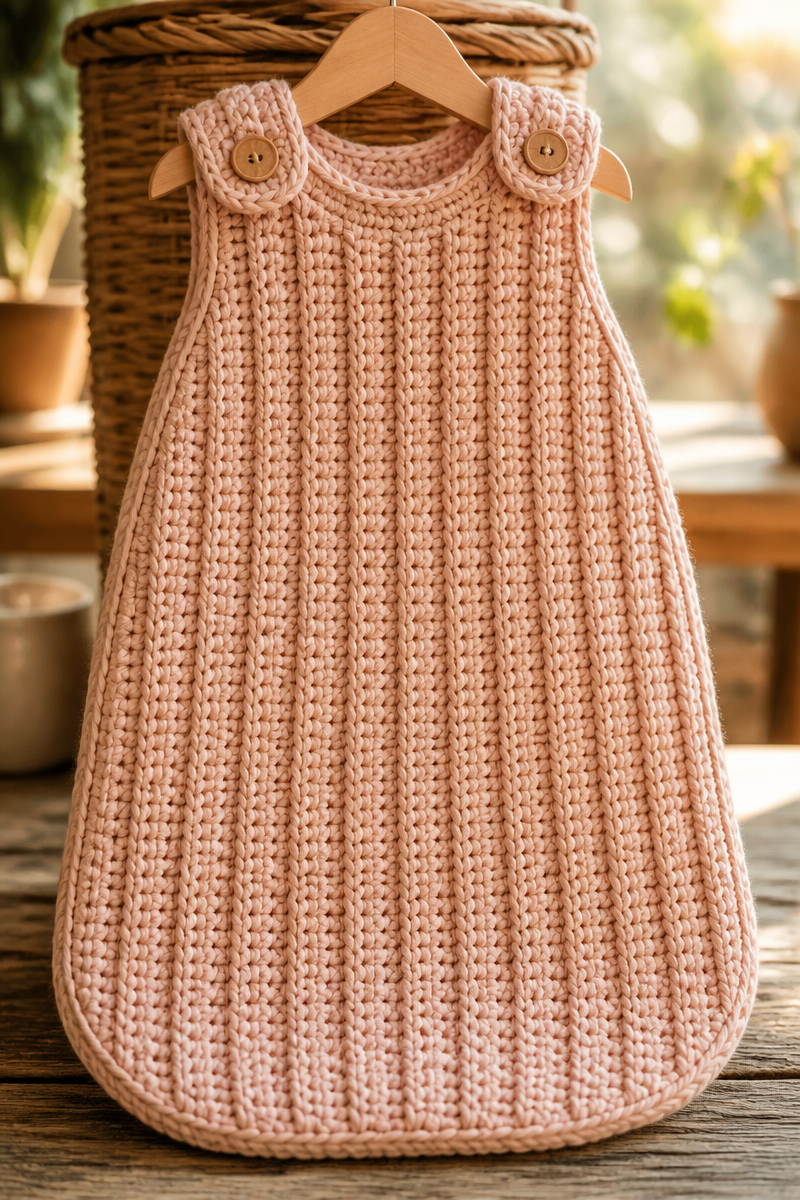
Why You Will Love This Cozy Ribbed Crochet Baby Sleep Sack Pattern
- Works up quickly, making it a great project for gift-giving.
- Involves simple stitches that allow beginners to feel accomplished.
- The ribbed design is visually appealing and adds texture.
- It creates a cozy and functional piece for little ones.
- It’s a satisfying project that combines creativity with utility.
Yarn Tips
For this pattern, using a soft acrylic blend yarn is ideal. Look for yarn that is gentle against a baby’s sensitive skin, while still allowing for durability and easy care. When working with acrylic, be mindful of how it handles. Avoid splitting your yarn by consistently using a firm grip and keeping a steady tension throughout your stitches. This will not only improve the overall look of your work but also ensure the sleep sack holds its shape beautifully.
Options for Substitutions
- Swap acrylic with a cotton blend for warmer weather.
- Use a thicker yarn for a cozier, bulkier sleep sack.
- Try bamboo yarn for natural softness and sustainability.
- Choose a different brand of yarn with similar weight and gauge.
- Adjust the crochet hook size if you prefer looser or tighter stitches.
- Consider using a different stitch pattern for added embellishment.
Watch Out for These Mistakes
When following the pattern to create the ribbed design, it’s essential to pay close attention to your stitches. A common mistake is dropping stitches at the end of a row, which can create gaps in your work. Always double-check your stitch count and ensure you’re not skipping spaces. Tension issues can also arise, especially if you’re anxious or tired. Keep your grip relaxed, and take breaks when needed to maintain consistency. Lastly, don’t rush through measuring; taking the time to measure properly will help you achieve the perfect fit for your baby sleep sack.
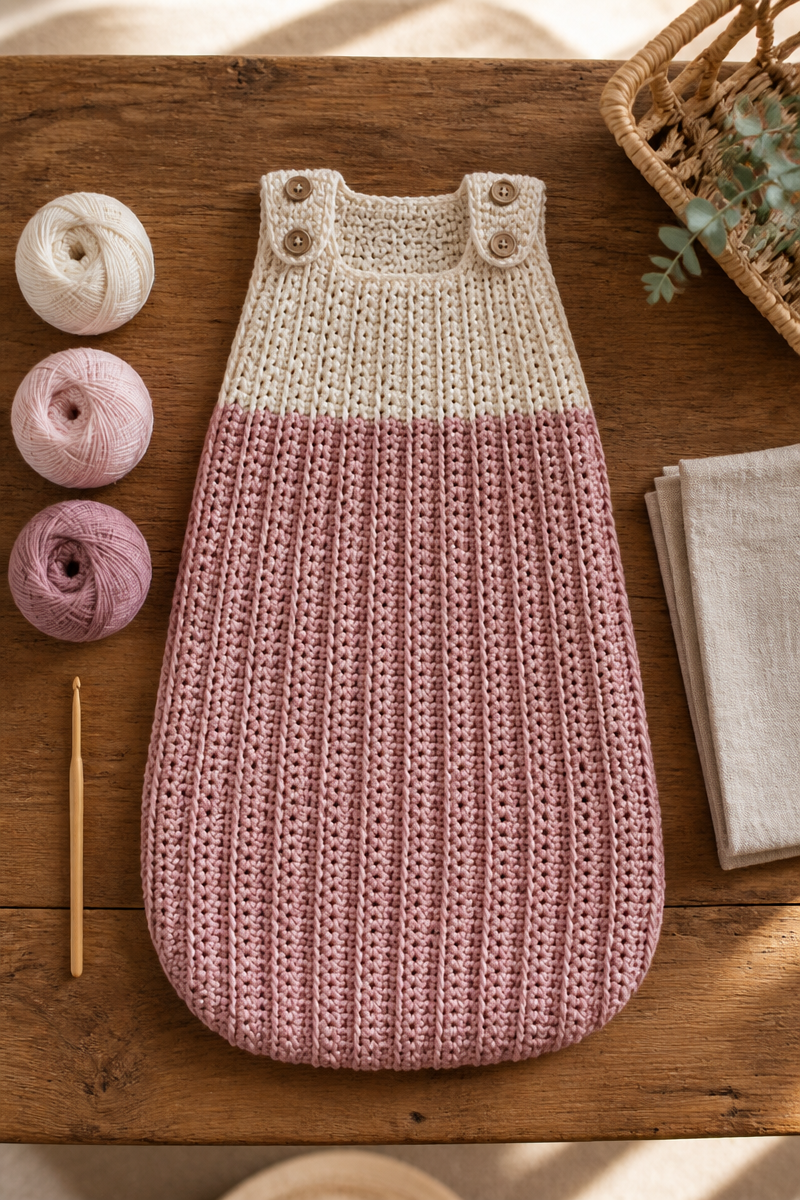
What to Pair With This Cozy Ribbed Crochet Baby Sleep Sack Pattern?
This cozy sleep sack pairs wonderfully with a matching crochet hat or booties, providing a complete ensemble for any little one. Consider creating a soft blanket or a cozy toy to accompany the sleep sack. These items not only enhance the aesthetic but also create memorable gifts that are sure to be cherished.
Care and Washing Instructions
Washing: For a yarn blend, it’s often safest to hand wash the sleep sack in cold water with mild detergent to prevent any shrinkage or damage. If machine washing, use a gentle cycle and place the sack in a mesh bag.
Drying: Lay the sleep sack flat on a clean towel to dry, reshaping it if necessary to maintain its form. Avoid hanging it to prevent stretching.
Blocking: If your finished piece requires slight alterations for sizing or smoothing out, consider steam blocking. Gently apply steam to the areas needing adjustment while being cautious not to over-saturate the fibers.
Pattern Info
Prep Time: 30 minutes
Make Time: 4 hours
Total Time: 4 hours 30 minutes
Level of Difficulty: Beginner
Sizing: Fits babies approximately 0-6 months, but always measure to suit individual sizes.
Gauge and Sizing Notes
Estimated sizing and gauge details for this pattern: Checking gauge is vital to ensure that your sleep sack fits as intended. For this pattern, the finished project should measure approximately 24 inches in length and 12 inches in width, with a gauge of about 4 stitches per inch in the ribbed section.
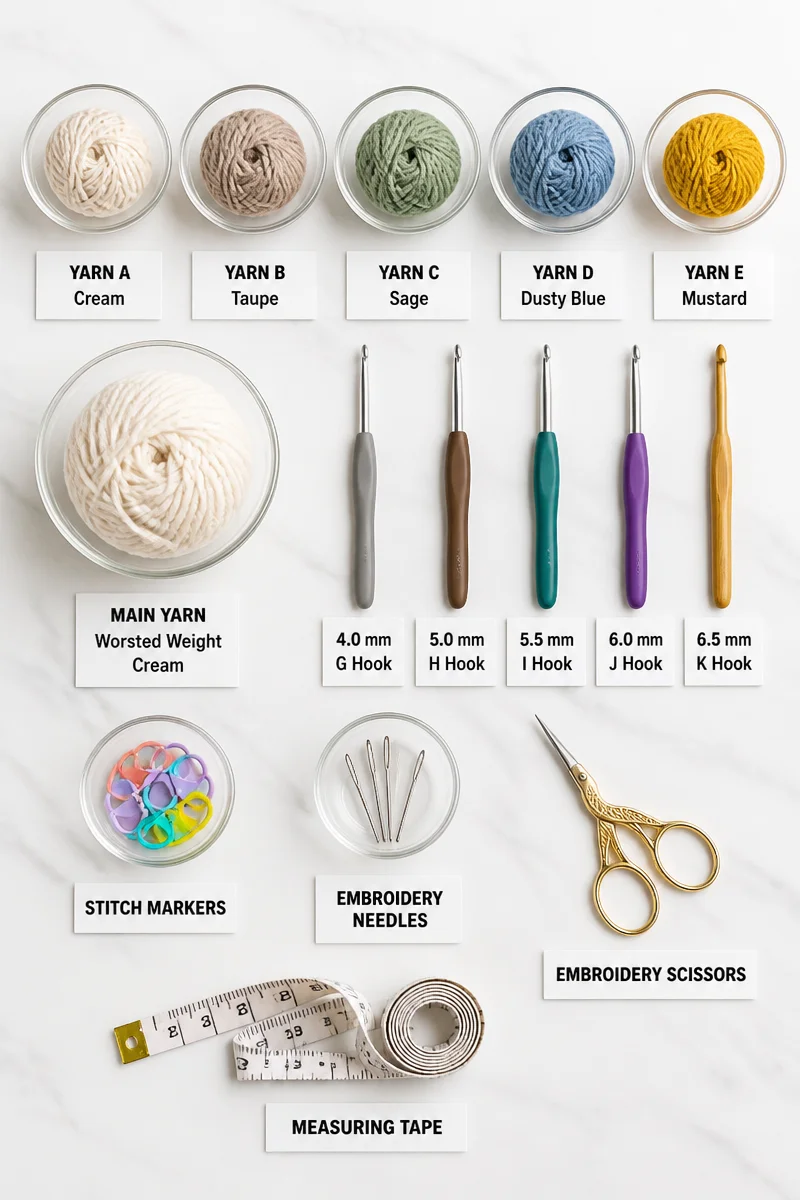
Materials Needed
- Yarn (soft acrylic blend, lightweight, approx. 400 yards)
- 5mm crochet hook
- Scissors
- Measuring tape
Step-by-Step Instructions
Step 1: Create the Foundation Chain
Begin by creating a foundation chain of 60 stitches. Ensure your stitches are not too tight, as this will affect the ribbing’s flexibility.
Step 2: Establish the Ribbed Pattern
Work in the first row, alternating between front post and back post double crochets. This will create the ribbed texture that you aim for throughout the sleep sack.
Step 3: Continue the Rows
Continue working in rows, remembering to keep your tension consistent. Aim for approximately 20 rows of ribbing until the piece reaches the desired height.
Step 4: Shape the Sleep Sack
To form the sack’s bottom, decrease by working two stitches together at the end of the last few rows. This will help shape the sack for snugness.
Step 5: Finish the Edges
Once you have reached your desired length, complete the final rows with a single crochet around the edges for a clean look. Fasten off and weave in any loose ends.
Step 6: Measure and Adjust
Before considering your piece complete, measure to ensure it fits the intended size. Make any adjustments, if necessary, before gifting or using the sleep sack.
In summary, the Cozy Ribbed Crochet Baby Sleep Sack Pattern offers a delightful crafting experience filled with love and usability. It’s a project that serves both your creative spirit and practical needs for the little ones in your life. I invite you to try this pattern, share your experiences, and perhaps explore similar projects that pique your interest. Happy crocheting!