Crocheting is a labor of love, especially when you create something as precious as a baby headband. The Easy Bow Tie Crochet Baby Headband is not just a fun project; it’s pure comfort to make. As you sit with your yarn and hook in hand, you’ll find that this pattern makes the time fly by. There’s nothing quite like watching a beautiful piece come together, knowing it will be cherished by both parents and little ones.
Using crochet yarn that is soft and gentle against a baby’s skin is essential. A medium-sized yarn works well, typically categorized as worsted weight. I suggest using a size H (5.0 mm) crochet hook to achieve a nice, even tension. This combination results in a lovely texture that is both stretchy and comfortable for a baby’s head. Additionally, having a pair of sharp scissors and a measuring tape at hand ensures that your project stays tidy and on track.
This pattern is refreshingly straightforward. You’ll start by measuring the baby’s head size to determine how long to make your headband. From there, you’ll create a foundation chain followed by rows that build width and texture. The bow tie shape is crafted separately, then stitched onto the headband to complete the look. A few quick finishing touches, like weaving in loose ends, will leave you with a beautiful accessory.
Imagining the delight on a parent’s face as they see their little one styled with this headband is heartwarming. It’s perfect for chilly nights, stylish photoshoots, or as a beautiful, handmade gift.
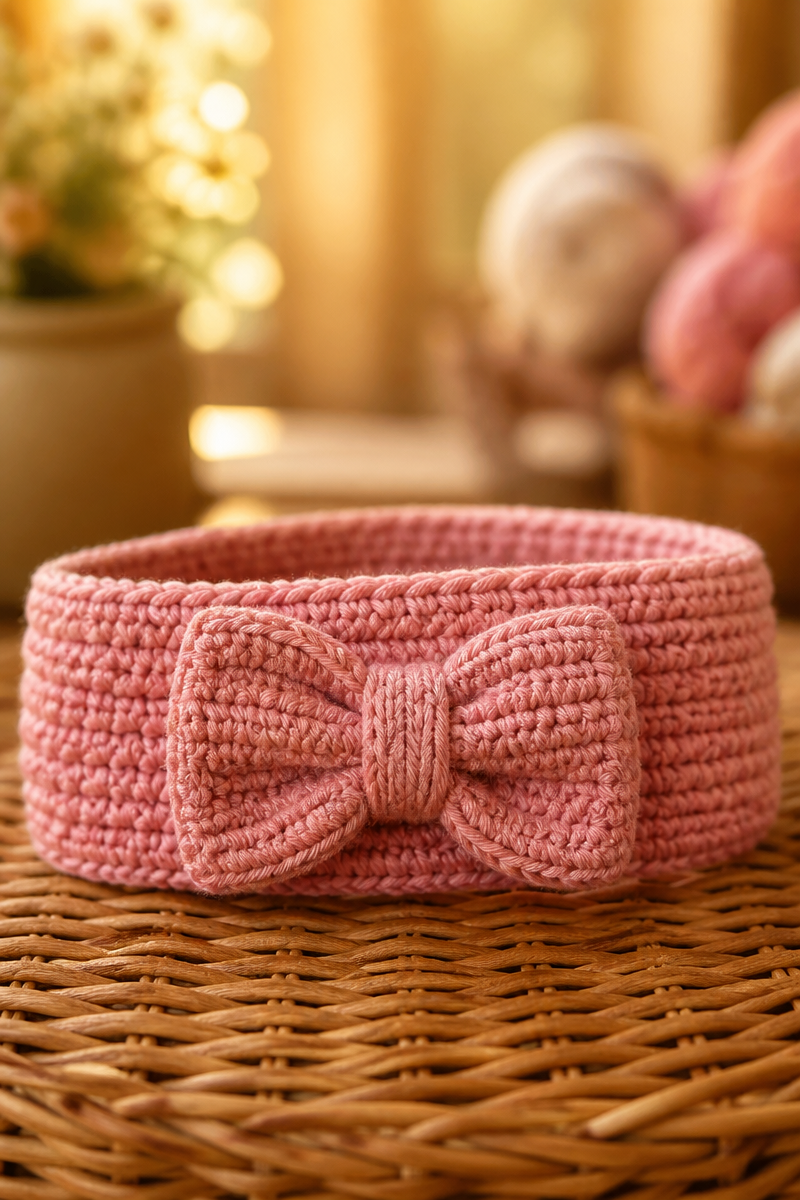
Why You Will Love This Easy Bow Tie Crochet Baby Headband Free Pattern
- Works up quickly, making it a satisfying project.
- Simple stitches that are easy to follow.
- A perfect accessory for any baby outfit.
- Great for gifting or selling at craft fairs.
- Provides an opportunity to practice and enhance your skills.
Worsted Weight Yarn Tips
When working with worsted weight yarn, one of the most important tips is to choose a high-quality fiber that is soft and enjoyable to crochet with. Natural fibers, such as cotton or bamboo, are gentle against a baby’s delicate skin. Also, make sure to keep tension even to avoid any splitting, which can occur if you’re not mindful. Prepping your yarn by running it through your fingers helps familiarize you with its texture and ensures a smoother crocheting experience.
Options for Substitutions
- Swap out worsted weight yarn for chunky yarn for a thicker headband.
- Use cotton yarn instead of acrylic for a breathable option.
- Adjust hook size if you prefer tighter or looser stitches.
- Consider using a yarn with a slight sheen for a more polished look.
- Experiment with different yarn colors to match various outfits.
- Incorporate variegated yarn for a playful design.
Watch Out for These Mistakes
One common mistake to watch out for is measuring inaccurately when you start. Always double-check the head size before making your initial foundation chain. If it’s even slightly off, the fit will be wrong, and nobody wants that.
While working in rows, it’s important to maintain consistent tension. If your tension is too tight, the headband may be uncomfortable, and if it’s too loose, it won’t stay in place. A solid chain is also vital; skipping any chains can lead to uneven rows and a lopsided headband.
When creating the bow tie shape, make sure to fold it correctly and check that both ends are equal. This ensures that your bow looks symmetrical and professional. Lastly, don’t rush the finishing process—take your time to weave in those loose ends to keep everything secure and neat.
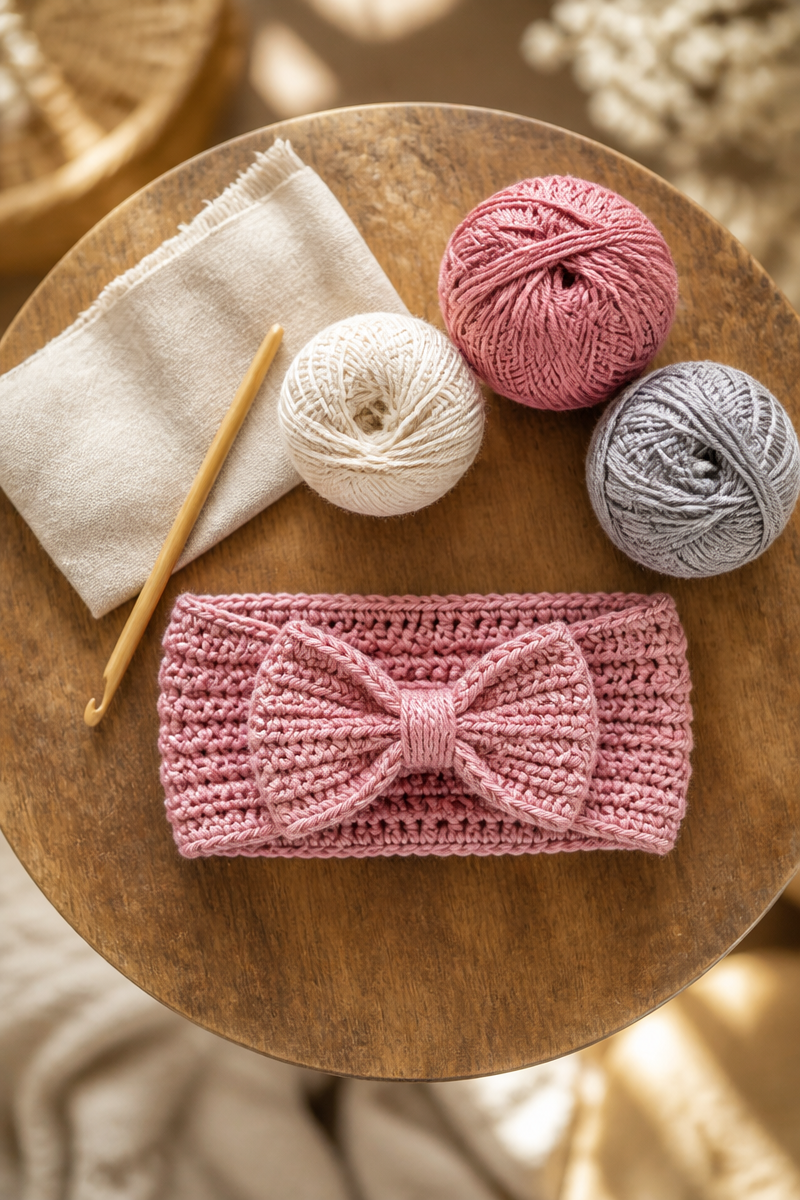
What to Pair With This Easy Bow Tie Crochet Baby Headband Free Pattern?
Consider pairing this lovely headband with some cute crochet booties or perhaps a matching blanket. A small set like this not only makes for a delightful gift but also gives you the chance to learn new stitches or techniques. A simple crochet diaper cover could also be a charming addition to your baby accessory collection.
Care and Washing Instructions
Washing: For most worsted weight yarns, gently hand wash in cold water with a mild detergent. Avoid harsh chemicals that could fade the yarn’s color.
Drying: Always lay your headband flat to dry. This helps prevent stretching and keeps the shape intact.
Blocking: Light steam blocking will enhance the final look of your pieces, but it’s not always necessary. If your stitches look great, then skipping this step is perfectly fine.
Pattern Info
Prep Time: 15 minutes
Make Time: 1 hour
Total Time: 1 hour 15 minutes
Level of Difficulty: Beginner
Sizing: Adjust based on the baby’s head size
Gauge and Sizing Notes
Estimated sizing and gauge details for this pattern: Checking your gauge is key to ensuring a perfect fit for your headband. It’s best to do a small test swatch to determine your yarn’s tension. The finished headband should sit comfortably on the baby’s head and measure around 15-17 inches in circumference, depending on the baby’s age and head size.
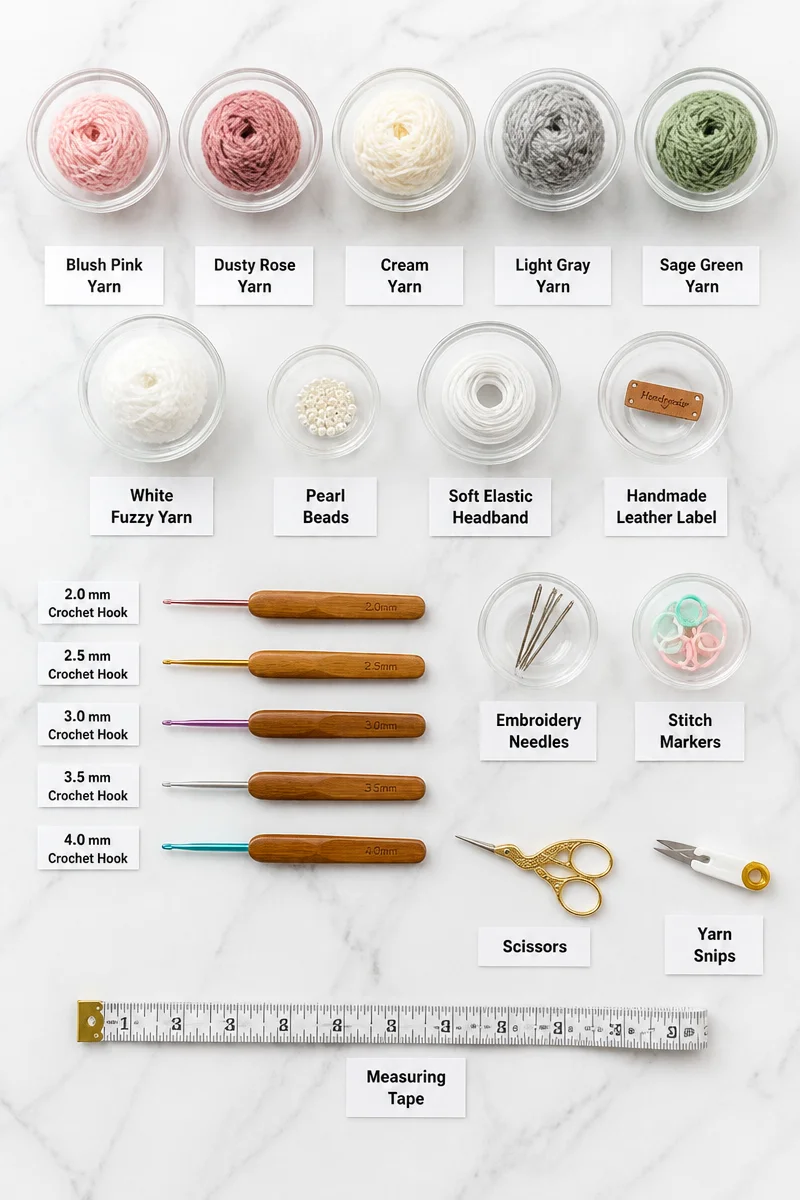
Materials Needed
- Crochet yarn (worsted weight)
- Crochet hook (size H – 5.0 mm)
- Scissors
- Measuring tape
- Yarn needle
Step-by-Step Instructions
Step 1: Measure the Baby’s Head
Start by measuring the head size of the baby. A standard baby head circumference is between 13 and 18 inches, but it’s always best to get an accurate measurement for a perfect fit. Use your measuring tape to ensure you have the right size before you begin crocheting.
Step 2: Create the Foundation Chain
Create a foundation chain using the required number of stitches for the desired headband length. For most babies, this will be between 50 and 70 chains. The number will depend on how snug or loose you want the headband to be.
Step 3: Work the Rows
Work in rows to achieve the desired width and texture. You may choose a simple stitch like single crochet or half double crochet. Continue to crochet until the piece measures about 2 to 3 inches wide, ensuring it’s wide enough to sit comfortably on the baby’s head.
Step 4: Make the Bow Tie
To create the bow tie shape, crochet a small rectangle. Aim for a rectangle that is 4 inches wide and 2 inches tall. Once completed, fold this rectangle into a bow tie shape. Pinch the center to create the bow shape.
Step 5: Attach the Bow Tie
Using a yarn needle, attach the bow tie to the middle of your headband. Sew it securely to keep it in place. Make sure to hide your stitches to maintain a tidy appearance.
Step 6: Weave in Loose Ends
Finally, weave in any loose ends to ensure everything is secure. This step is important for preventing any fraying and keeping your headband looking neat. Give it a final look over to make sure everything is in order.
In conclusion, this Easy Bow Tie Crochet Baby Headband is not just a delightful project; it’s a chance for you to create something special that brings joy. So gather your materials, find a cozy spot, and let your creativity shine. Once you finish, I would love to see pictures of your beautiful work. Happy crocheting!