Creating a Crochet Baby Announcement Sign is truly pure comfort to make. The soothing repetitions of crochet stitches can serve as a form of relaxation, much like a warm cup of tea on a chilly day. As you work through this simple yet engaging project, you’ll find that each stitch brings you closer to a beautiful keepsake that will surely be treasured.
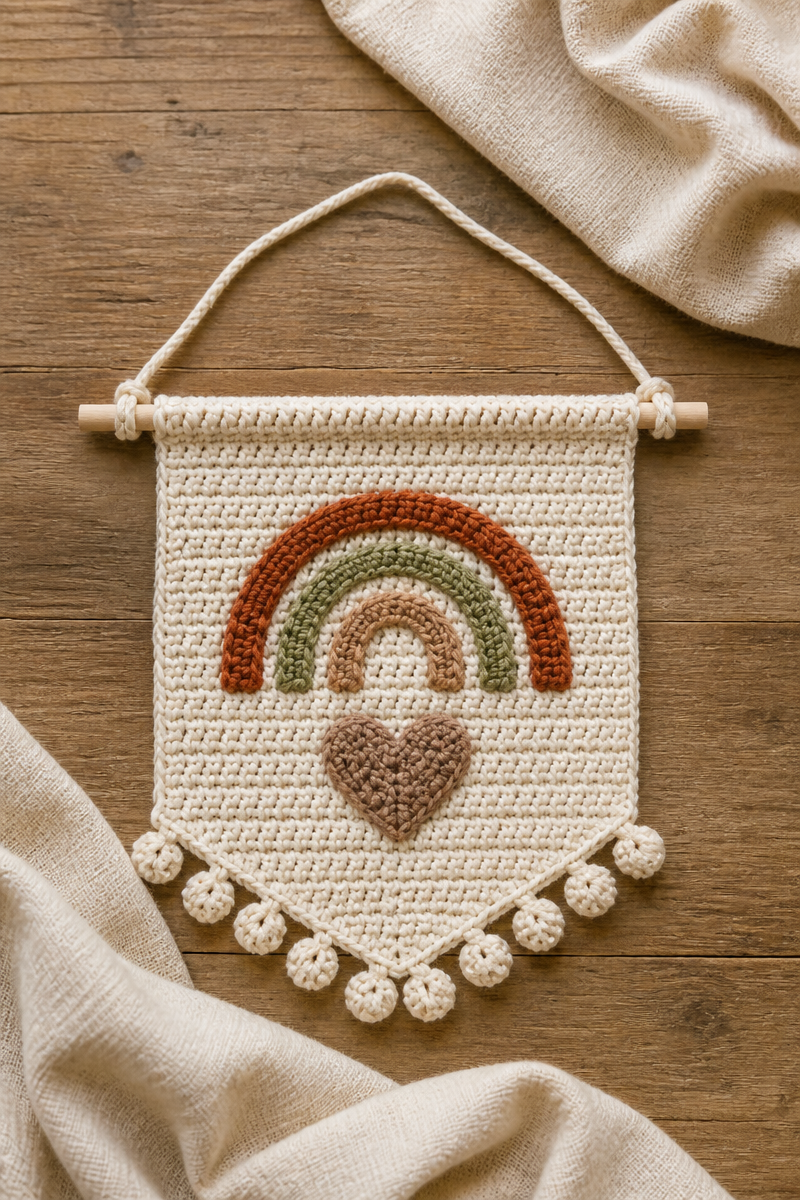
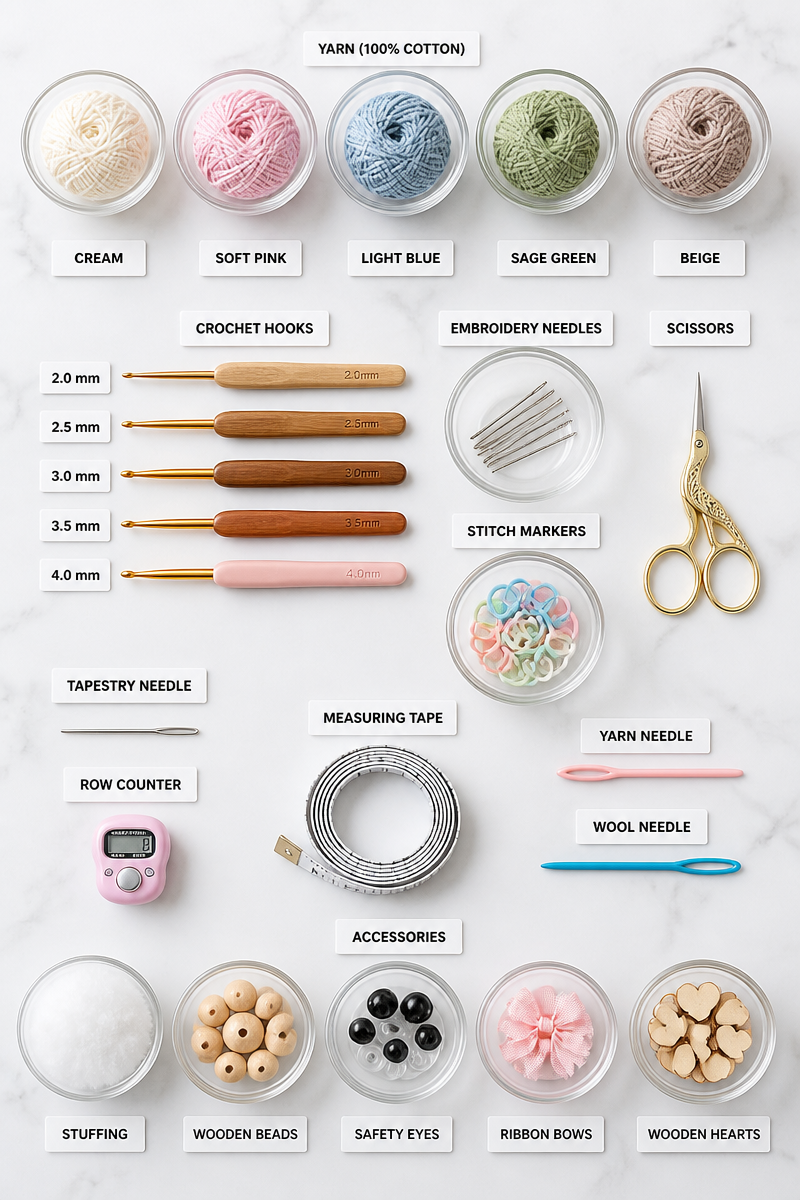
For this project, we will be using worsted weight yarn in a soft cream color for the banner, paired with sage green letters that add a lovely contrast. A 4.5mm hook is ideal for this type of yarn, allowing for a smooth and even tension. You will also need a small wooden dowel for easy hanging and a yarn needle to weave in the ends, ensuring a neat finish. The texture of the finished piece is soft yet sturdy, making it perfect for displaying your announcement with pride.
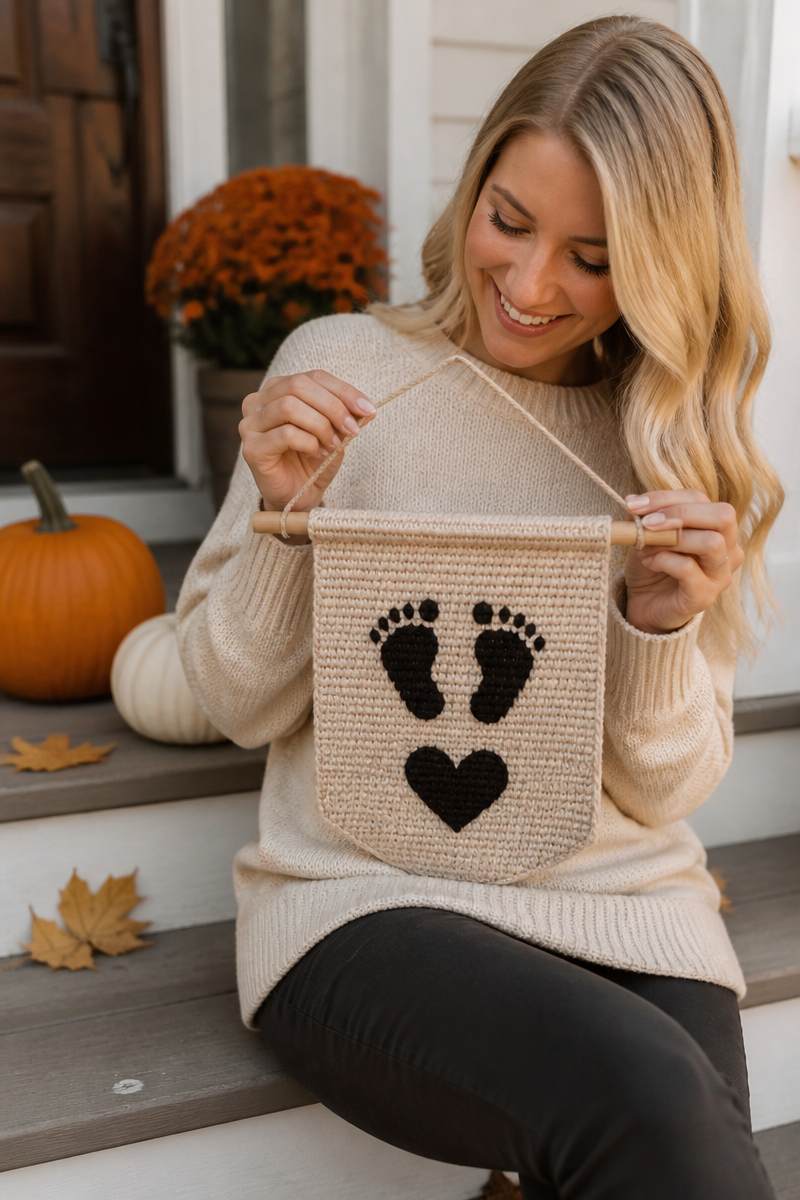
The method of creating this sign is quite simple and accessible, even for beginners. You start by chaining a foundation row that will form the size of your small rectangular banner. From there, you will work rows of single crochet until you reach the desired dimensions. It is essential to leave the top edge open so that you can slide the small wooden dowel through for hanging. Once the main piece is complete, you can either crochet or embroider letters or numbers onto the banner to announce your delightful news. Finally, you’ll add a hanging loop of yarn at each end of the dowel to ensure everything stays securely in place.
Imagine how lovely this baby announcement sign would look in a nursery or as part of a baby shower decor. It makes an excellent handmade gift for new parents, offering a personal touch that store-bought items just can’t replicate. Plus, this project is perfect for craft fairs where unique, heartfelt items are always appreciated.
Why You Will Love This Crochet Baby Announcement Sign Pattern
- Works up quickly, giving you instant satisfaction.
- Simple stitches that are easy to master.
- A relaxing project that allows for creativity.
- A personal touch perfect for announcing new arrivals.
- Great for using up leftover yarn from other projects.
Worsted Weight Yarn Tips
When using worsted weight yarn, it is essential to choose a high-quality brand that won’t split easily while you’re crocheting. Check for softer, plied yarns that tend to hold their shape well and offer a pleasant texture. This will make your project more enjoyable and yield professional-looking results. When working with lighter colors, such as cream, be mindful that they may show imperfections more than darker shades, so take your time to ensure even tension throughout your stitches.
Options for Substitutions
- Swap out the yarn brand for a locally sourced option.
- Use cotton yarn instead of acrylic for a different texture.
- Consider a blended yarn for added durability.
- Adjust the hook size to achieve tighter or looser stitches.
- Opt for a lighter shade of green for the lettering for a fresh twist.
- Use embroidery floss for intricate design work instead of crocheted letters.
Watch Out for These Mistakes
While working on your Crochet Baby Announcement Sign, there are common pitfalls to avoid. First, when creating the foundation chain, make sure each chain is not too tight. A tight foundation can make it challenging to work the first row of single crochets. Second, pay attention to your tension as you crochet; subtle changes can affect the overall size of your banner. If you wish for a uniform look, try to keep your tension consistent throughout the project.
Another common error involves the top edge of the banner. Be sure to leave enough space open for the dowel; if you crochet too tightly across the top, it won’t accommodate the dowel. Finally, when adding your letters or numbers, double-check your spelling, as undoing embroidery can be tedious.
What to Pair With This Crochet Baby Announcement Sign Pattern?
Consider pairing this project with a cozy baby blanket, a matching set of baby booties, or even a set of crochet toys. These items can create a lovely gift basket for a new arrival or enhance the nursery decor beautifully.
Care and Washing Instructions
To maintain your beautiful Crochet Baby Announcement Sign, it’s best to hand wash it in cool water with a gentle detergent. This will help preserve the fibers and colors without causing any damage. If you prefer to machine wash, use a delicate cycle and place the sign in a mesh laundry bag to protect it.
For drying, lay it flat on a towel to air dry to avoid stretching out the fibers. Avoid hanging it to dry, as that may ruin the shape of your finished piece.
Additionally, if your banner needs some refreshing after washing, a light steamy press or gentle wet blocking can help reshape any curled edges or wrinkles.
Pattern Info
Prep Time: 30 minutes
Make Time: 2 hours
Total Time: 2.5 hours
Level of Difficulty: Beginner
Sizing: Approximately 12” wide by 8” tall, based on your chosen dimensions for the banner and letter sizes.
Gauge and Sizing Notes
Estimated sizing and gauge details for this pattern: Checking your gauge is crucial as it determines how your final piece fits together. Aim for a gauge of about 12 single crochets across by 15 rows in 4 inches square to ensure your sign is the right size. Adjust your hook size as necessary to match these dimensions.
Materials Needed
- Worsted weight yarn in cream
- Worsted weight yarn in sage green (for letters)
- 4.5mm crochet hook
- Small wooden dowel
- Yarn needle
Step-by-Step Instructions
Step 1: Create the Foundation Chain
Begin by chaining a foundation row. The length will depend on how wide you want your banner to be. A good starting dimension is around 30 chains for a small rectangular banner.
Step 2: Work Rows of Single Crochet
Now, turn your chain and begin working in single crochet across the row. Continue doing single crochet until the banner reaches your desired height, making sure to keep your tension even.
Step 3: Prepare for the Dowel
Leave the top edge of your banner open. This allows you to slide the small wooden dowel through once the crocheting is complete.
Step 4: Add Letters or Numbers
Decide what message you want on your banner. You can either crochet or embroider the letters or numbers in sage green yarn on the front of the banner. Take your time; this step adds a unique touch.
Step 5: Create the Hanging Loops
Using a length of yarn, create a small loop at each end of the dowel. This step is crucial to ensure your banner hangs properly without slipping.
Step 6: Final Touches
Weave in all ends using your yarn needle for a clean finish.
In conclusion, this Crochet Baby Announcement Sign pattern offers a rewarding crafting experience combined with a personal touch to celebrate new life. I encourage you to try this pattern and share photos of your finished work. Feel free to explore similar posts and delve deeper into the world of crochet. Happy crafting!