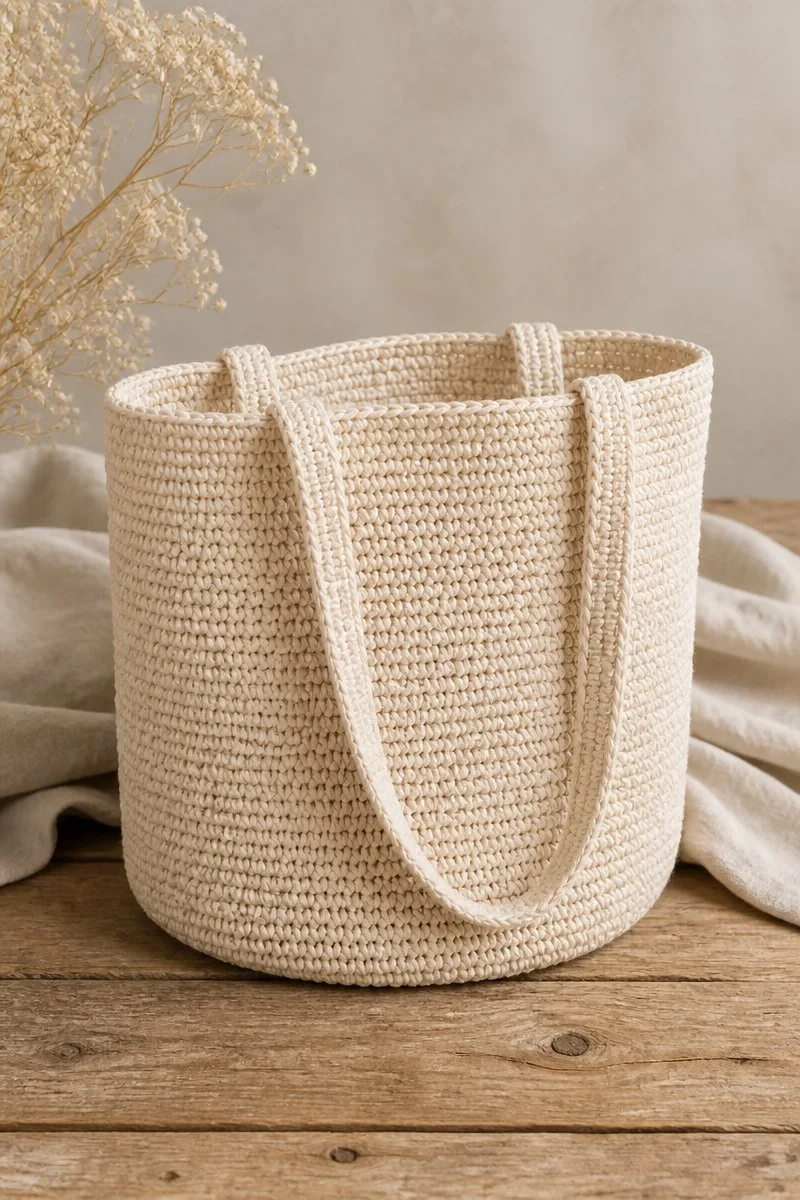
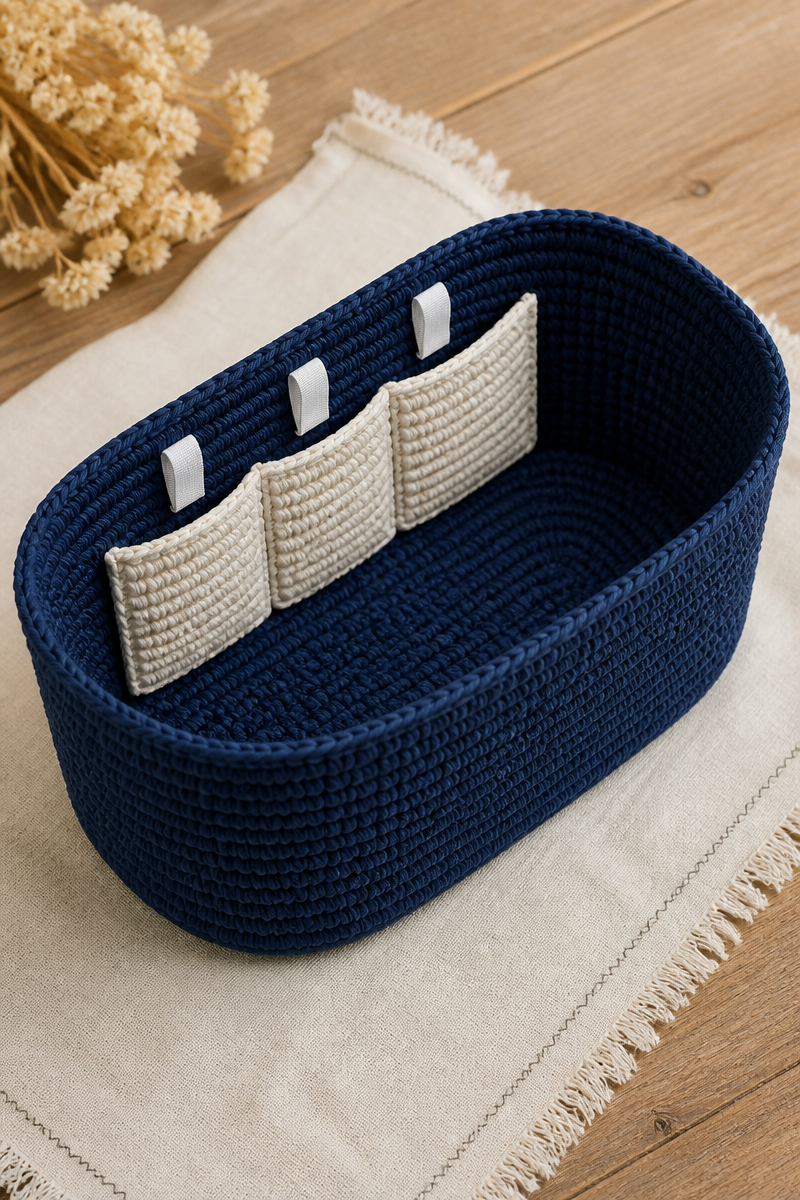
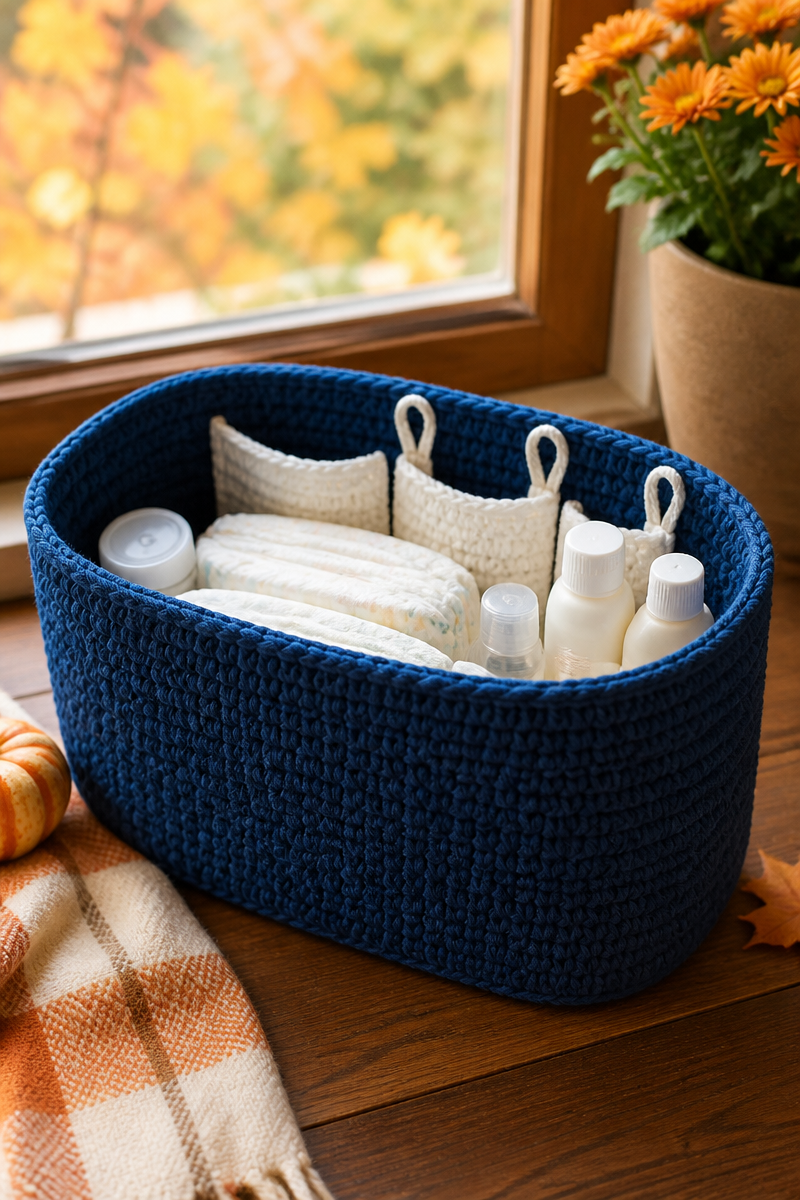
This baby diaper bag organizer combines sturdy construction with clever internal design to keep small essentials neatly sorted. Its firm oval base ensures stable support, reinforced by a rigid 10-inch insert tucked inside to prevent sagging during use. The sides rise vertically with simple single crochet rounds, creating a solid vessel that holds shape without extra bulk.
Three white divider pockets attach inside, forming dedicated sections for wipes, diapers, and small accessories. Their rectangular shape fits perfectly within the navy walls and adds contrast to the design while highlighting organization. Elastic loops sewn in place line one interior wall to hold bottles, pens, or pacifiers upright, reducing clutter. This practical piece works equally well inside a larger bag or on its own on any flat surface.
Worsted weight yarn in navy and white delivers a balanced firmness and easy care, ideal for daily use where softness near baby items matters less than durability. A 5.0 mm hook provides firm yet flexible fabric, letting the organizer stand upright without being stiff, and the color contrast lends a modern, clean aesthetic. The finished piece cleans up easily, making it a useful, quick-to-crochet addition to any parent’s arsenal.
Why You’ll Love This Organizer
The organizer’s oval base construction with carefully placed increases ensures a perfect stable foundation, transitioning seamlessly into straight single crochet rounds for the walls. Using firm interfacing or plastic canvas inside the base is a practical addition for maintaining shape without complicated stitch work. The divider pockets are straightforward rectangular panels, allowing easy repetition and standard assembly. With only basic stitches and simple finishing techniques, this piece offers quick results and clear functionality, making it accessible yet polished.
Materials
- US H/8 (5.0 mm) crochet hook
- Worsted weight (#4) yarn: approximately 120 yards navy blue, 60 yards white
- Yarn needle
- 3 stitch markers
- 10-inch strip of firm interfacing or plastic canvas
- 3 small elastic loops or hair ties
- Fabric glue or sewing needle and thread
Gauge
14 sts and 15 rows = 4 inches (10 cm) in single crochet using worsted weight yarn and 5.0 mm hook
Finished Size
Base circumference: approximately 16 inches (48 sts)
Wall height: 4 inches
Divider pockets: 7 inches wide x 3.5 inches tall (19 sts x 8 rows) each
Abbreviations
- ch = chain
- sc = single crochet
- st(s) = stitch(es)
- rnd(s) = round(s)
- sl st = slip stitch
- RS = right side
- WS = wrong side
Worsted Weight Yarn Tips
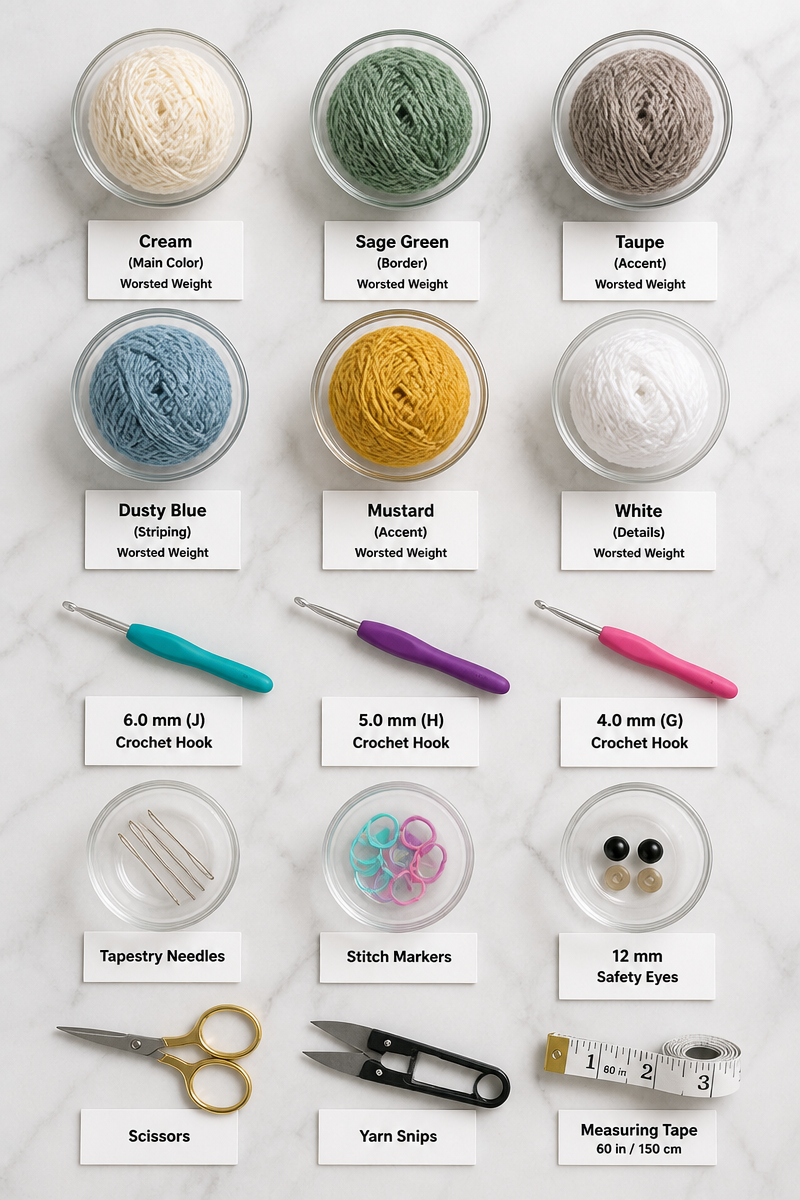
Worsted weight yarn in this weight offers a good balance between durability and ease of stitch definition. The yarn slides smoothly on a 5.0 mm hook, which keeps stitches tight enough to form a cohesive, stable fabric but not so tight that working the piece becomes tiring. Maintain even tension to prevent curling on the edges of the oval base during initial rounds. The fiber typically holds shape well with minimal blocking, so interfacing inside the base greatly improves firmness without adding weight or bulk.
Avoid pulling loops too tight, which risks warping the oval shape. The contrast between navy and white in divider pockets benefits from precise color changes and clean sewing for a crisp finish. The yarn will soften slightly with use but remains resilient for the organizer’s intended functional daily handling.
Options for Substitutions
- Use acrylic worsted weight for increased washability and durability if wool or blends are inconvenient.
- Substitute cotton worsted weight for a sturdier, less stretchy fabric that wipes clean easily.
- A 5.5 mm hook may be used for a looser fabric and slightly larger overall size but will reduce firmness.
- Try a solid or variegated colorway if navy and white aren’t preferred; select two contrasting colors for visibility of pockets.
- Use fabric-based yarn for enhanced structural stability at the cost of a slightly heavier feel.
- Instead of plastic canvas, a stiff cardboard sheet can be protected with fabric before insertion if plastic is unavailable.
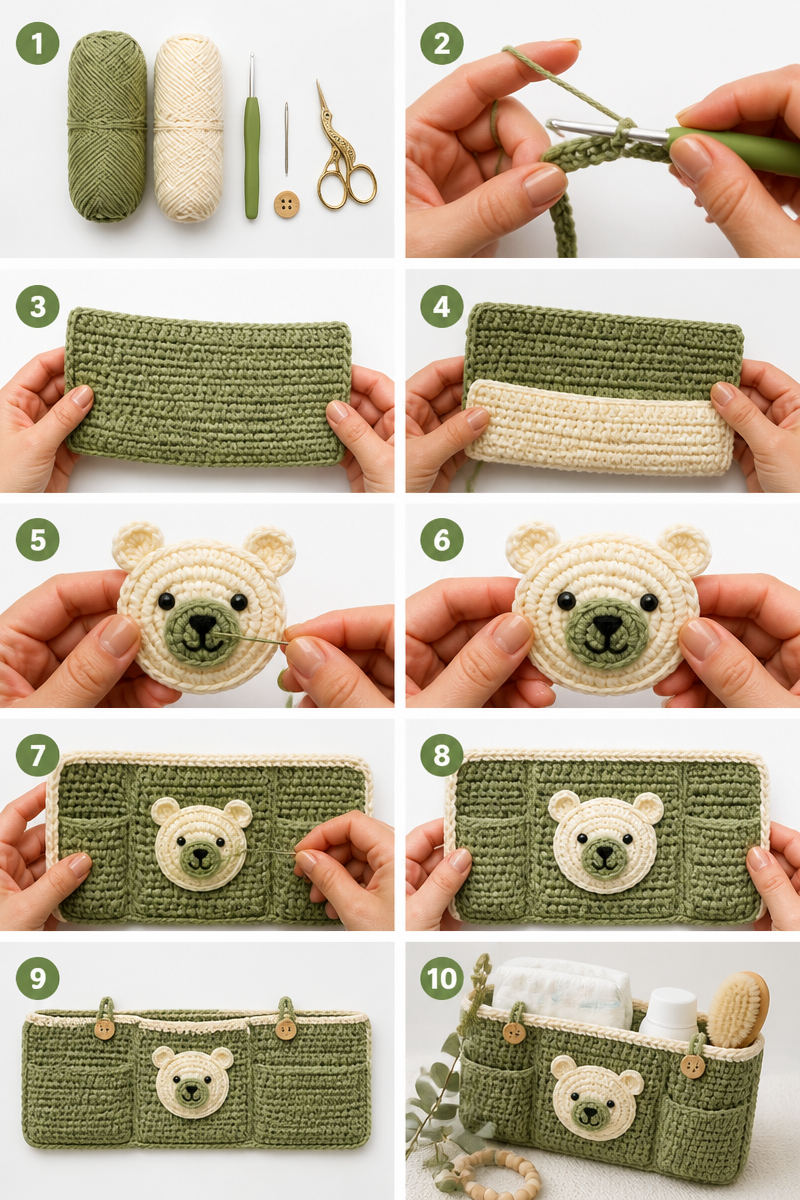
Pattern
Base (make 1)
With navy, ch 22.
Round 1: Sc in 2nd ch from hook and across (21 sc), then work around the opposite side of the foundation chain, working 2 sc in the first and last ch of each short end to form corners (6 increases total). Join with sl st to first sc. (48 sts)
Rounds 2-4: Sc evenly around (48 sts each round). Join with sl st to first sc.
Side Walls (make 1)
Rounds 5-14: Sc evenly around (48 sts each round). Join with sl st to first sc at the end of each round. Repeat for 10 rounds total to reach 4 inches tall.
Fasten off.
Divider Pockets (make 3)
With white, ch 20.
Row 1: Sc in 2nd ch from hook and across (19 sts). Turn.
Rows 2-8: Ch 1, sc across (19 sts). Turn.
Fasten off after Row 8. Make 3 identical pockets.
Elastic Loops Attachment
Using a needle and thread, sew the 3 small elastic loops evenly spaced along one inner side wall of the organizer. Space them approximately 1.3 inches apart from center to center, positioned vertically near the base of the walls for supporting upright bottles or pens.
Assembly
-
Insert the interfacing or plastic canvas strip flat into the base of the organizer to reinforce shape.
-
Position the three white divider pockets evenly spaced around the inner wall, aligning the bottom edge of the pockets flush with the base’s internal edge. Space them so they divide the circumference into four approximately equal sections, allowing organized compartments. Sew along the bottom and both sides of each pocket to the wall, leaving the pocket top open.
-
Secure elastic loops on one inner wall as described.
-
Weave in all loose ends with a yarn needle.
Watch Out for These Mistakes
The first round forming the oval base is critical. Missing one of the increases at a short end or miscounting chains can distort the oval shape or result in an incorrect stitch count. Use stitch markers at increases to maintain the 48-stitch perimeter before proceeding, ensuring the base matches precisely.
When stitching the divider pockets inside, aligning and spacing them evenly matters for proper compartment sizing. Uneven placement can cause pockets to bunch or create distorted compartments. Measure spacing before sewing carefully.
Sewing elastic loops too loosely or unevenly risks them slipping out or failing to securely hold bottles upright. Reinforce loops with tight, secure stitching and use stable non-stretch thread, especially if fabric glue isn’t used.
Inserting the interfacing strip properly without it buckling or folding is important to maintain a flat, firm base that supports the entire organizer. Insert it flat and check periodically during assembly.
Care and Washing Instructions
Machine wash navy and white worsted weight yarn items on a gentle cycle in cold water to prevent color bleeding and shrinkage. Avoid bleach or harsh detergents that damage fibers.
Air dry flat to maintain shape and avoid heat distortion. If interfacing or plastic canvas is used, avoid soaking or washing that could cause the insert to warp or break down; instead, spot clean the base as needed with a damp cloth.
Blocking is usually unnecessary, but if preferred, lightly steam with a cloth barrier, avoiding direct iron contact especially on the interfacing insert.
Questions About Making This Organizer
Q: Can I adjust the size of the base?
A: Yes. The base chain is 22 to start, resulting in 48 stitches in round 1 after increases for a 16-inch circumference. Each additional chain affects the perimeter roughly by 0.33 inches (stitch gauge). Adjust in multiples of 1 stitch to keep the oval shape consistent.
Q: Can I use DK weight yarn instead?
A: You can, but the organizer will be smaller and softer. Use a smaller hook (e.g., 4 mm) and consider adding extra rounds for height or base circumference for stability.
Q: Why add the plastic canvas or interfacing?
A: It provides firm support to keep the base flat and prevents sagging, improving organizer stability. Without it, the bag may collapse or lose shape under weight.
Q: How do I keep the seams neat when sewing pockets inside?
A: Use a tapestry needle and matching white yarn for an invisible seam, sewing only the sides and bottom of the pocket, leaving the top open for accessibility.
Q: Can I replace the elastic loops with another method for securing bottles?
A: Yes. Small buttoned fabric loops or stitched-in elasticized bands work as alternatives if elastics or hair ties are not desired.
Q: Is the organizer washable once assembled?
A: The yarn is washable, but the interfacing insert may retain water or deteriorate with repeated wash. Remove the insert if possible before machine washing, or spot clean the base instead.
Q: Can I add a closure to this organizer?
A: The design does not include closure. To add one, you would need to design straps or flaps with buttonholes or velcro, adjusting stitch counts accordingly.
This design combines function and simplicity, making a durable, tidy container for baby items that fits into any diaper bag or nursery space. Share your finished organizer to show your craftsmanship in organizing baby essentials.