Crocheting a baby dress is pure comfort to make. Every stitch feels warm and inviting, and the gentle rhythm of the hook gliding through the yarn is a lovely way to unwind. As a crochet enthusiast, I find that creating something for a little one brings so much joy. It’s not just about the finished piece; it’s about the process and the love poured into each loop.
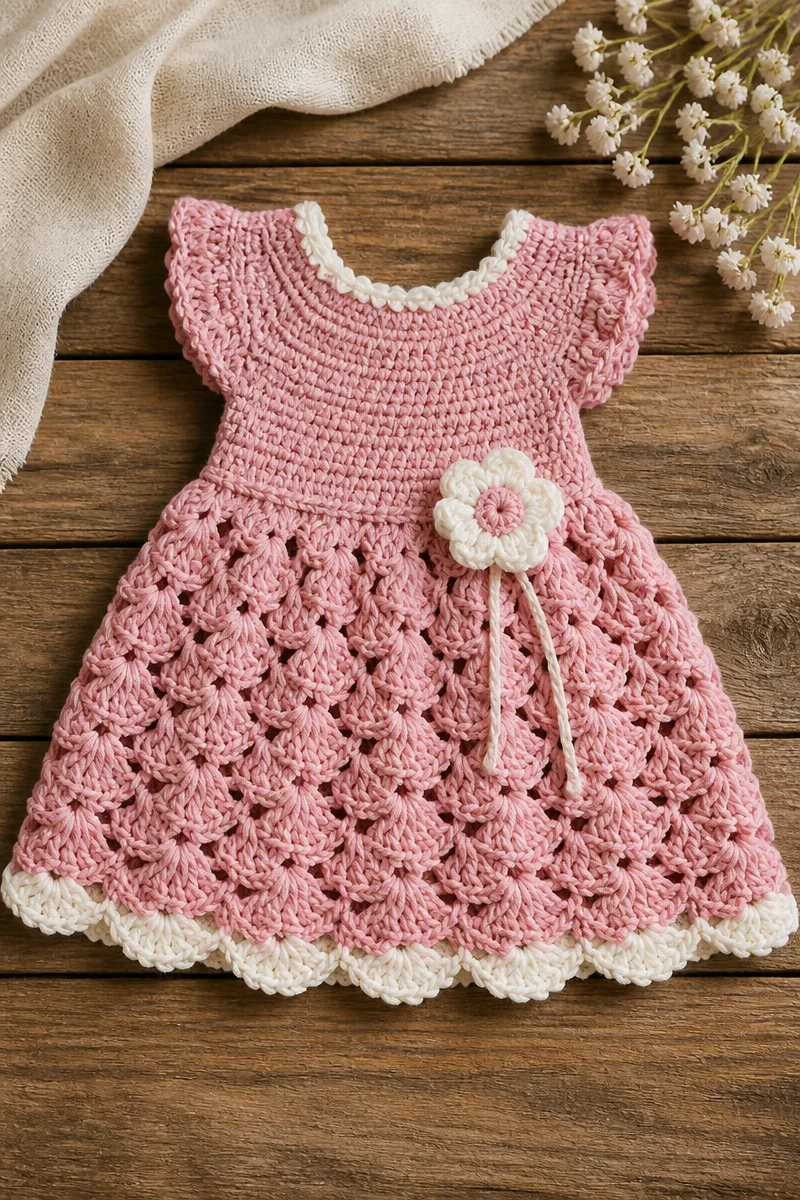
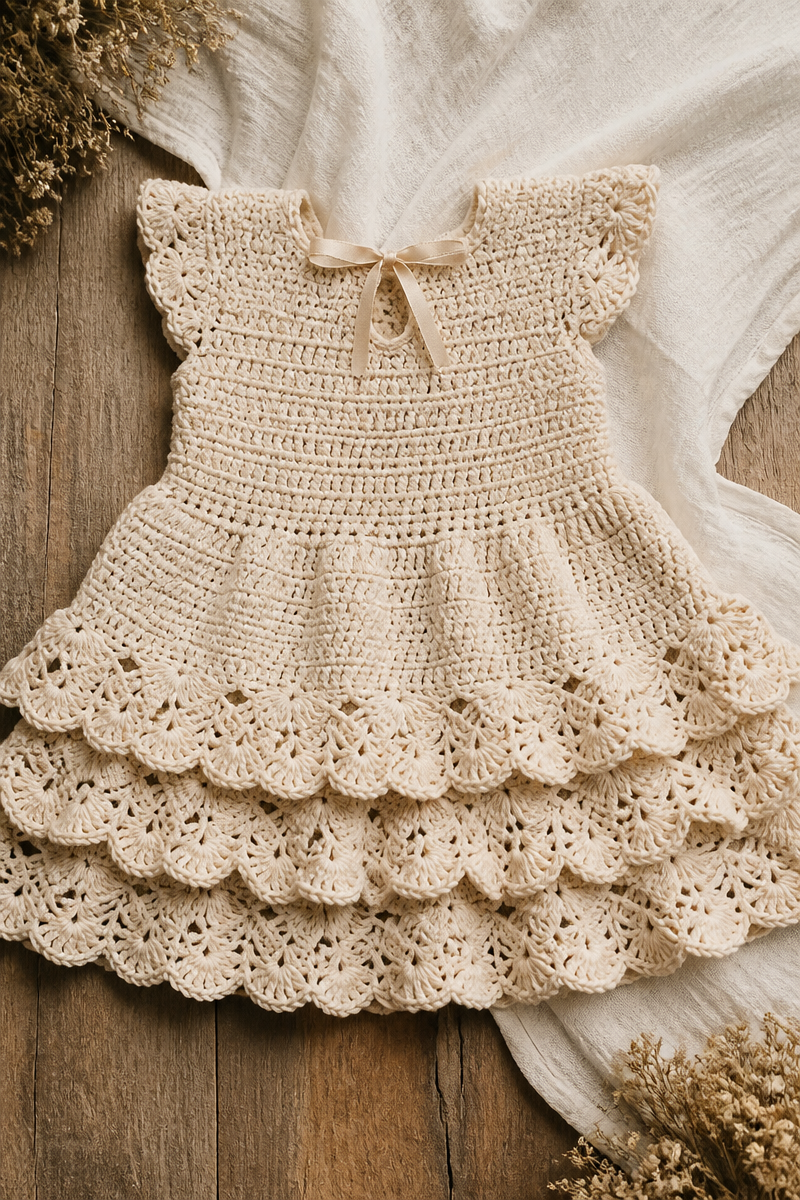
This Crochet Baby Dress With Ruffle is crafted using cotton yarn, a 4mm hook, a delightful ribbon or button closure, and a yarn needle. The cotton yarn provides a soft touch against the skin, making it perfect for babies. As you work your way through the bodice and into the flowing skirt, you’ll notice the delightful texture of the final piece — a lovely blend of practicality and charm that will surely catch the eye.
In this pattern, you’ll be crocheting the bodice from the top down in double crochet, which is a straightforward technique perfect for beginners. You’ll shape the dress with easy waist decreases before the skirt flares out beautifully. Adding two or three tiers of ruffled shell-stitch trim to the hem gives the dress extra volume and sweetness. And to finish it off, you’ll close the back with a lovely ribbon tie or button loop.
This dress is perfect for a variety of scenarios, whether it’s meant for a family gathering, a photo shoot, or simply a cozy day at home. It also makes for a beautiful handmade gift that new parents will treasure for years to come.
Why You Will Love This Crochet Baby Dress With Ruffle
- Works up quickly: With simple stitches, you can create this dress in just a few afternoons.
- Perfect for relaxation: The repetitive nature of the stitches is soothing, making it a fantastic project for winding down.
- Great for gifting: A handmade baby dress shows thoughtfulness and care that store-bought items can’t match.
- Versatile style: This dress can be dressed up or down for various occasions, making it a great addition to any baby’s wardrobe.
- Easy to customize: Use different yarn colors or stitches to make each dress unique.
Cotton Yarn Tips
When working with cotton yarn, it’s essential to choose the right type that will maintain its shape and softness. Cotton is a durable and breathable fiber, making it ideal for baby clothes. Before you start, make sure to wash and dry your cotton yarn before crocheting with it. This pre-washing helps to set the dye and reduces the chance of shrinkage after your project is complete. One tip to consider is to crochet loosely, as cotton can become stiff with tight tension, making it tough to work with.
Options for Substitutions
- Swap out cotton yarn for bamboo yarn for a silkier texture.
- Use a different hook size to create a tighter or looser gauge based on your tension preferences.
- Try a DK weight instead of worsted for a lighter fabric.
- Substitute with an organic cotton yarn for an eco-friendly alternative.
- Experiment with pastel colors or variegated yarn for a more whimsical look.
- Opt for a satin ribbon for a more elegant finish instead of buttons for closure.
Watch Out for These Mistakes
When crocheting the bodice, be wary of dropping stitches at the end of a row, which can throw off your shape and sizing. Keep an eye on your tension, especially when you transition to the flared skirt; it’s easy to tighten up in new sections. Make sure to count your stitches consistently, particularly during the waist decreases. Skipping a chain space can result in an uneven edge for your ruffled trim, so check your work as you go. Lastly, do not be discouraged if your initial attempts don’t match your expectations—practice will help you improve.
What to Pair With This Crochet Baby Dress With Ruffle?
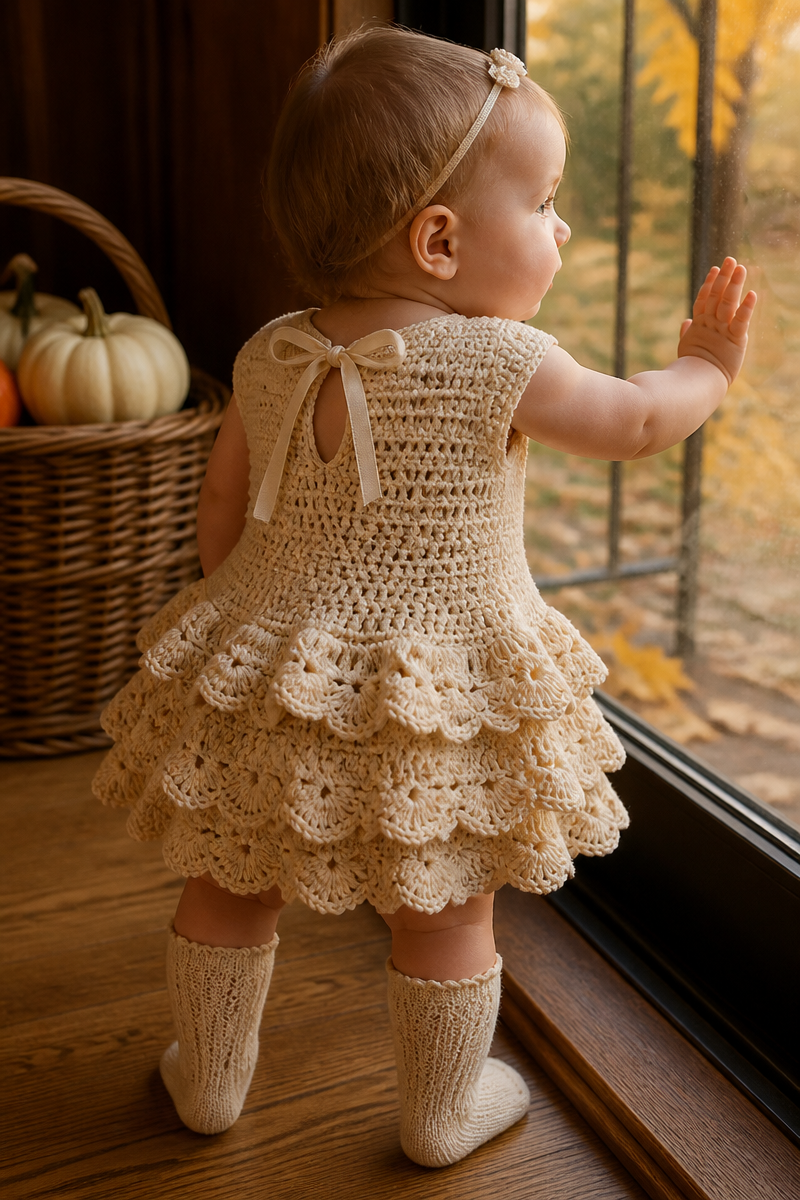
To enhance the overall look with the dress, consider pairing it with a matching crochet bonnet or a set of booties. A lightweight cardigan can make the outfit cozy for those chillier days. Crochet hair accessories, such as headbands or clips, are delightful additions to complete the sweet look perfectly.
Care and Washing Instructions
Washing: For cotton yarn, it’s best to hand wash your finished dress in cold water using a gentle detergent. This helps maintain the yarn’s integrity and colors.
Drying: Lay the dress flat to dry to avoid stretching. Hanging it can distort the shape, especially in the ruffled areas.
Blocking: After washing, you may want to block the dress by steaming it lightly or using pins to shape it while it dries. This will enhance your stitches and ensure the dress maintains its lovely form.
Pattern Info
- Prep Time: 30 minutes (for gathering supplies)
- Make Time: 3-4 hours (based on familiarity with the stitches)
- Total Time: 3.5-4.5 hours
- Level of Difficulty: Beginner
- Sizing: Approximately 0-12 months (this may vary based on the tension and individual yarn used)
Gauge and Sizing Notes
Estimated sizing and gauge details for this pattern: It’s important to check your gauge to ensure a good fit for the baby. The dress length is approximately 18 inches from shoulder to hem, with a width of about 12 inches across the chest when laid flat. Using a 4mm hook will generally yield this size but do check your individual tension since everyone’s crochet style can differ.
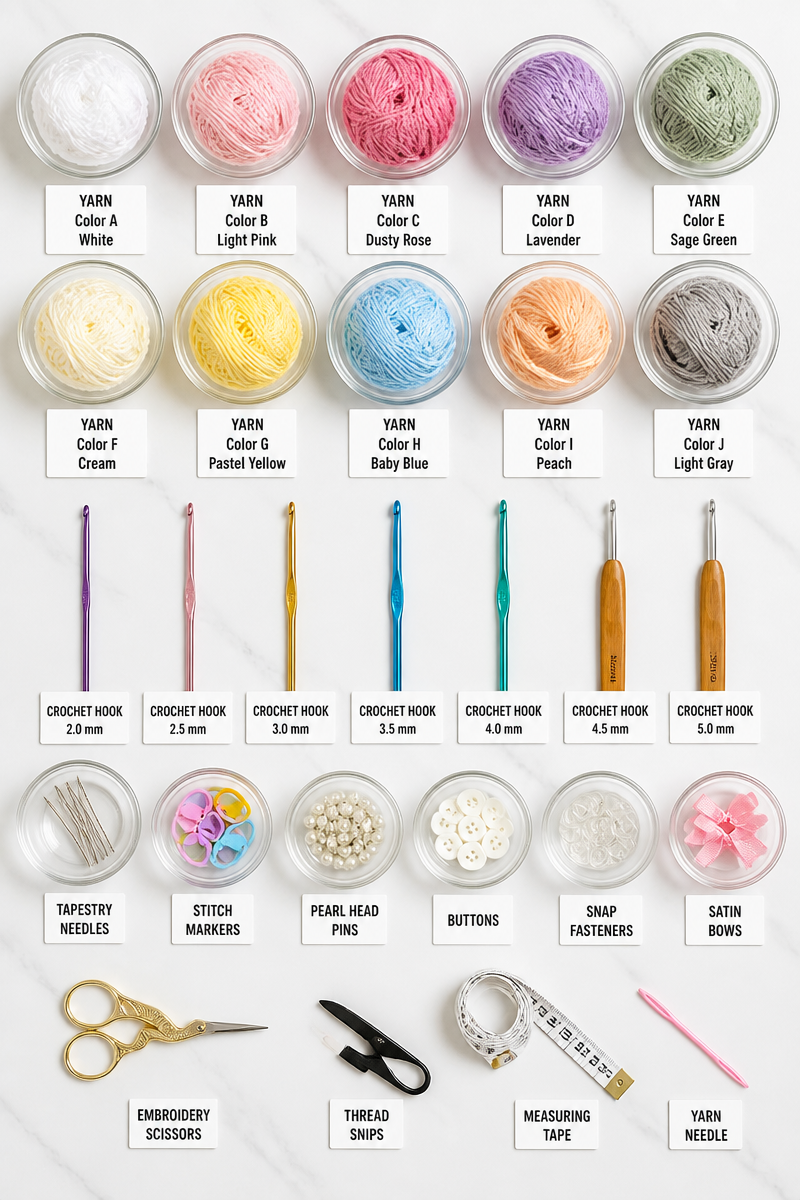
Materials Needed
- Cotton yarn
- 4mm hook
- Ribbon or button closure
- Yarn needle
Step-by-Step Instructions
Step 1: Create the Foundation Chain
Begin by creating a foundation chain of 40 stitches. This will form the base of your bodice. Ensure your initial chain is not too tight so that your stitches can move freely.
Step 2: Work the Bodice
In the first row, double crochet into the fourth chain from the hook and into each chain across. Turn your work. Continue to double crochet for 10-12 rows, adjusting the length based on your desired bodice size.
Step 3: Shape the Waist
To create the waist decreases, start the next row by double crocheting into the first two stitches together for a decrease. Double crochet across. Repeat this process every other row until you have achieved the desired fitted look.
Step 4: Flare Into the Skirt
Once the waist shaping is complete, continue to double crochet without decreases for 6-8 rows to form the flared skirt. Ensure that your tension remains relaxed for a flowing look.
Step 5: Add Ruffled Shell-Stitch Trim
For the ruffle, begin by working a round of single crochet around the hem. Next, work into the same space as a shell stitch (5 double crochets in one stitch) and skip two stitches. Repeat this design until the skirt hem is full, creating two or three tiers based on your preference.
Step 6: Finish with Closure
For the back closing, create a ribbon tie by leaving a gap between the last stitches or attach a button loop. Sew the ribbon or button in place securely.
In conclusion, creating this Crochet Baby Dress With Ruffle is a rewarding experience that allows you to express your creativity while making a cherished garment. Each stitch brings you one step closer to a beautiful finished piece that will be treasured by both baby and parent. I encourage you to give this pattern a try; feel free to share photos of your completed dress or explore more crochet patterns for a delightful crafting adventure. Happy crocheting!