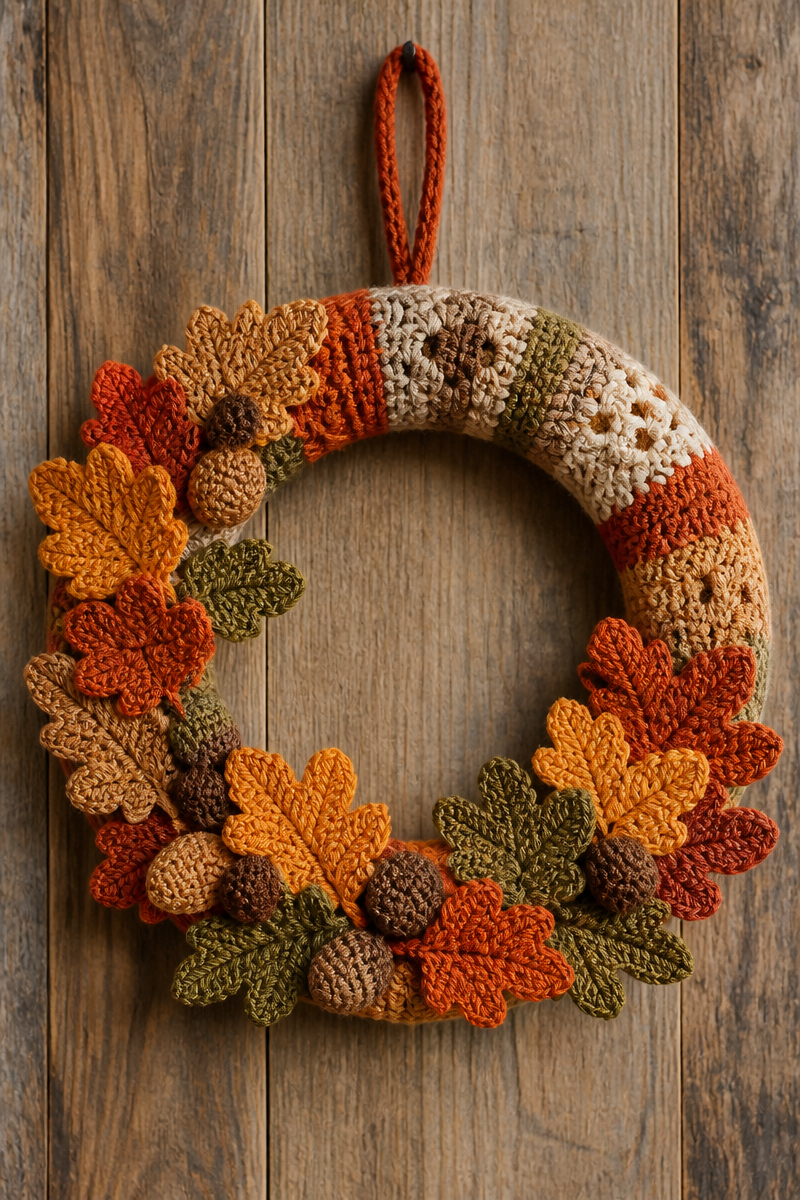
Creating a crocheted fall wreath is pure comfort to make, offering a delightful way to welcome the cozy autumn season. As the days grow shorter and the air turns crisp, there’s something wonderfully soothing about turning to your crochet hooks and engaging in a project that brings warmth to your home. For those of us who find solace in the rhythmic movement of yarn and hook, this project is not just an activity; it becomes a cherished moment of creativity and relaxation.
This wreath pattern uses bulky yarn in rich autumn colors, which adds both warmth and texture to your creation. The colors you choose might remind you of vibrant fall leaves or the earthy tones of acorns scattered on the ground. The wire or foam wreath form provides a sturdy base, while a 6.0mm hook makes every stitch achievable, even for those newer to crochet. A hot glue gun brings everything together beautifully, helping to attach your crafted leaves and acorns securely.
In this blog post, I’ll guide you through the easy-to-follow methods of creating your own fall wreath. You’ll crochet a series of small leaf and acorn shapes using basic single and double crochet stitches. Then, we’ll make a long strip or several granny squares to cover the wreath base. Finally, we will wrap or sew the covering around the wreath form, arrange the leaves and acorns pleasingly, and add a lovely chain or ribbon loop for hanging. This entire process is not just straightforward but enjoyable, allowing a gentle flow into your creative rhythm.
This wreath is perfect for chilly nights, bringing a touch of handmade charm that will brighten any door or wall. It makes a thoughtful gift for loved ones, showcasing your handmade touch. Whether you’re decorating for craft fairs or simply adding warmth to your home, this crochet fall wreath is a beautiful addition to any autumn decor.
Why You Will Love This Crochet Fall Wreath Pattern Idea
- Works up quickly: The bulky yarn means you’ll see progress fast.
- Simple stitches: Perfect for beginners using mostly single and double crochet stitches.
- Relaxing project: The repetitive nature of the steps is soothing and enjoyable.
- Customizable: Choose any autumn colors you love to make it truly yours.
- Great for gift-giving: Share the beauty of handmade decor with friends and family.
Bulky Yarn Tips
When working with bulky yarn in autumn colors, always consider the texture it brings to your project. Bulky yarn is typically thicker, which means you’ll create a warm and cozy piece. Choose a brand that feels good in your hands, as yarn that’s too rough can make crochet a chore. Look for options made from acrylic blends that offer both durability and softness, making it easy to work with and comfortable to display.
Options for Substitutions
- Use worsted weight yarn instead of bulky yarn for a lighter wreath.
- Try cotton yarn if you prefer a more breathable option.
- Experiment with different stitch patterns in place of single and double crochet.
- Choose a different wreath form such as grapevine for a natural look.
- Opt for a smaller hook size for tighter stitches if using a less bulky yarn.
- Replace the hot glue gun with fabric glue for a no-heat option.
Watch Out for These Mistakes
One common pitfall when crocheting the small leaf and acorn shapes is dropping stitches at the end of a row. This can be especially tricky in the beginning, so always check your stitch count as you go. When crocheting the strips or granny squares to cover the wreath base, watch your tension. If it’s too loose, the wreath might not fit snugly, leading to frustrating gaps.
As you wrap or sew the crocheted covering around the wreath form, ensure it is evenly placed, or it won’t sit correctly. When gluing the leaves and acorns, give yourself time to arrange them before the glue sets. Lastly, while adding the crochet chain or ribbon loop at the top for hanging, make sure it is securely fastened to hold the weight of the wreath gracefully.
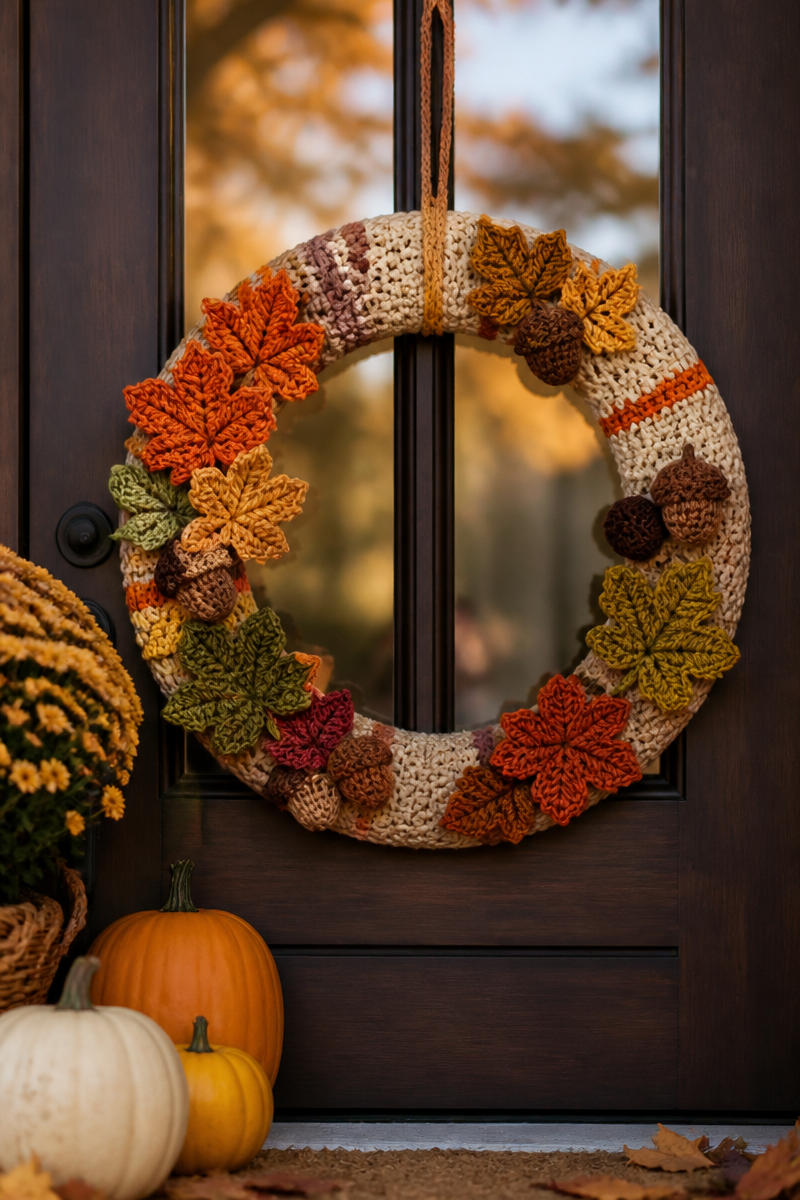
What to Pair With This Crochet Fall Wreath Pattern Idea?
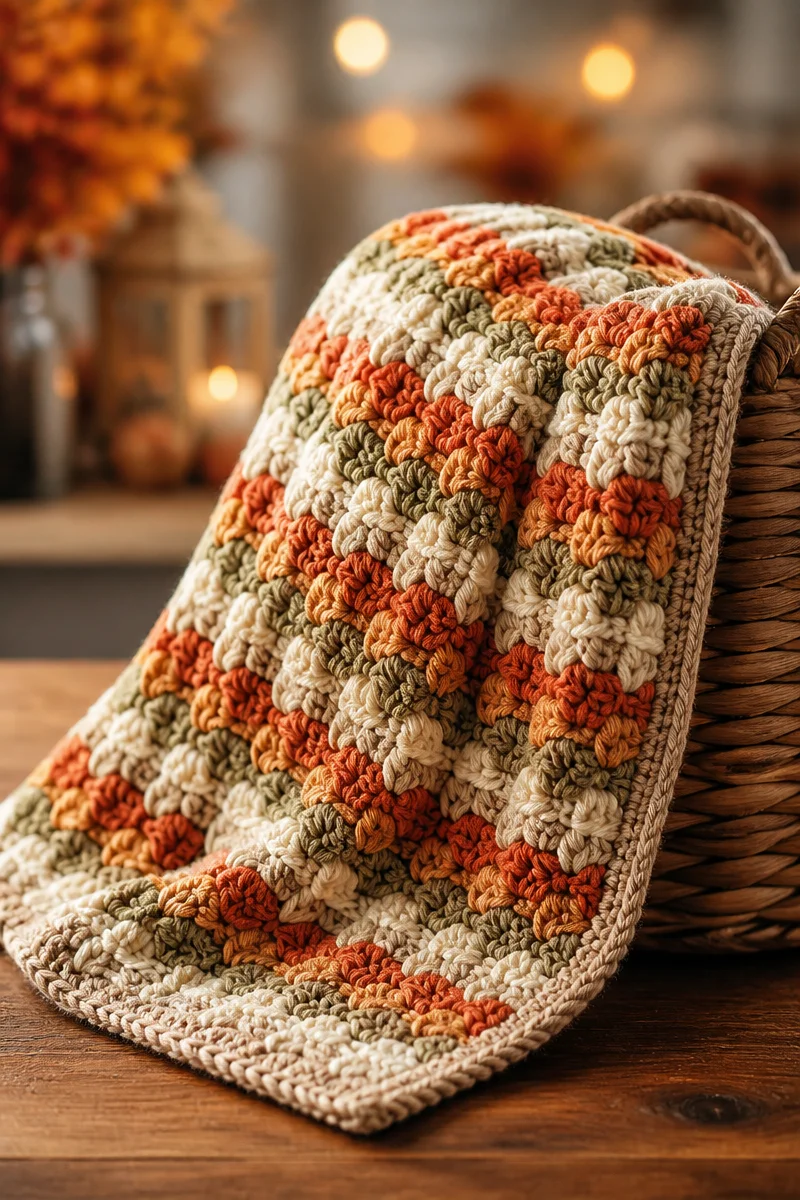
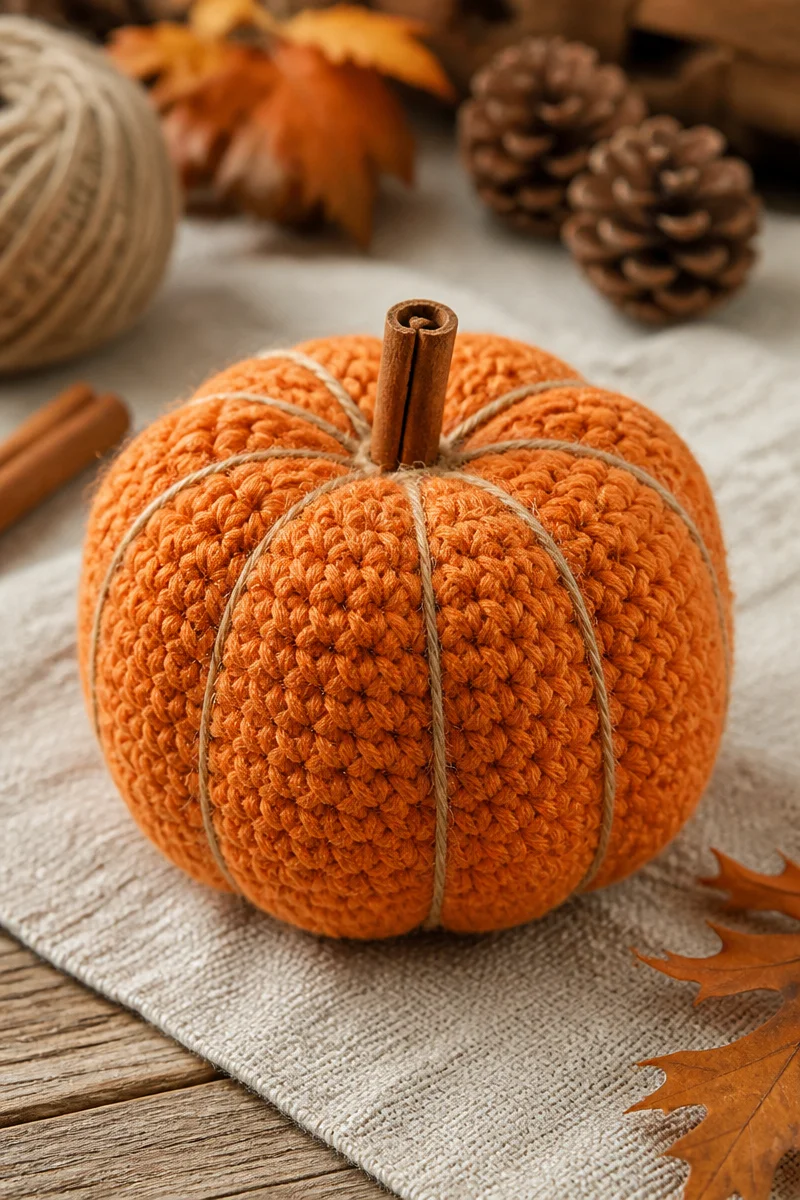
This fall wreath pairs beautifully with a cozy crochet throw to keep you warm on chilly evenings. You may also consider creating matching crocheted pumpkins to place nearby, adding a lovely seasonal touch. Another idea is to make decorative crochet coasters, perfect for hosting family and friends during fall gatherings. Each project complements your wreath nicely while allowing your crochet skills to shine.
Care and Washing Instructions
Washing: For items made with bulky yarn, always hand wash in cold water with a mild detergent. This helps maintain the texture and shape of your piece.
Drying: Lay your wreath flat to dry to avoid stretching or misshaping. Do not hang or prop the wreath while it’s wet.
Blocking: The finished wreath should typically not need blocking, but if you encounter any misshaped areas, a gentle steam can help to smooth things out.
Pattern Info
Prep Time: 30 minutes
Make Time: 2 hours
Total Time: 2 hours 30 minutes
Level of Difficulty: Beginner
Sizing: The finished wreath measures approximately 14 inches in diameter.
Gauge and Sizing Notes
Estimated sizing and gauge details for this pattern: Checking gauge is essential, as it ensures your pieces fit together properly and the finished wreath looks as beautiful as you envisioned. The standard gauge for bulky yarn projects is often around 8 stitches for every 4 inches, but feel free to adjust based on your personal tension. The finished wreath will have a full-bodied look thanks to the bulky yarn and your careful arrangement of leaves and acorns.
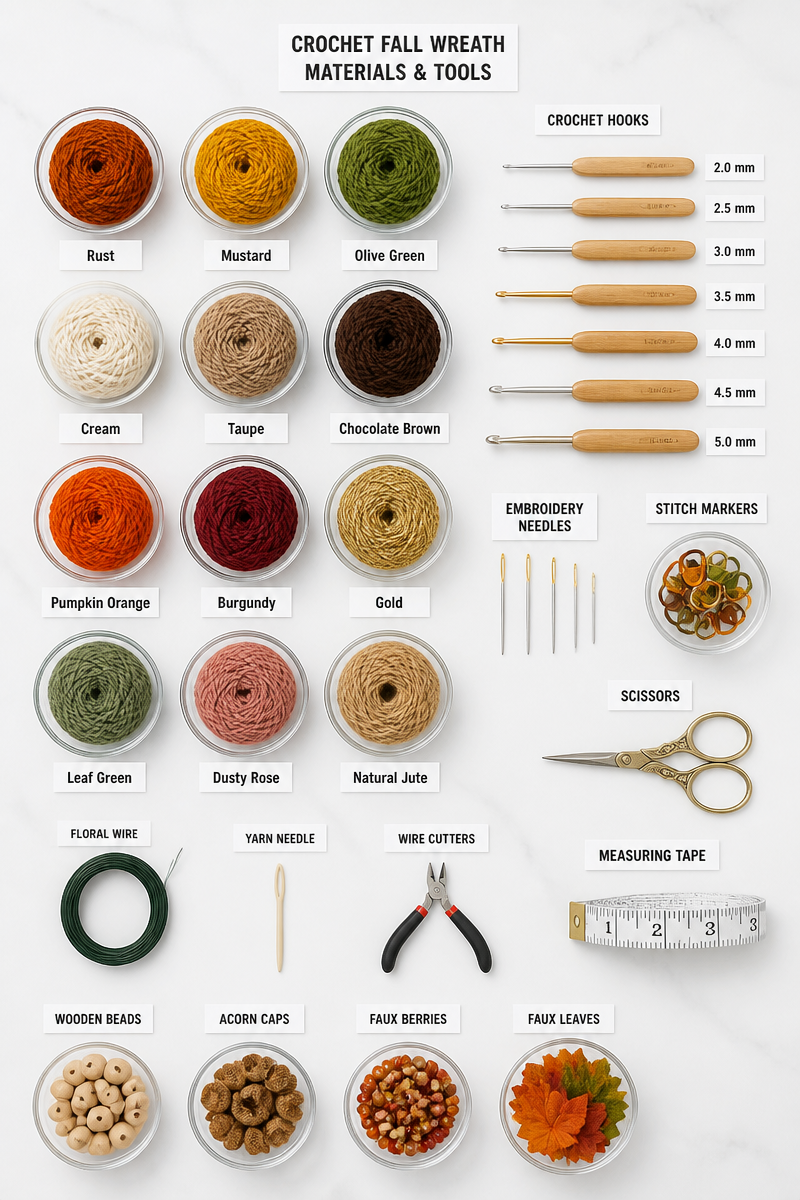
Materials Needed
- Bulky yarn in autumn colors
- Wire or foam wreath form
- 6.0mm hook
- Hot glue gun
Step-by-Step Instructions
Step 1: Create Leaf and Acorn Shapes
Start by making small leaf and acorn shapes using single and double crochet stitches. Create a chain of 8 stitches for the leaf stem, then work in the round to form the leaf shape. For acorns, begin with a magic ring and continue with double crochet stitches to create the top rounded part. Make several of each shape in various colors to add depth and interest to your wreath.
Step 2: Crochet the Wreath Covering
Next, crochet a long strip or several connected granny squares to cover the base of your wreath form. You can make the strip as long as necessary to wrap completely around your wreath. If using granny squares, aim for about six squares to achieve full coverage.
Step 3: Attach the Covering to the Wreath Form
Once your strip or granny squares are completed, wrap or sew them around your wreath form. Make sure to tuck the ends under and secure as you go to create a seamless look. Use sewing or slip stitches to attach the covering firmly, ensuring it won’t come loose over time.
Step 4: Arrange Leaves and Acorns
Now, it’s time to glue your crocheted leaves and acorns around the wreath in a pleasing arrangement. Use your hot glue gun to attach each piece, giving it a balanced look. Take your time arranging the leaves and acorns until you are satisfied with the overall design.
Step 5: Add a Hanging Loop
To finish off your wreath, create a crochet chain or add a ribbon loop at the top. This loop will allow you to hang your beautifully crafted fall wreath. Make sure the loop is sturdy and securely attached to hold the weight of the wreath.
Creating a crocheted fall wreath is an enjoyable project that brings warmth and charm to your home. I encourage you to try this pattern, share photos of your finished work, and explore other similar crochet ideas. Every stitch you make is a step toward crafting something truly special. Happy crocheting!