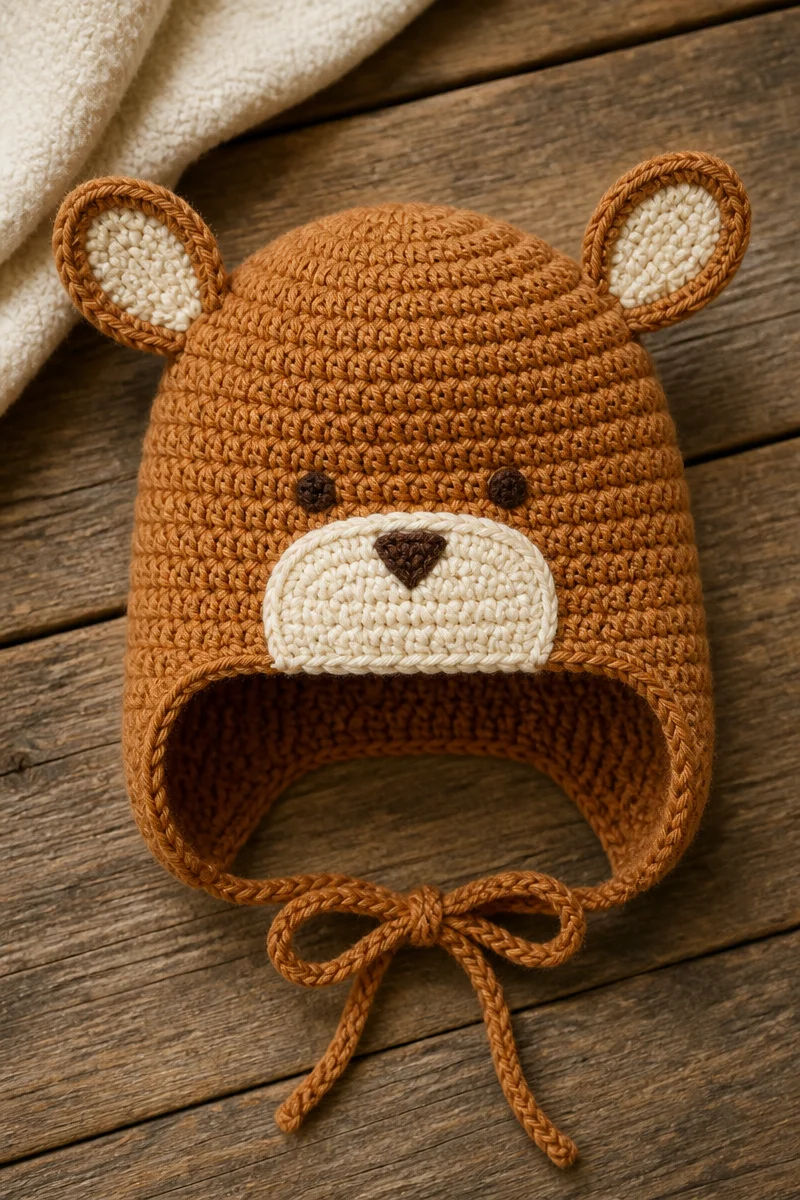
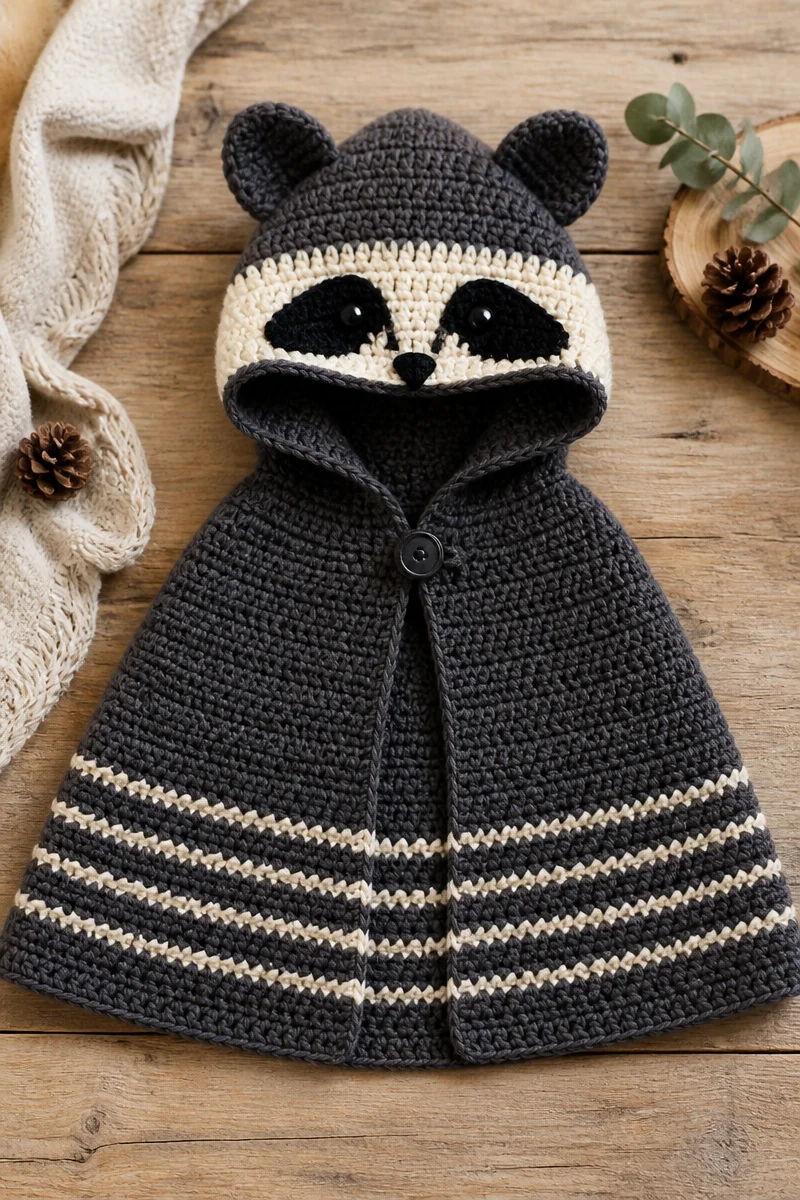
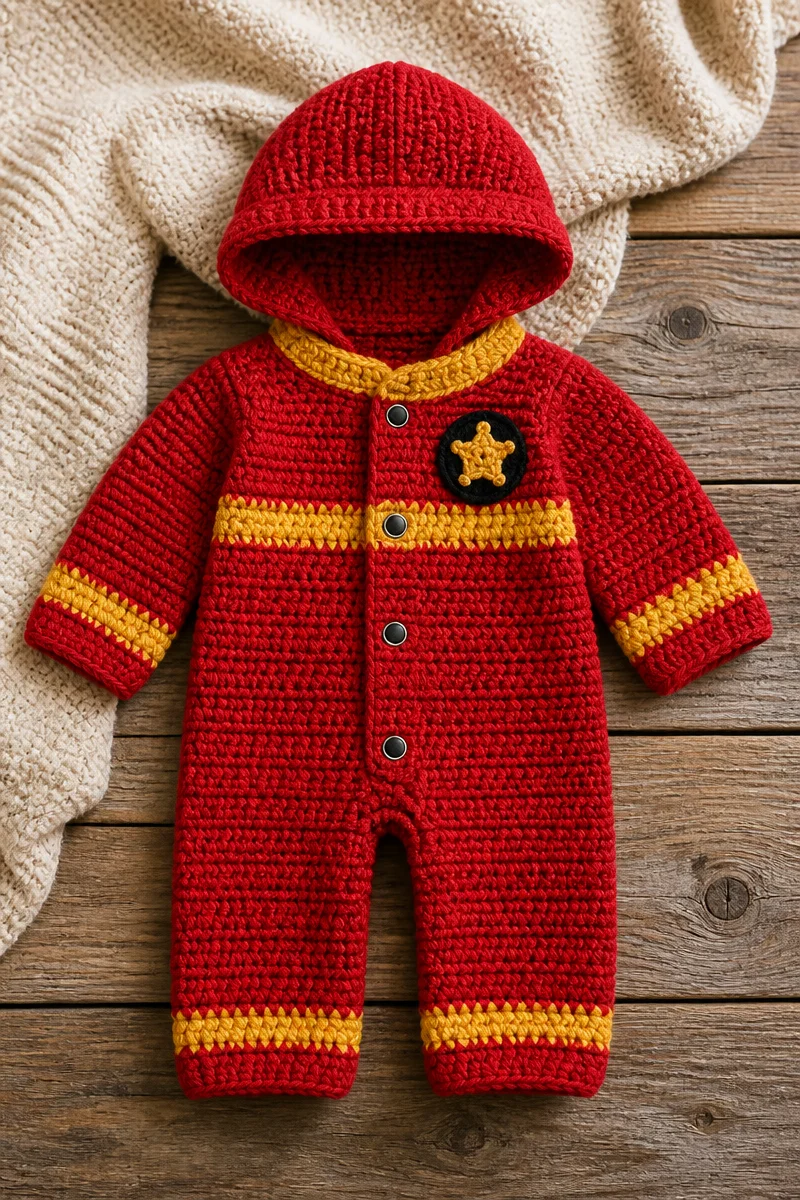
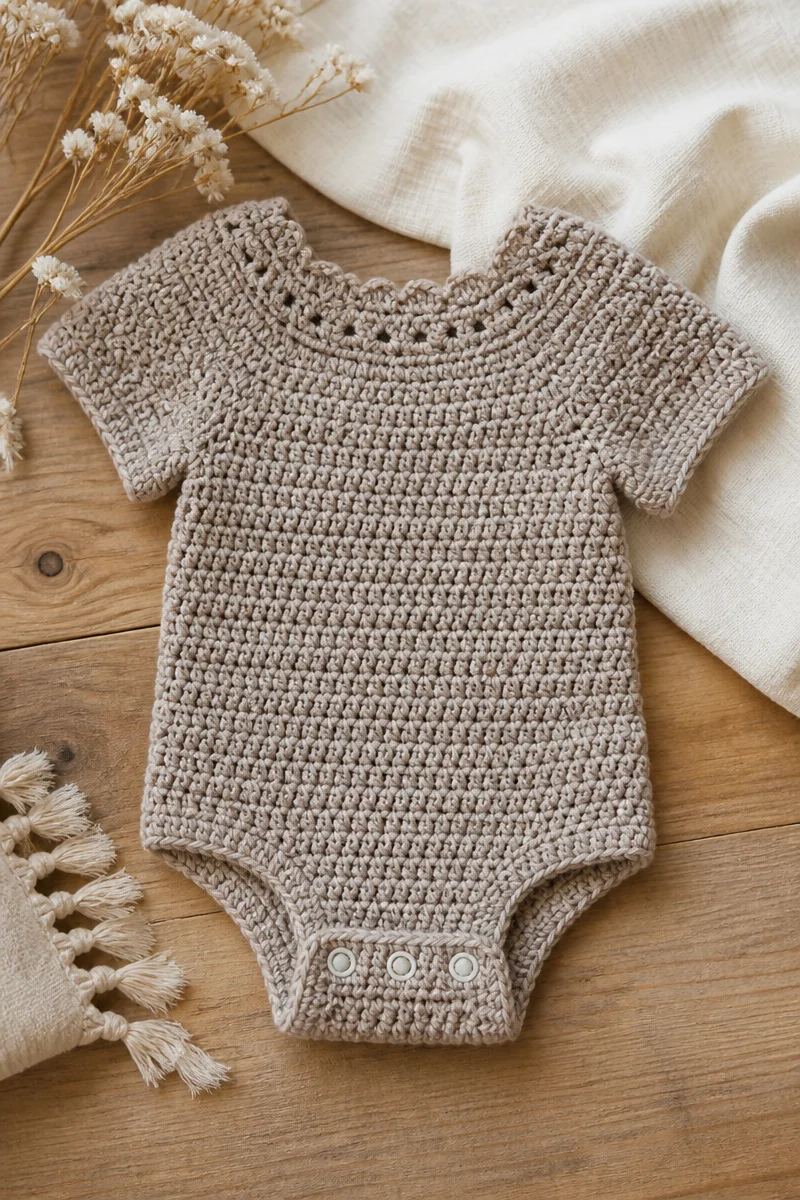
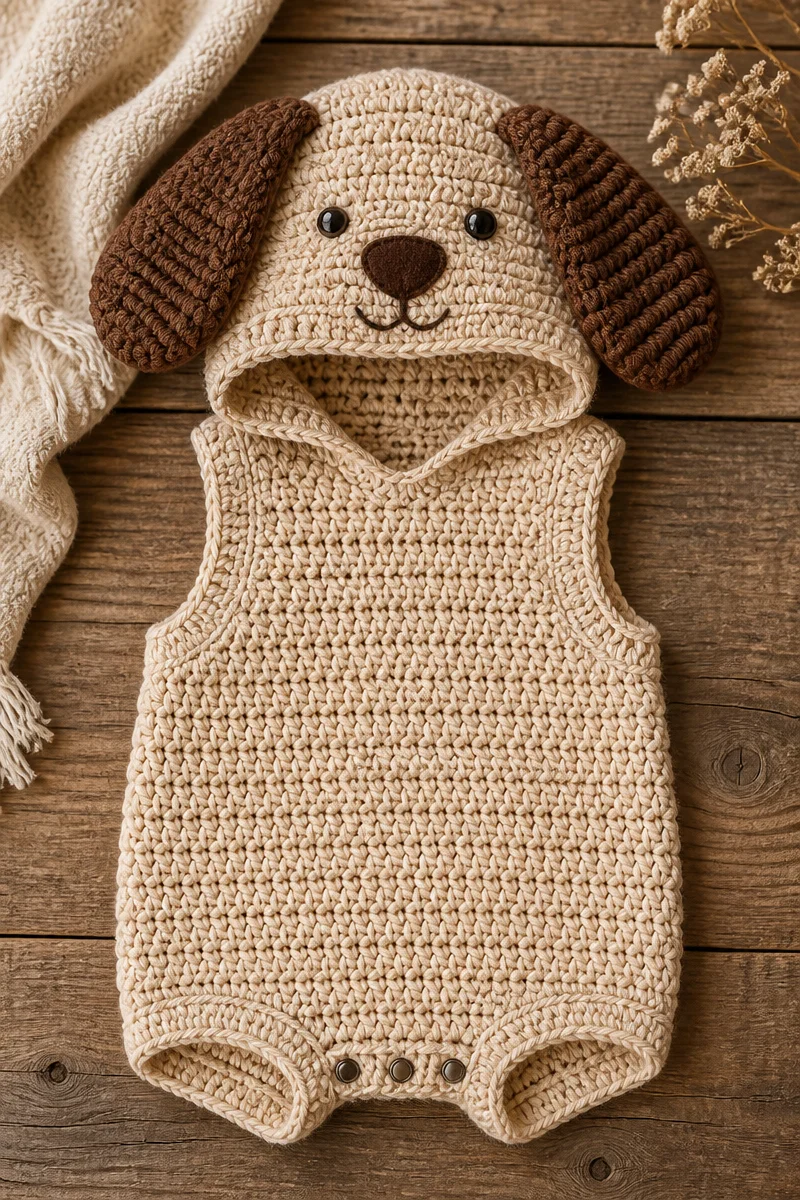
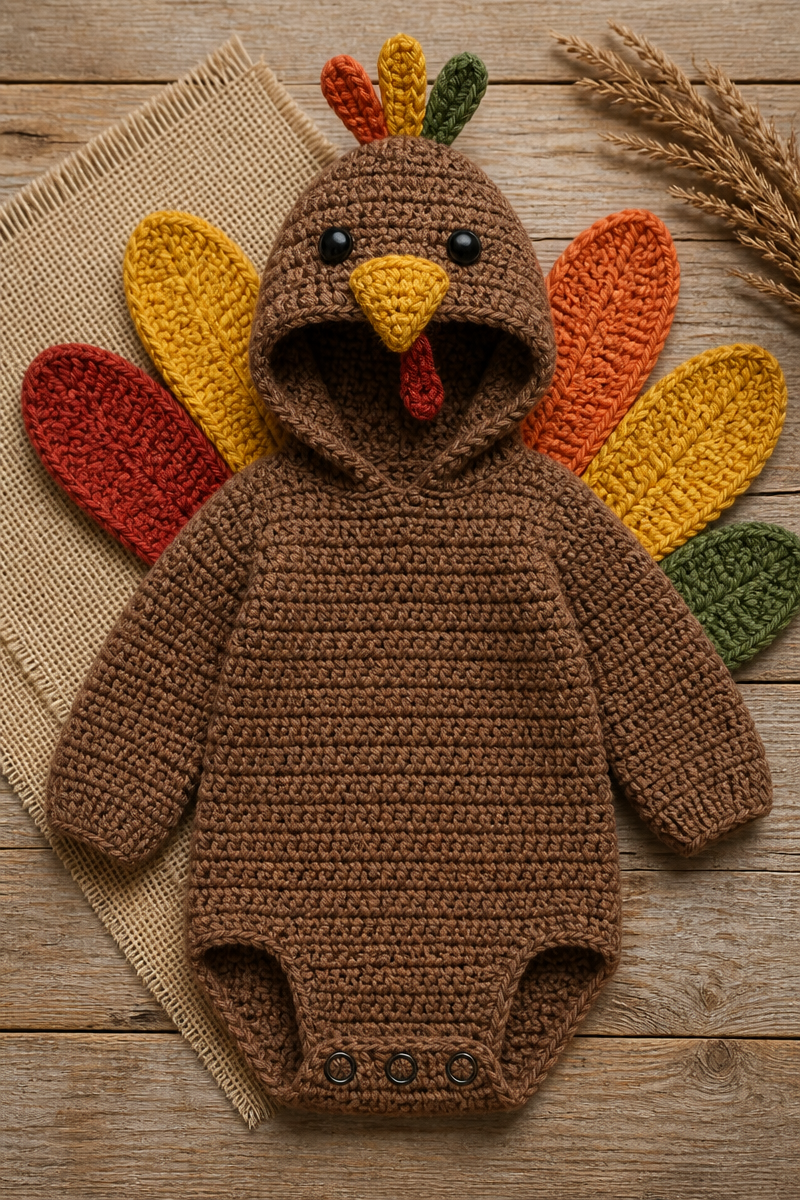
This baby turkey costume suit is a top-down crocheted onesie designed for an easy fit and quick finishing. The body is worked in continuous rounds, shaping with systematic increases, then split for leg openings featuring functional snap closures for diaper access. Tail feathers are shaped small rectangles with tapered edges, sewn together at the base, and attached for a colorful accent. The hood follows similar top-down increases to create a rounded crown, with a fabric felt beak and eyes securely attached before sewing to the body. The bulky yarn and 6.0mm hook produce a warm, densely textured fabric that holds structure well while remaining soft against a baby’s skin.
This costume balances solid construction with playful detail, making it a practical choice for fall celebrations or photoshoots. The snap fasteners allow easy dressing and diaper changes, while the felt beak and eyes add dimensional character without extra bulk. Bulky #5 yarn ensures the project works up swiftly while providing ample warmth. Using warm autumnal colors enhances the turkey theme. In choosing yarn, consider fiber content: acrylic blends offer durability and machine-washability, while wool or wool mixes add natural warmth but require more care.
Why You’ll Love This Baby Turkey Onesie
The pattern relies on straightforward top-down construction for the whole bodysuit and hood, minimizing seaming and allowing you to monitor size as you work. The increase rounds establish a smooth, tailored shape from neck to leg openings. Bulk yarn and large hook speed progress while producing a sturdy fabric. Tail feathers are simple to crochet in vivid colors with neat shaping that avoids complex stitch maneuvers. Snap fasteners deliver added functionality—a boon for practicality. This is a costume that’s both visually effective and engineered for ease of wear.
Materials
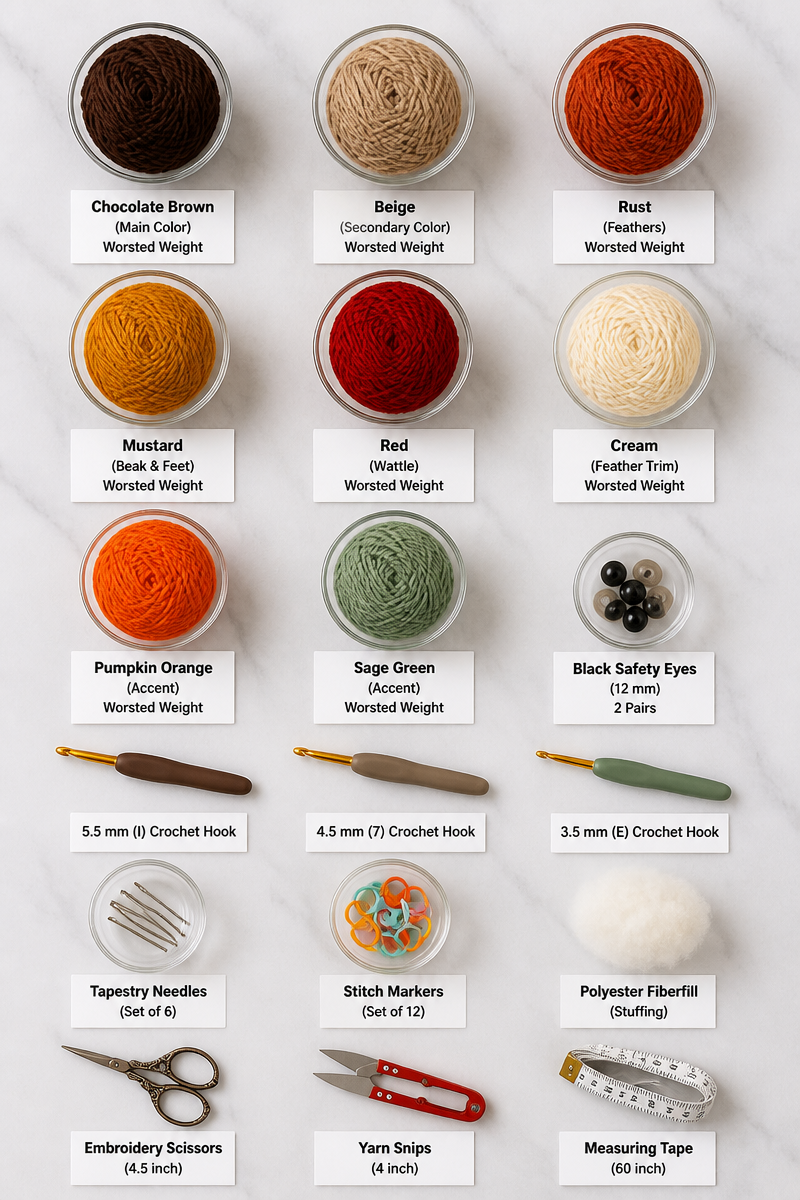
- Hook: US J/10 (6.0mm) crochet hook, smooth finish recommended for bulky yarn.
- Yarn: Bulky weight (#5) in four colors:
- Warm brown (main body): approx. 150 yards
- Burnt orange, golden yellow, deep red (for tail feathers): approx. 25 yards each
- Notions: yarn needle for weaving ends and sewing, stitch marker to mark rounds, orange and black felt for beak and eyes, fabric glue or fabric-safe hot glue, 2 snap fasteners sized appropriately for baby clothing.
Gauge
- Gauge: 11 stitches x 14 rows = 4″/10cm in single crochet (sc) using bulky yarn and 6.0mm hook
- This gauge reflects the tight, dense fabric required for warmth and shape stability.
Finished Size(s)
- Chest circumference at round 16 (just before split) measures approximately 18″ (real), fitting baby sizes 6–12 months.
- Leg openings created at round 12, each approximately 5″ around.
- Hood circumference matches neckline at 18″ circumference finished.
- Tail feathers approx. 3.5″ wide tapering to 2″ high per feather.
Special Stitches and Techniques
This pattern uses only basic stitches: chain (ch), single crochet (sc), and increases (inc = 2 sc in same stitch). Decreases for feather shaping are worked as single crochet decrease (sc2tog). Top-down continuous rounds for the body and hood use systematic increases by pattern repeats. The split for legs is a purposeful divide in rounds, creating two tubes joined at the crotch with snap closures for convenience.
Abbreviations
- ch = chain
- sc = single crochet
- inc = increase (2 sc in same stitch)
- sc2tog = single crochet 2 stitches together (decrease)
- st(s) = stitch(es)
- rnd = round
- sl st = slip stitch
- sp = space
Bulky Weight Yarn Tips
Bulky yarn works quickly but tends to be heavier and less elastic than lighter weights. Tension must be consistent to avoid overly tight fabric that resists stretch or overly loose stitches that cause uneven shaping. This pattern’s bulky yarn is best acrylic or acrylic blends for ease of washing and retaining bright colors. Wool/acrylic blends add warmth but may felt or shrink if over-washed or agitated.
Using a 6.0mm hook balances stitch definition and fabric drape; going down a hook size tightens fabric but reduces softness, while larger hooks risk gaps. Keep tension even, especially on increases, to maintain smooth shaping. Bulky yarn doesn’t block significantly but can be gently steamed to soften.
Options for Substitutions
- Substitute worsted weight yarn (#4) with 5.5mm hook, increasing stitch and row count by 25% to fit sizing.
- Use super bulky yarn (#6) with 8mm hook; reduce foundation chain stitches by 20% and decrease rounds accordingly.
- Choose a wool blend for added warmth; hand wash and lay flat to dry to protect fabric integrity.
- For machine washable fiber, 100% acrylic bulky yarn is ideal for multiple use and easy clean-up.
- For tail feathers, use cotton yarn for crisp stitch definition and smooth color transitions.
- Vary tail feather colors to suit personal taste or season; lighter colors show texture more clearly.
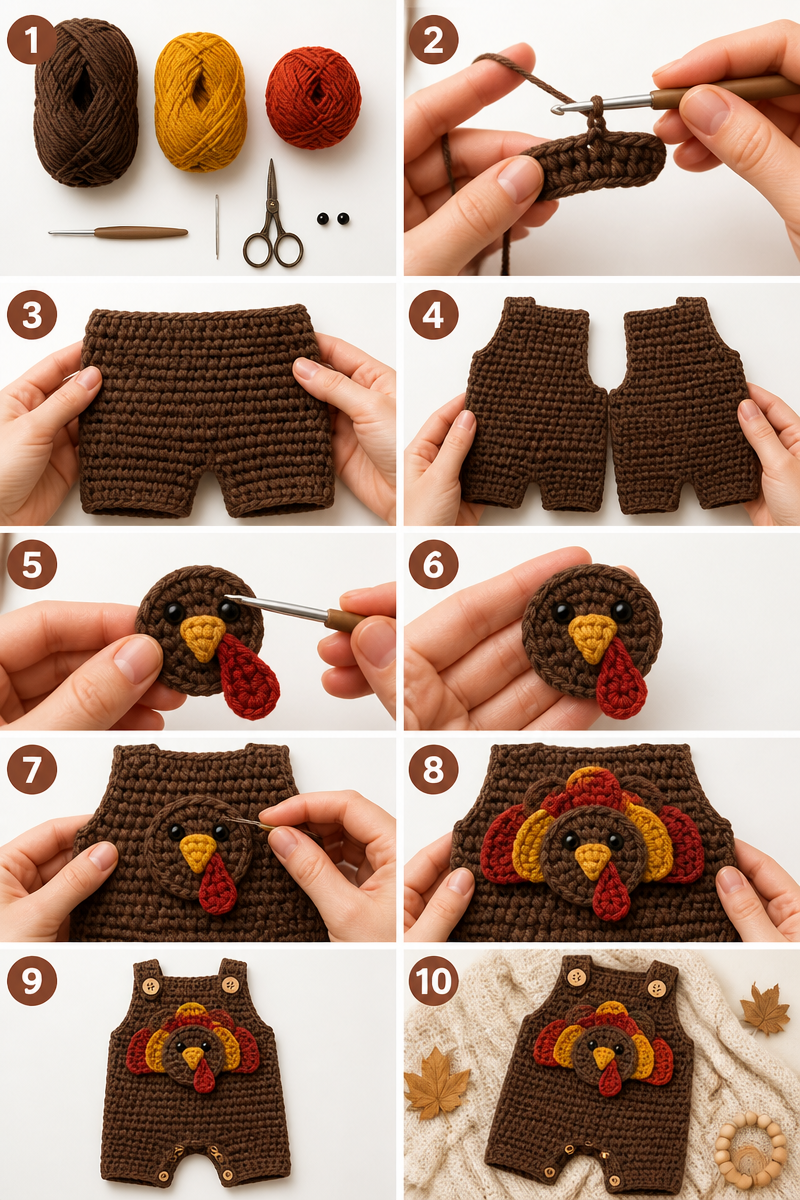
Body (make 1)
Begin top-down bodysuit in continuous rounds, working a flat circle to fit chest, then split for legs with snap closures.
Rnd 1: Ch 2, 6 sc in 2nd ch from hook (6 sts).
Rnd 2: Inc in each st (12 sts).
Rnd 3: Sc 1, inc repeat 6 times (18 sts).
Rnd 4: Sc 2, inc repeat 6 times (24 sts).
Rnd 5: Sc in each st around (24 sts).
Rnd 6: Sc in each st around (24 sts).
Rnd 7: Sc in each st around (24 sts).
Rnd 8: Sc in each st around (24 sts).
Rnd 9: Sc in each st around (24 sts).
Rnd 10: Sc in each st around (24 sts).
Rnd 11: Sc in each st around (24 sts).
Rnd 12: Working split for legs:
- Sc 6, fasten off next 12 sts (leave unworked to create leg openings), sc 6 (24 sts total for body, held in two 6-st segments around opening)
Attach snap fasteners to edges of split for easy diaper access.
Rnd 13: Sc in each st of first leg opening (6 sts), join yarn to second leg opening, sc in each st (6 sts). Work legs in rounds separately from this point.
Legs (make 2):
Rnds 1-10: Sc in each st around (6 sts) for length of leg opening.
Fasten off. Legs and body remain joined at crotch.
Tail Feathers (make 5)
With each color (burnt orange, golden yellow, deep red, warm brown for base), form feathers shaped by tapering ends.
Foundation: Ch 12
Row 1: Sc in 2nd ch from hook and across (11 sts).
Rows 2-5: Sc across (11 sts).
Row 6: Sc2tog, sc 7, sc2tog (9 sts).
Row 7: Sc across (9 sts).
Row 8: Sc2tog, sc 5, sc2tog (7 sts).
Row 9: Sc across (7 sts).
Row 10: Sc2tog, sc 3, sc2tog (5 sts).
Row 11: Sc across (5 sts).
Row 12: Sc2tog, sc 1, sc2tog (3 sts).
Bind off leaving a 12″ tail.
Repeat for total 5 feathers in varied colors. Sew bases of feathers together in a fan shape, then attach to back center of bodysuit at lower back.
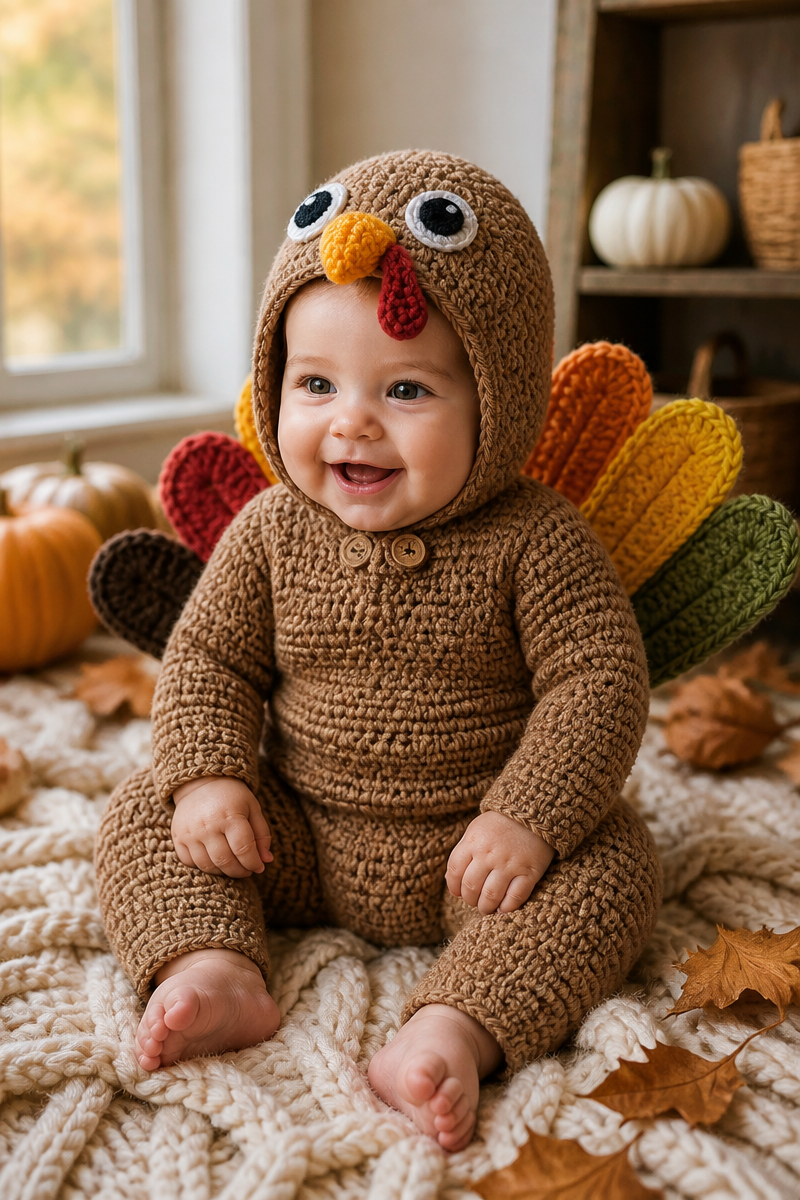
Hood with Beak (make 1)
Start hood crown top-down with flat circle increases to match body neckline (18″ circumference).
Rnd 1: Ch 2, 6 sc in 2nd ch from hook (6 sts).
Rnd 2: Inc in each st (12 sts).
Rnd 3: Sc 1, inc repeat 6 times (18 sts).
Rnd 4: Sc 2, inc repeat 6 times (24 sts).
Rnd 5: Sc around (24 sts).
Rnd 6: Sc around (24 sts).
Rnd 7: Sc around (24 sts).
Rnd 8: Sc around (24 sts).
Continue rounds as needed to reach 18″ circumference; approximately Rnd 9: Sc 3, inc, repeat 6 times (30 sts). Stop increasing when hood fits neckline. Work even for 5 additional rounds for hood depth.
Feel free to measure child’s head for precise fit.
Attach orange felt beak and black felt eyes to front of hood using fabric glue, reinforcing with hand stitching for durability.
Sew hood to neckline of bodysuit matching 18″ final counts.
Finishing
- Weave in all ends securely using yarn needle.
- Sew tail feathers evenly spaced along lower back center.
- Attach snap fasteners at split leg opening edges, aligned for smooth closure.
- Block gently with steam if desired to soften fabric and slightly shape edges.
Assembly
- Join hood to bodysuit neckline, matching finished stitch counts (18″ circumference, ~30 stitches).
- Sew tail feathers to back center at base, spacing evenly.
- Attach snap fasteners on either leg opening edge:
- Position snaps approximately 1″ from both top and bottom of split edges, spaced evenly vertically for firm closure.
- Secure all threads for durability in wear.
Watch Out for These Mistakes
Watch stitch counts closely on the increase rounds for the body and hood; incorrect repeat multiples will skew fit drastically. For example, increases must follow exact repeats: Rnd 3 (sc1, inc x6) and Rnd 4 (sc2, inc x6) for a correct stitch count progression.
Remember to split for leg openings precisely on Rnd 12 with six stitches per side, leaving a 12-st split for leg openings—skipping or miscounting here can cause uncomfortable leg holes or gaps.
Tail feather decreases use sc2tog carefully to shape tapered edges; a missed decrease alters feather shape and fit during assembly.
Attach felt pieces firmly with both fabric glue and reinforced stitching; felt edges may fray unless anchored securely.
Care and Washing Instructions
Hand wash or machine wash gentle cycle cold with mild detergent. Avoid bleach or fabric softeners. Lay flat to dry to maintain shape and prevent felting or distortion, especially if the yarn contains wool.
Remove felt decorations before washing or spot clean as needed. Snaps should be securely attached; inspect frequently and sew tighter if loosening.
Questions About Making This Baby Turkey Onesie
Q: Can I make this costume larger or smaller?
A: Yes, adjust the foundation chain and increase rounds proportionally. Use the gauge of 11 sts and 14 rows per 4″ as a guide. Increase in multiples of 6 sts per increase round.
Q: What if I want a softer fabric?
A: Use a higher-quality acrylic blend or a wool blend, but allow for gentle care. Adjust hook size slightly larger for drape.
Q: How do I add sleeves?
A: You can pick up stitches at armholes (currently closed) and work small tubes in rounds or rows, matching leg stitch counts for proportional fit.
Q: Can tail feathers be made in different shapes?
A: Yes, but maintain size alignment for neat sewing. Rectangular tapered shapes allow clean, even attachment bases.
Q: How do I prevent snap fasteners from pulling out?
A: Sew reinforcement stitches through the yarn backing and around snaps multiple times. Alternatively, attach snaps to a small cloth backing sewn inside.
Q: What if the hood is too tight?
A: Add an extra increase round or two at the crown before working even rounds, ensuring you match the neckline circumference.
Q: Is this suitable for newborns?
A: The pattern is sized for about 6–12 months. To adapt for newborns, reduce foundation chain and rounds accordingly, maintaining the increases and splits.
This pattern combines simple shaping and construction with thoughtful functionality built for wear and ease. Share your finished costume photos to show the playful spirit and careful craftsmanship.