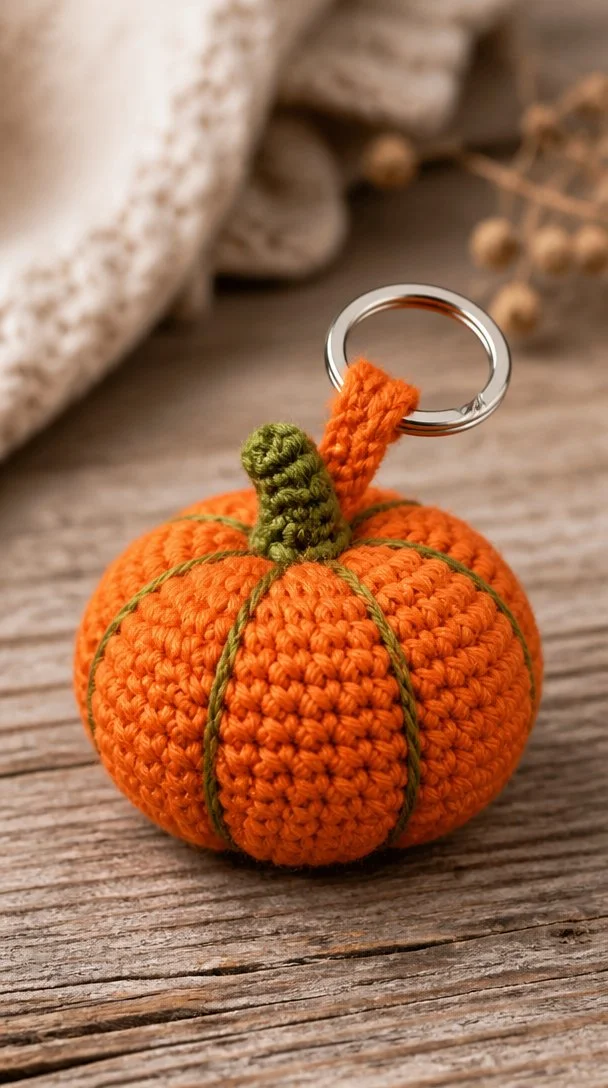
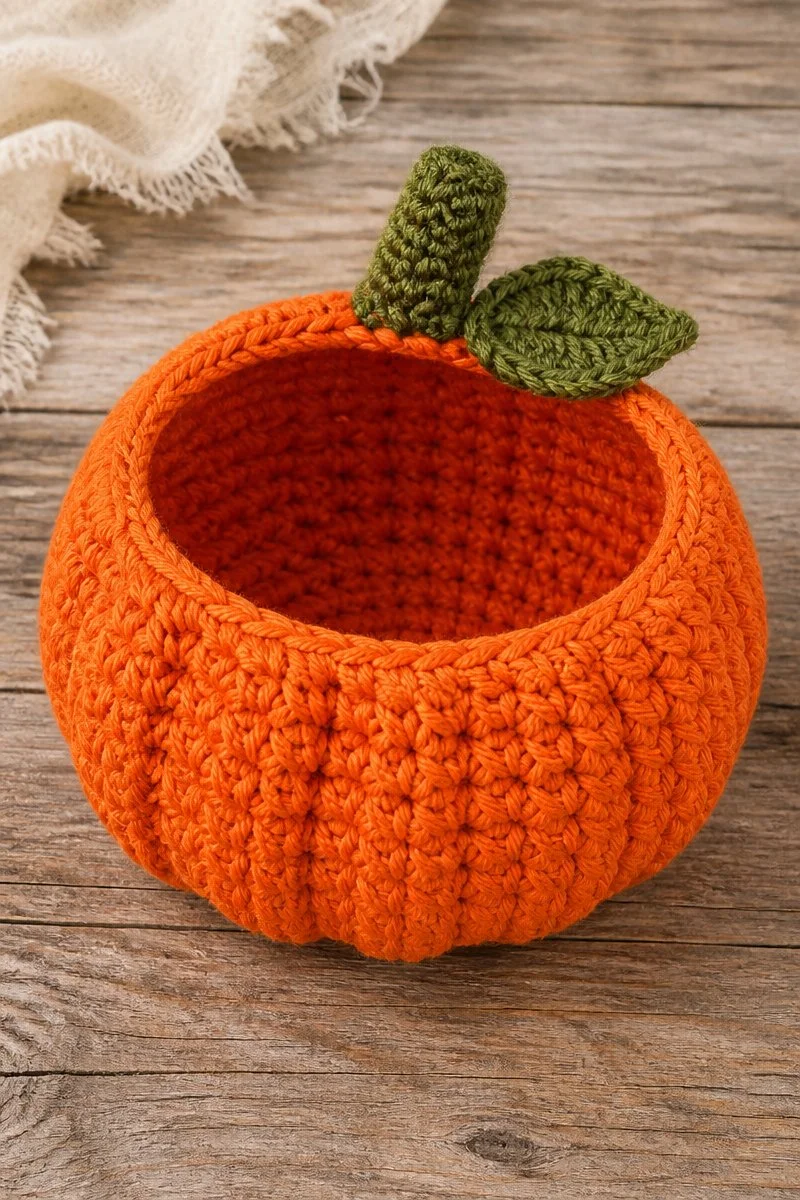
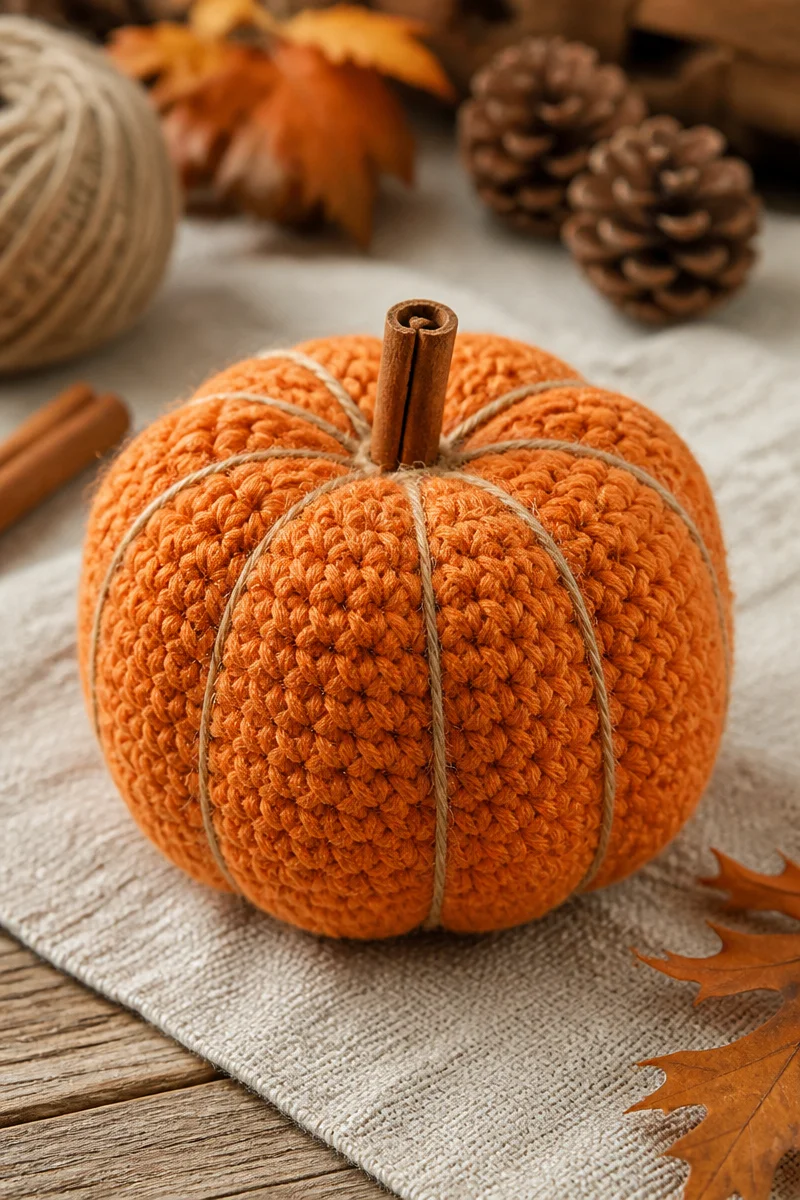
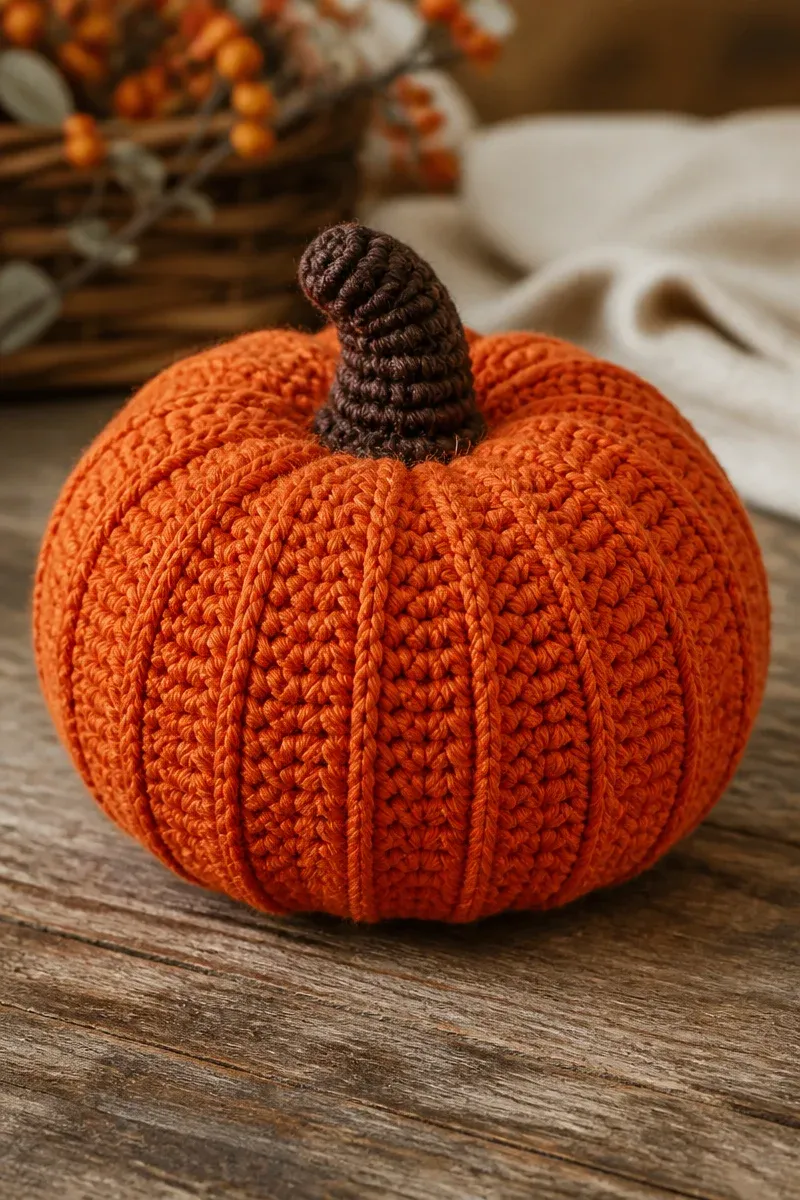
This pumpkin centerpiece is formed entirely in rounds from a tightly crocheted flat circle base that grows evenly by six stitches per round, then transitions into a textured ridged body with subtle vertical lines to simulate pumpkin segments. The stem, worked separately in rows, attaches securely at the top, adding a contrasting dark tone that grounds the warm burnt orange of the main body. This piece bridges amigurumi shaping with decorative home accents, using a simple, repeatable pattern that accommodates stuffing for a firm, shaped form. The ridged lines are created by alternating working double crochet in the back loop only on every other round, adding subtle texture and dimension without complicated stitch variations.
The choice of worsted weight acrylic balances durability with ease of care, making this piece practical for table use in seasonal decor. Acrylic yarn holds shape well and resists stretching or crushing, especially important given the firm stuffing and the relatively tight gauge. Alternative natural fibers might offer a softer hand but would require more careful maintenance and risk shape loss under handling or humidity. The stem’s accent color is minimal but critical, requiring only a small fraction of yarn to create a solid visual anchor for the pumpkin silhouette.
This pattern fits advanced beginners and above who are comfortable with magic rings, increasing and decreasing in the round, and working consistent tension to maintain roundness and size. The finished pumpkin measures about 6 inches in diameter and stands 5.5 inches tall, making it a compact but substantial visual element for tabletops or shelves.
Why You’ll Love This Pumpkin Centerpiece
The defining feature is the textured body formed by alternating double crochet rounds worked in back loops to create subtle ridges mimicking natural pumpkin grooves. This adds depth without complicated stitches or colorwork. The construction is straightforward, starting with a magic ring and increasing evenly in rounds, making it accessible for those familiar with amigurumi techniques. The yarn choice enhances the solid form and vibrant color, while stuffing ensures a stable, tactile shape that won’t flatten easily. Finishing is quick with no complex assembly beyond sewing the stem securely on top.
Materials
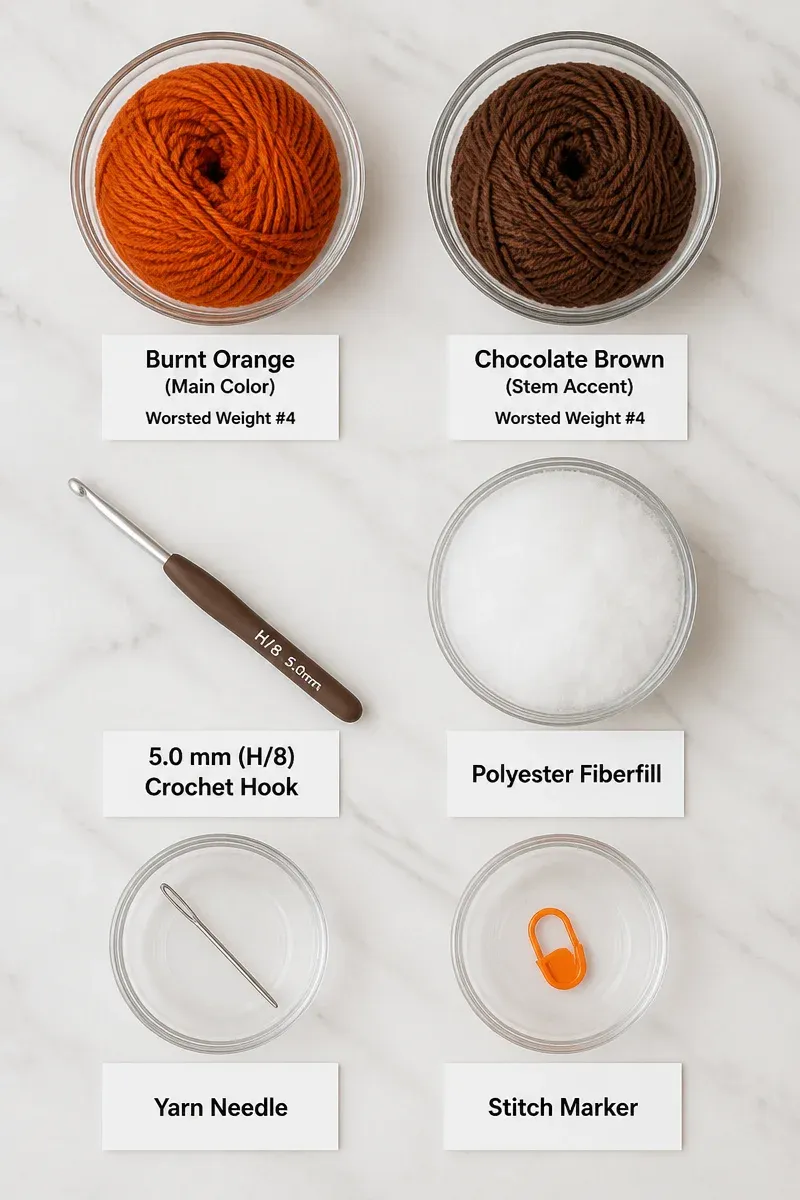
- Hook: US H/8 (5 mm)
- Yarn: Worsted weight (#4) acrylic
- Main color: Burnt orange, approx 120g (240 yards)
- Accent color: Chocolate brown, approx 10g (20 yards) for stem
- Notions: Polyester fiberfill (non-toxic), yarn needle, stitch marker
Gauge
Approximate gauge in double crochet: 13 stitches x 14 rows = 4 x 4 inches (10 x 10 cm).
Finished Size(s)
- Diameter: approx 6 inches (15 cm)
- Height (including body and stem): approx 5.5 inches (14 cm)
Special Stitches and Techniques
- Magic ring: Wrap yarn around fingers to form a ring; stitches worked into ring can be pulled tight, closing hole neatly.
- Back loop only (BLO): Insert hook into the back loop only of the stitch, leaving the front loop free, creating ridges.
- Increase (inc): Two single crochet stitches worked into the same stitch.
- Decrease (dec): Single crochet two stitches together, reducing stitch count.
- Slip stitch (sl st): Insert hook into stitch, yarn over, pull through stitch and loop on hook; used to join rounds or move yarn.
Abbreviations
- sc = single crochet
- dc = double crochet
- inc = increase (2 sc in same stitch)
- dec = decrease (sc 2 stitches together)
- sl st = slip stitch
- ch = chain
- st(s) = stitch(es)
- rnd = round
Acrylic Worsted Weight Yarn Tips
This type of acrylic yarn offers smooth, consistent thickness and works well at a medium tension, making it ideal for amigurumi-style shaping. It slides easily on the hook but holds structure, which helps maintain roundness in the pumpkin body. Avoid overly tight tension; the stitch definition should allow the back loop texture to stand out without puckering. Acrylic does not need blocking, but gentle steaming can improve overall drape if needed. It tends to resist fading and felting, making it perfect for items that will be stored seasonally or subject to handling. The burnt orange color has excellent stitch definition, helping ridges pop visibly. The chocolate brown stem color offers deep contrast without bleeding or running when cleaned.
Options for Substitutions
- Use a cotton worsted yarn for a more natural matte finish, noting that cotton’s lack of elasticity may affect shaping and stuffing distribution.
- Substitute a wool blend worsted yarn for increased warmth and softness; block carefully after stuffing to retain shape.
- Switch to a 4.5 mm hook if your tension is tight; this slightly larger hook can improve stitch texture when working acrylic yarn tightly.
- Choose a deep olive or forest green for the stem for a rustic farmhouse accent instead of chocolate brown.
- Use hand-dyed or variegated yarn in the main color for added visual interest, but ensure color changes do not interrupt the ridged texture.
- If a smaller pumpkin is desired, switch to a DK weight yarn with a 3.75 mm hook and adjust stitch counts proportionally for size.
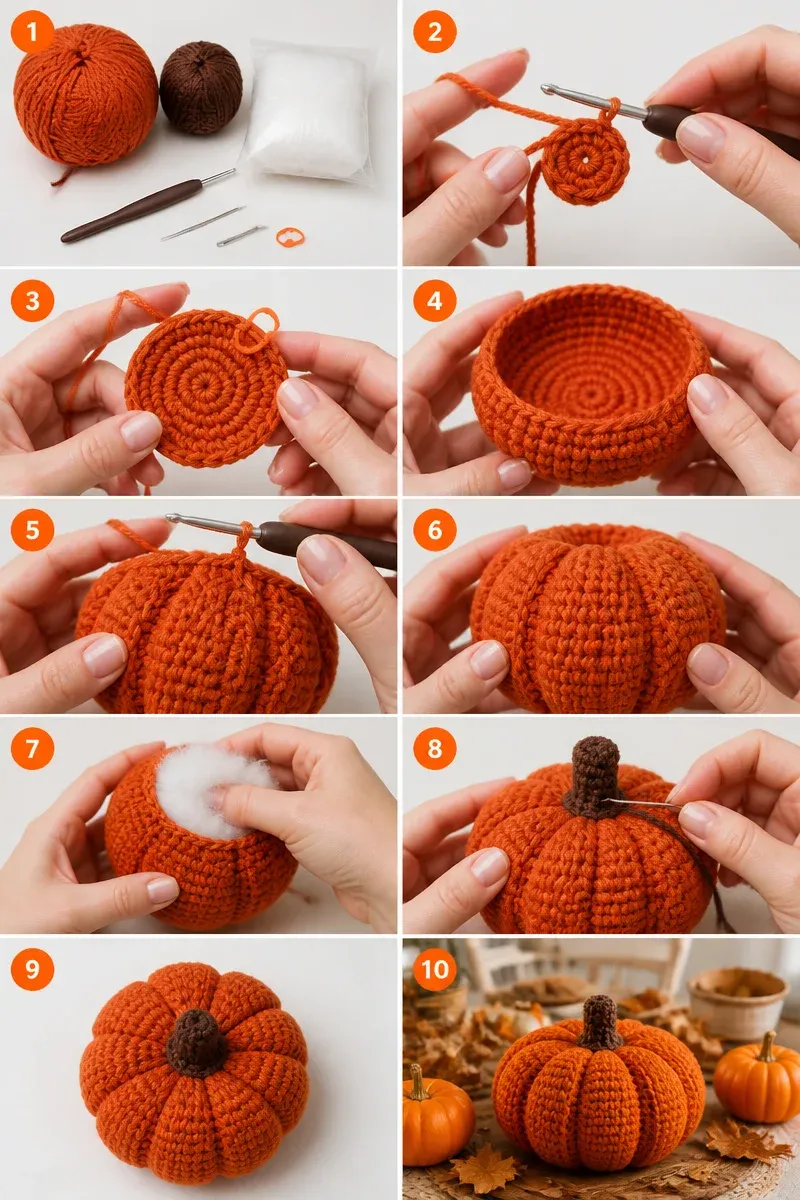
Pumpkin Body (make 1)
Rnd 1: 6 sc in magic ring (6 sts)
Rnd 2: inc in each st around (12 sts)
Rnd 3: sc1, inc around (18 sts)
Rnd 4: sc2, inc around (24 sts)
Rnd 5: sc3, inc around (30 sts)
Rnd 6: sc4, inc around (36 sts)
Rnd 7: sc5, inc around (42 sts)
Rnd 8: sc6, inc around (48 sts)
Rnd 9: sc7, inc around (54 sts)
Rnd 10: sc8, inc around (60 sts)
Rnd 11: dc in each st around, BLO
Rnd 12: dc in each st around, normal
Rnd 13: dc in each st around, BLO
Rnd 14: dc in each st around, normal
Rnd 15: dc in each st around, BLO
Rnd 16: sc3, dec around (48 sts)
Rnd 17: sc2, dec around (36 sts), begin stuffing firmly with fiberfill
Rnd 18: sc1, dec around (24 sts)
Rnd 19: dec around (12 sts)
Rnd 20: dec around (6 sts), finish stuffing, fasten off, cinch closed
Stem (make 1)
With accent color:
Ch 8, sl st in 2nd ch from hook and each ch across (7 sl sts).
Row 2-3: ch 1, turn, sc across (5 sts x 2 rows).
Fasten off, leaving long tail for sewing.
Assembly
- Using yarn needle and tail, sew stem securely to top center of pumpkin body, anchoring through multiple passes to maintain upright position.
- Weave in all ends neatly on inside of pumpkin.
Watch Out for These Mistakes
One common difficulty is maintaining consistent stitch tension during the double crochet rounds that create ridges. Working back loop only on alternate rounds can cause the piece to tighten unexpectedly. If the ridges start pulling the round smaller, loosen tension slightly to avoid puckering.
Stuffing should be firm but not overpacked. Overstuffing may stretch the stitches and distort ridges, flattening the textured design. Stuff gradually starting at round 17 and check shape frequently to maintain a round, even silhouette.
When decreasing rounds begin at round 16, ensure the stitch count reduces accurately. Missing a decrease or miscounting repeats will cause uneven shaping, which disrupts the pumpkin’s curved profile. Use stitch markers to track repeats if needed.
The stem’s row count and stitch count must be exact—5 sts wide by 3 rows—to fit proportionally on top of the pumpkin’s small flat center. Sewing the stem off-center or loosely will result in a floppy attachment.
Ensure you cinch the final 6-stitch round securely closed to prevent a hole or visible gap at the pumpkin’s base.
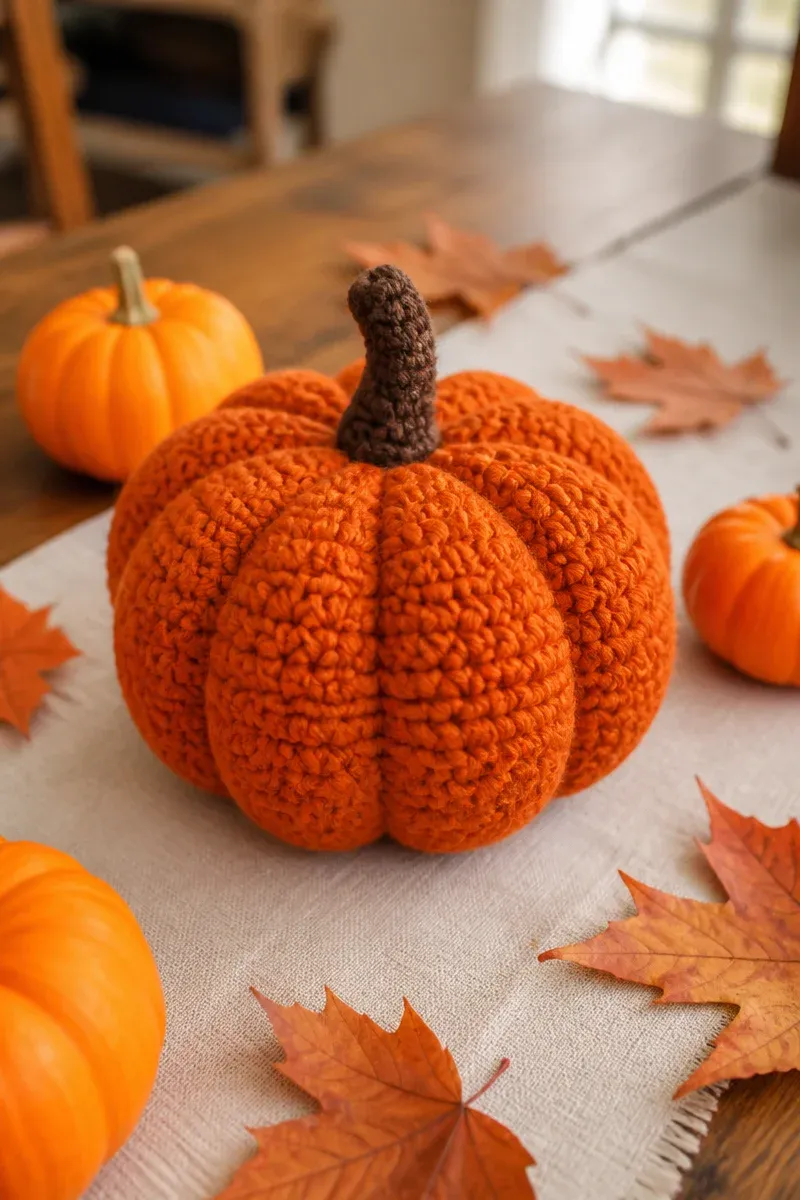
Care and Washing Instructions
This acrylic yarn is machine washable on gentle or delicate cycle using cold water. Avoid bleach and fabric softeners to maintain color vibrancy and fiber integrity. Lay flat to dry to retain shape; do not tumble dry.
Spot cleaning is effective for minor dirt, using mild detergent and cold water. Avoid excessive rubbing which might fuzz or pill acrylic fiber.
Do not block with heat; acrylic fibers do not hold blocking well and high heat may cause distortion. The piece will maintain its shape from stuffing rather than wet shaping.
Questions About Making This Pumpkin Centerpiece
Q: Can I make this pumpkin larger or smaller?
A: Yes, adjust hook size and yarn weight accordingly. For a larger size, use bulkier yarn and a bigger hook, increasing rounds to about 6 sts per incr round. For smaller pumpkins, downsize with DK yarn and appropriate hook, scaling the rounds proportionally.
Q: Can I use natural fibers instead of acrylic?
A: Cotton or wool can be used but watch for reduced elasticity and potential shape loss. Wool may felt slightly, while cotton may stretch. Acrylic maintains form best for this stuffed design.
Q: Are the ridges difficult to crochet?
A: Not particularly; the ridges form by switching to back loop only stitches on alternate rounds. This is a common technique and easy once the pattern is followed.
Q: Do I have to stuff the pumpkin?
A: Yes, stuffing maintains shape and firmness. Avoid under-stuffing to prevent sagging, and overstuffing which may distort the fabric.
Q: What if I want a different stem style?
A: You can knit, crochet, or sew alternative stems, but maintain the base’s 5 stitches to fit the attachment point neatly.
Q: How are rounds joined?
A: Join rounds with sl st at the top of the previous round. You may mark the first stitch to track rounds; however, a visible join line is normal in this style.
Q: Can I make multiple pumpkins in different colors?
A: Absolutely. The pattern adapts well to fall color variations or create a themed set for seasonal decor.
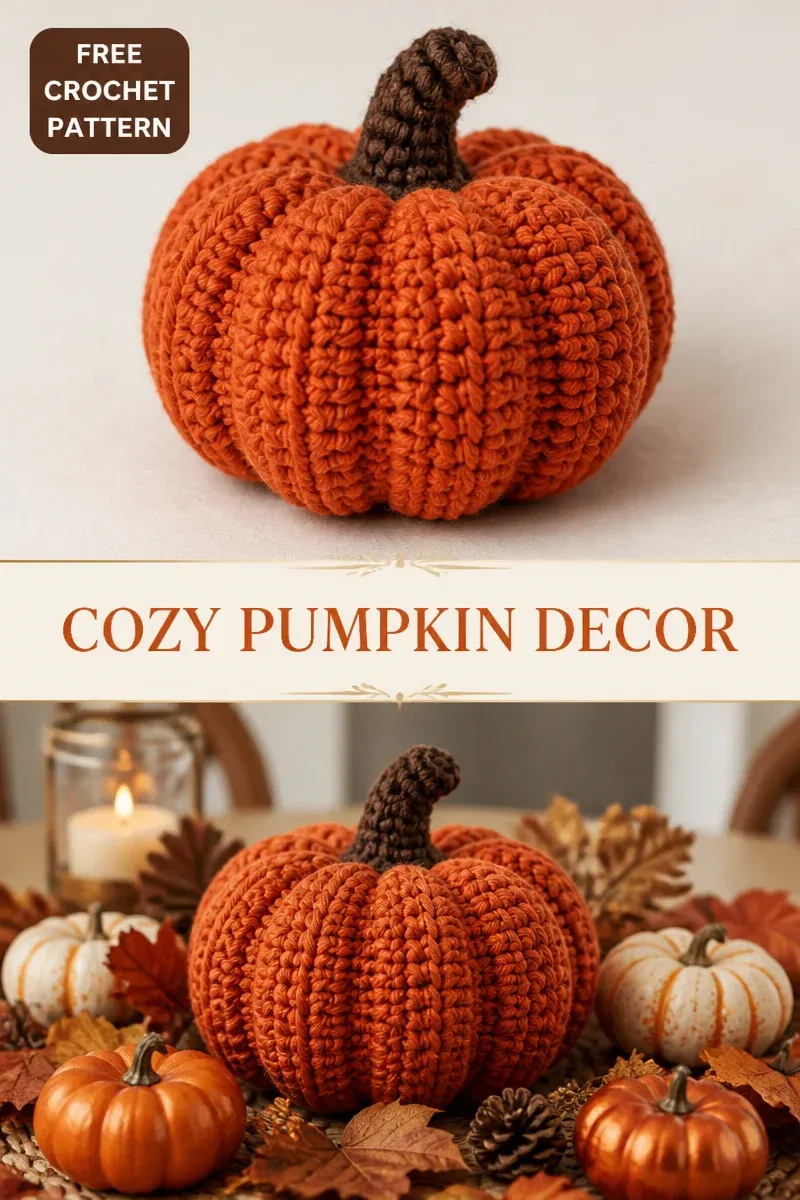
The simplicity and texture make this pumpkin a solid project for seasonal decorating with quick construction and reliable finishing. Share your finished work to let others see your crafted centerpiece’s dimension and charm.