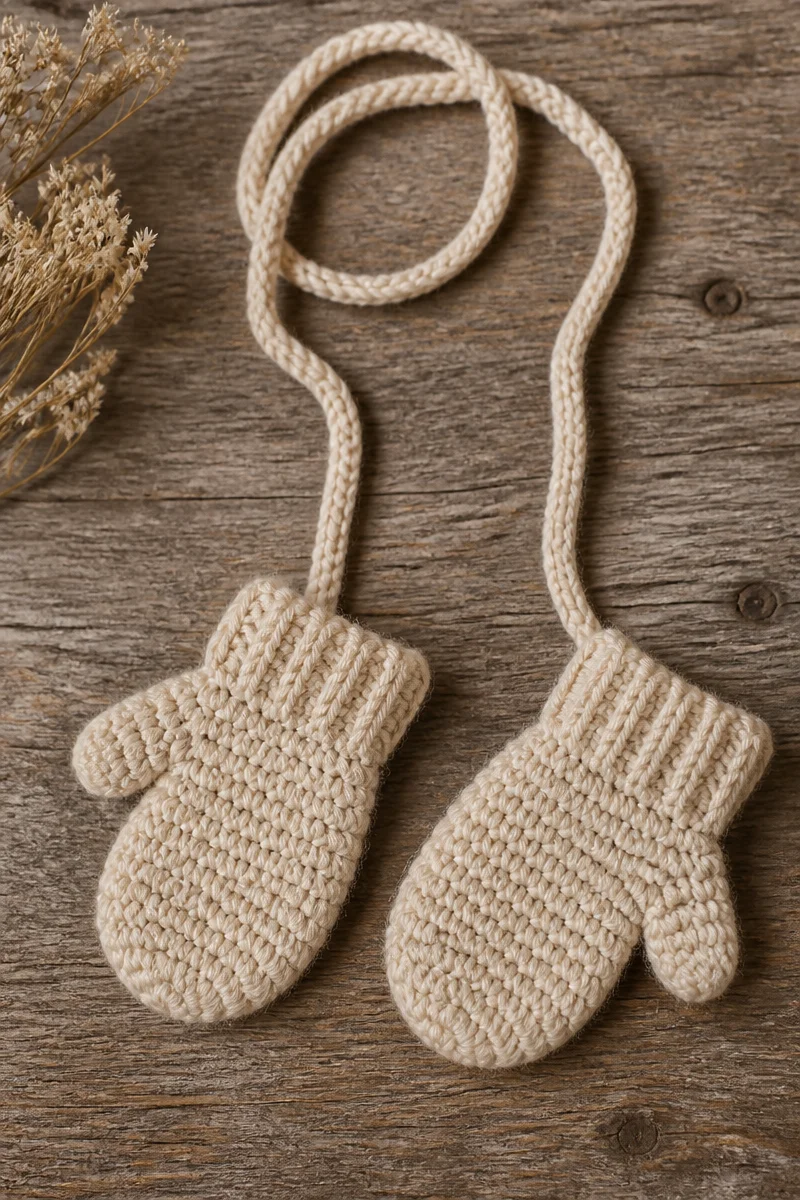
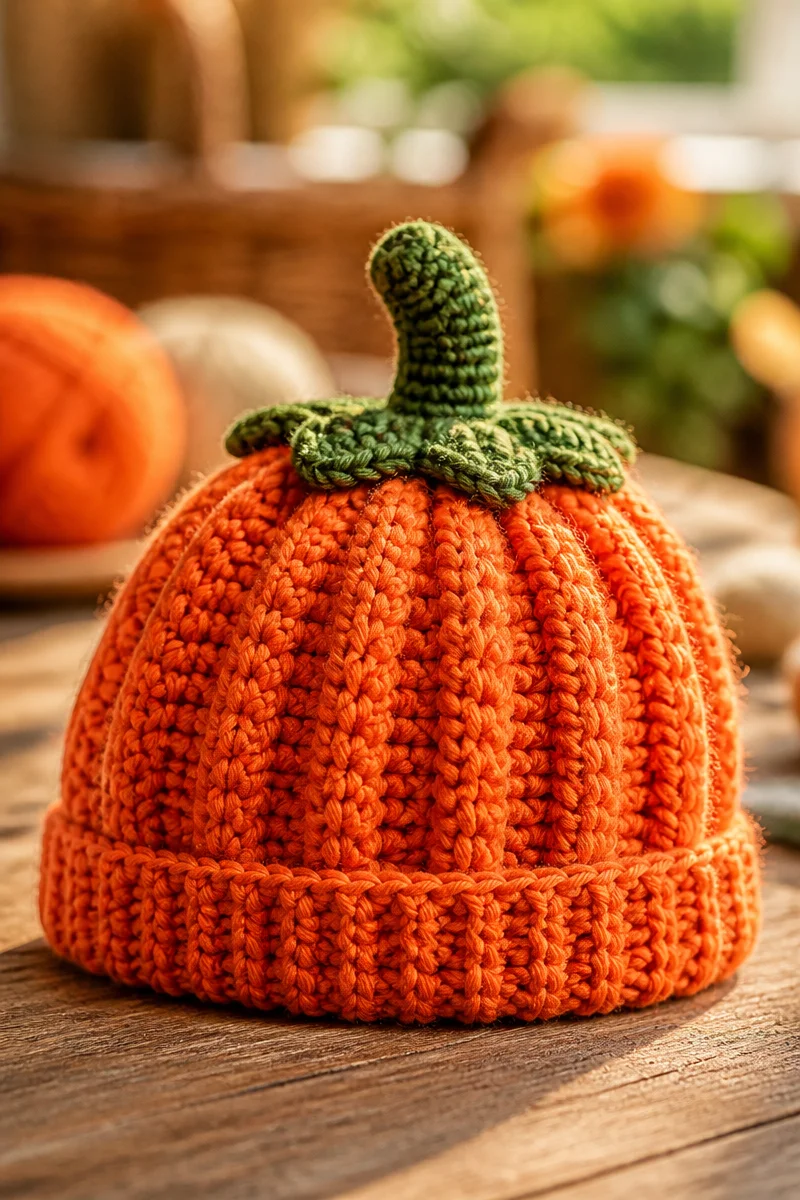
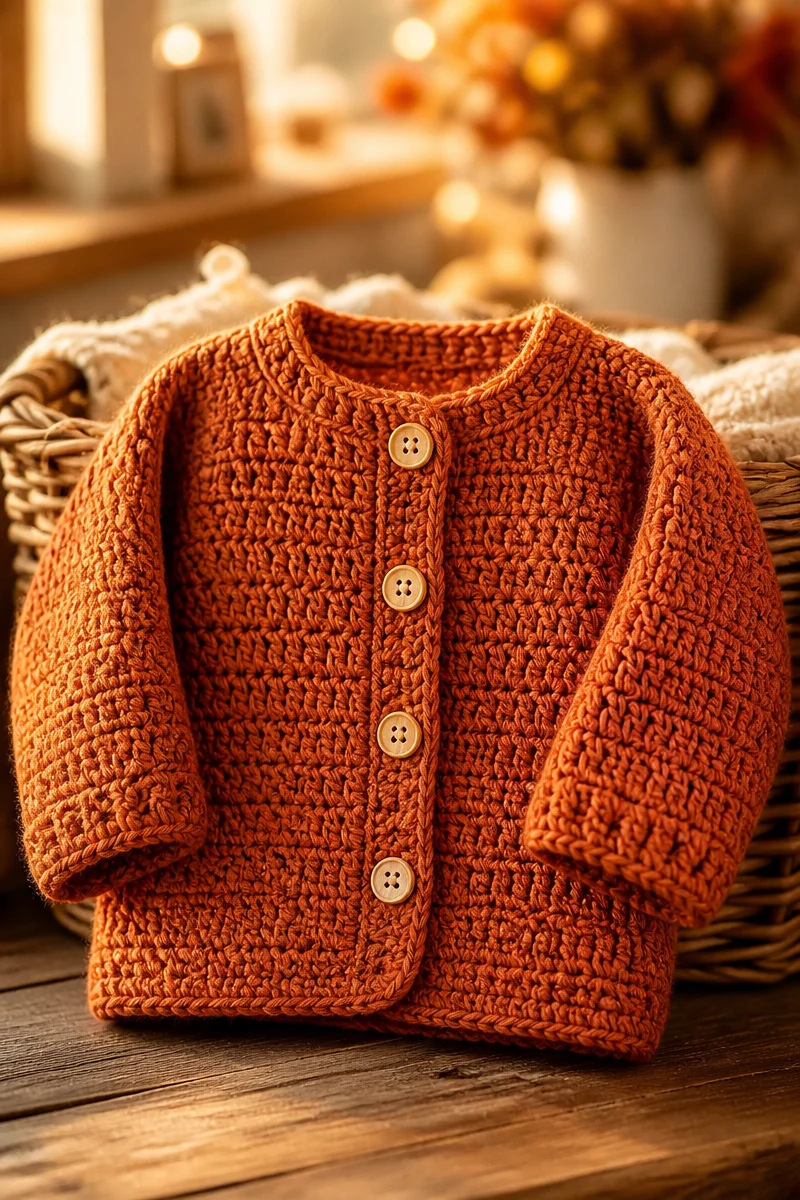
Creating baby mittens is pure comfort to make. There’s something truly relaxing about gently working stitch by stitch, letting your mind wander as your hands bring a cozy creation to life. The feel of soft cotton yarn gliding through your fingers is notably satisfying, especially when you know the end result will be something warm and practical for a little one.
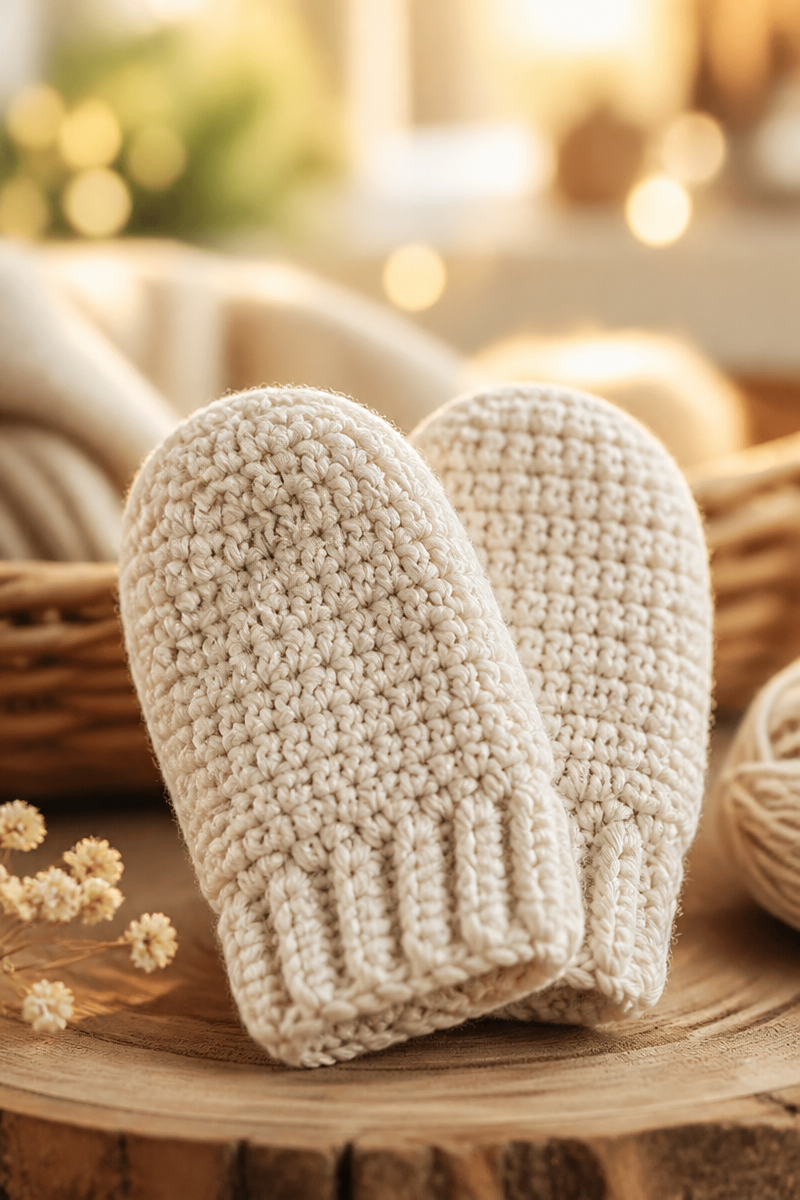
In this pattern, we’ll be working with cotton yarn, which offers a gentle touch and breathability that is perfect for delicate baby skin. A medium-sized crochet hook will guide you through the process, while a yarn needle and scissors ensure you have everything you need for finishing touches. The texture of the finished mittens is wonderfully soft, creating charming mittens that both look good and feel great.
The method is straightforward. We will start with a foundation chain to form the base and then work in rounds to create the mitten shape. Finally, we will seal our work with a simple slip stitch, making this an accessible pattern for beginners while providing just enough challenge to keep your crafting spirit engaged.
These baby mittens are perfect for chilly nights when little ones need an extra layer for warmth. They also make a beautiful handmade gift for new parents, showcasing the love and care you put into crafting each piece. Plus, they are great additions to craft fairs or markets, sure to bring smiles to faces as parents look for thoughtful, handmade baby essentials.
Why You Will Love This Simple Soft Cotton Crochet Baby Mittens Pattern
- Works up quickly: Perfect for last-minute gifts.
- Simple stitches: Ideal for beginners and seasoned crocheters alike.
- Relaxing project: Great for winding down at the end of the day.
- Eco-friendly material: Cotton is biodegradable and sustainable.
- Customizable: You can easily add embellishments like buttons or appliques.
Cotton Yarn Tips
When choosing cotton yarn for your baby mittens, it’s essential to select a high-quality type that has a nice drape. Look for yarn labeled as “100% cotton,” as it tends to be softer and less prone to splitting. This will make your crocheting experience smoother. If you are not sure which brand to choose, consider trying a well-known brand that offers soft, durable cotton in various colors. Always check for yarn labeled as “baby friendly,” ensuring it’s free from harmful dyes and chemicals.
Options for Substitutions
- Acrylic yarn: If you prefer something even softer, acrylic can be a good alternative.
- Blended yarns: Look for blends that combine cotton with bamboo for added softness and sheen.
- Different cotton weights: Explore light worsted or DK cotton for varied projects.
- Using different hook sizes: Adjust the tension by using a smaller or larger hook based on your preference.
- Switching to alternative fibers: Experiment with organic cotton for a more eco-conscious choice.
- Color variations: Opt for ombre or variegated yarn for a unique look.
Watch Out for These Mistakes
When crocheting these baby mittens, there are a few common pitfalls to avoid. First, make sure to follow the foundation chain closely. Dropping stitches at the end of a row can alter the shape and size of your mittens. This means what starts as a perfect fit may end up far too loose or tight.
Tension is also key in crochet. If your stitches are too tight, the mittens may become uncomfortable, while overly loose work can make your project look sloppy. Keep a consistent tension throughout your rows for a neater finish.
Lastly, while working in rounds, be cautious not to skip any chain spaces. Skipped stitches can lead to uneven edges, which would detract from the overall polished look of your mittens. Always count your stitches as you go to ensure each row maintains its form.
What to Pair With This Simple Soft Cotton Crochet Baby Mittens Pattern?
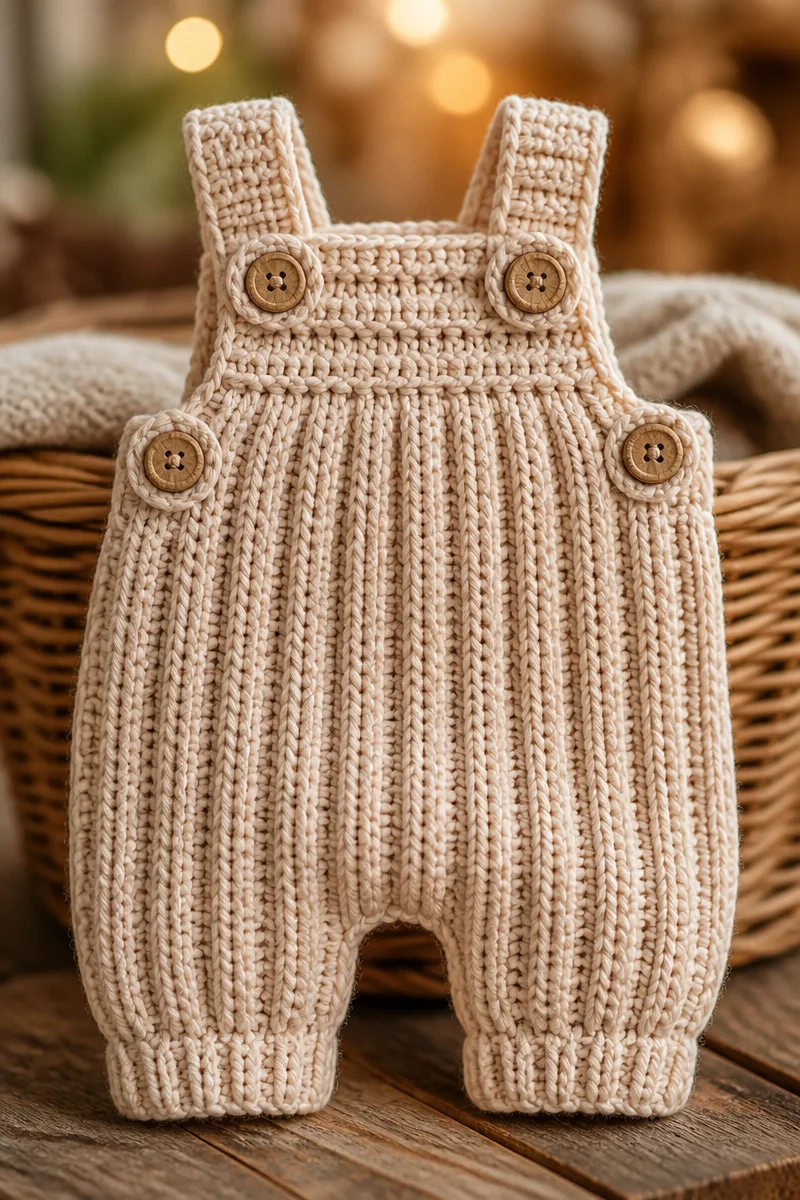
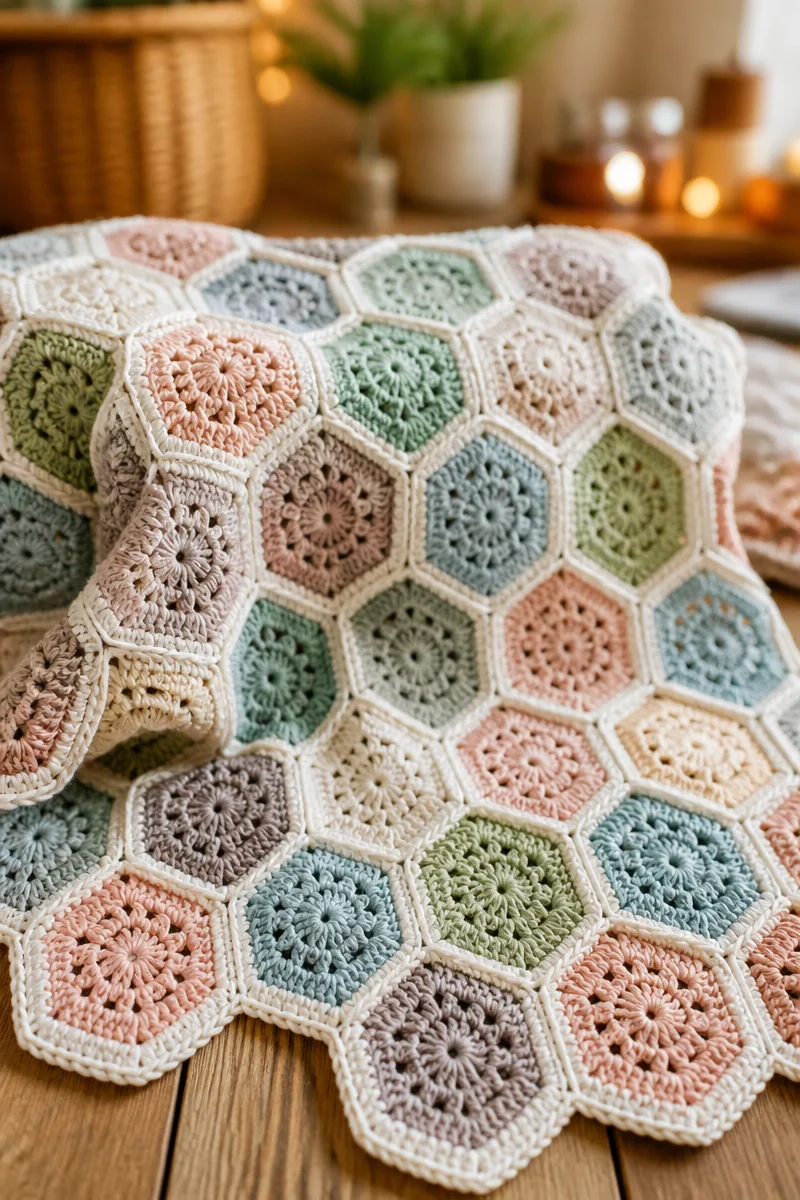
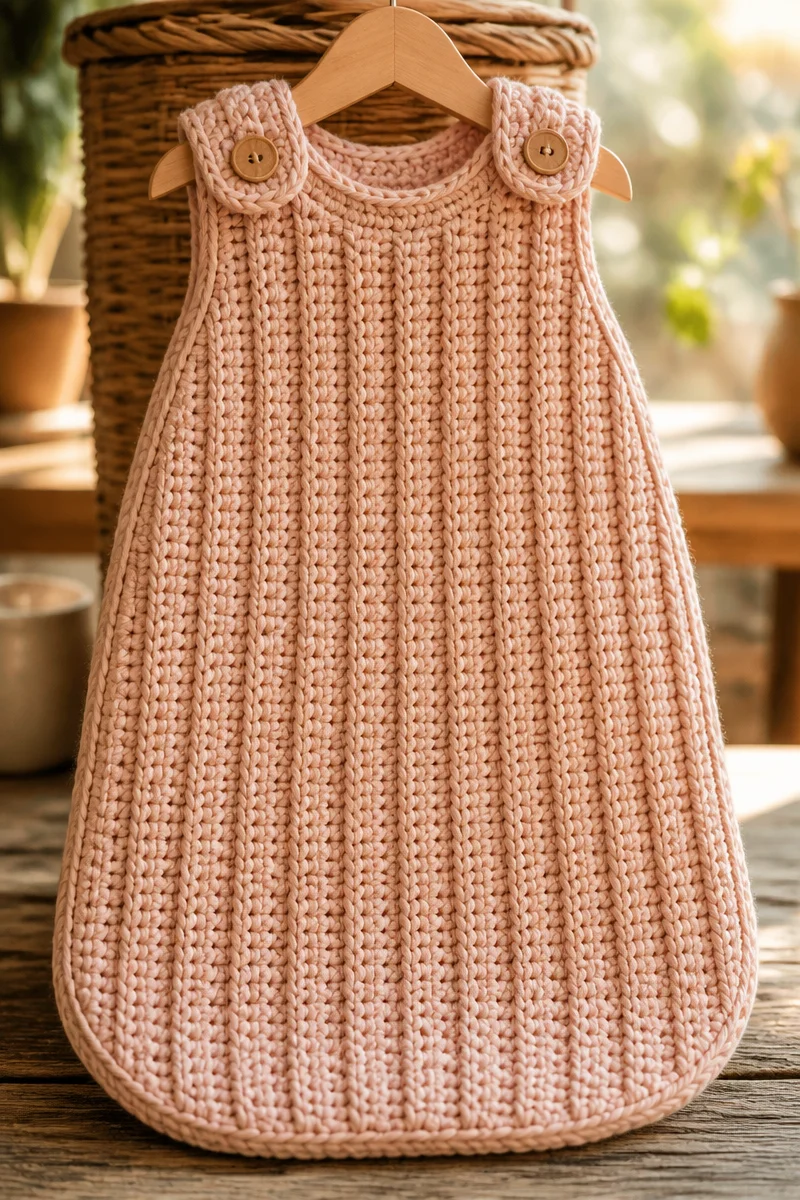
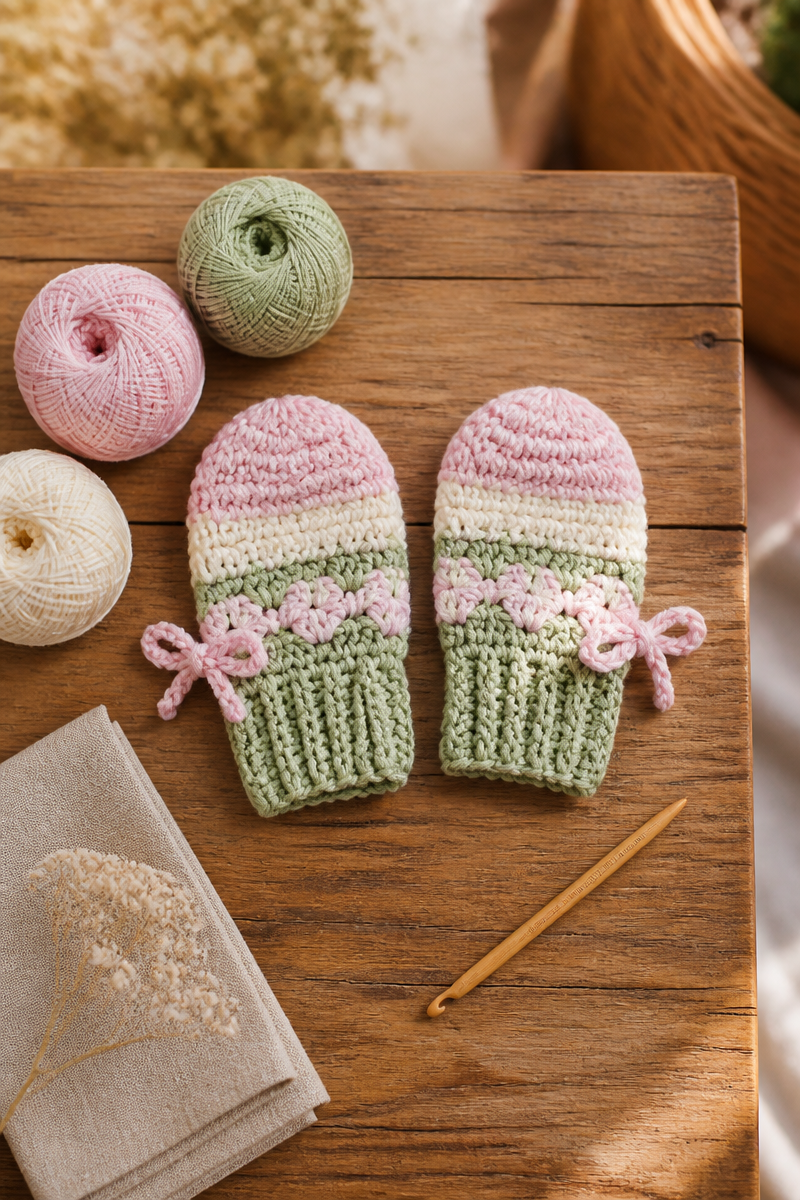
These adorable baby mittens are even more delightful when paired with other cozy crochet projects. Consider making a matching baby hat for a complete set. A simple baby blanket or a cozy baby cocoon wrap would also make a beautiful, coordinated gift. Additionally, cute booties in coordinating colors would surely warm up little feet and complete the ensemble perfectly.
Care and Washing Instructions
When it comes to washing your cotton baby mittens, hand-washing is recommended. Use cold water with a gentle detergent to keep the yarn looking fresh. If you prefer machine washing, opt for a delicate cycle with cold water. Be sure to place your mittens in a mesh laundry bag to prevent snagging.
For drying, lay the mittens flat on a clean, dry towel to maintain their shape and avoid stretching. Avoid hanging them up as this could cause them to lose their form. If needed, gently reshape them while wet.
Blocking is typically not necessary for cotton mittens, but if you want to smooth out any uneven edges or give them a crisp finish, a light steam block can help. Be sure not to apply heat directly to the yarn; instead, use a steam iron held at a distance.
Pattern Info
Prep Time: Approximately 10 minutes to gather supplies
Make Time: Around 1 hour to follow the crochet pattern
Total Time: About 1 hour and 10 minutes
Level of Difficulty: Beginner
Sizing: Fits typical baby hands (up to 6 months)
Gauge and Sizing Notes
Estimated sizing and gauge details for this pattern: Checking your gauge is crucial to ensure the mittens fit perfectly. A good gauge will help maintain consistent sizing throughout your work. For this pattern, the finished mittens should measure about 4 inches in height and about 3 inches in width at the widest part.
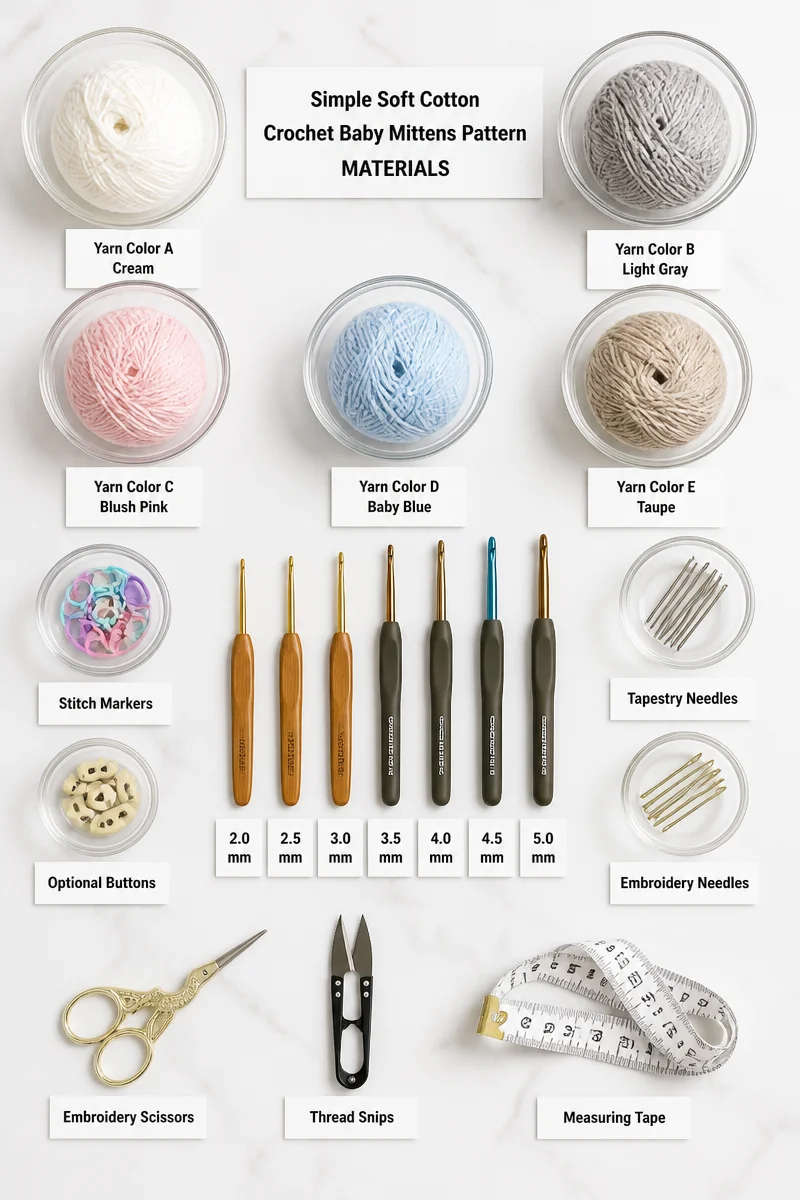
Materials Needed
- Cotton yarn (approximately 100 yards needed, medium weight recommended)
- Crochet hook (size G or H, depending on your tension)
- Yarn needle
- Scissors
Step-by-Step Instructions
Step 1: Create the Foundation Chain
Start by making a slip knot with your cotton yarn. Next, create a foundation chain of 10 stitches. Make sure it is not too tight; this will help when you begin working in rounds.
Step 2: Forming the Mitten Shape
After your foundation chain, place a single crochet stitch in each chain stitch. Continue this for four rows, making sure to keep your tension even throughout. This forms the base of your mitten.
Step 3: Shaping the Thumbs
To create the thumb hole, chain 3 stitches. Skip the last two stitches on the row below and then continue with single crochet to the end of the row. In the next row, work single crochet back across the row, including the thumb section you just created.
Step 4: Finishing the Mitten
To finish off, work in rounds for an additional 4-5 rows, depending on how long you want the mittens to be. When finished, use a slip stitch to secure the final row.
Step 5: Weaving in Ends
Using your yarn needle, weave in any loose ends from the beginning and end of your work to keep everything neat and tidy.
Step 6: Final Touches
Inspect your mittens for any uneven stitches or areas that need extra attention. You can gently tug on the work if needed to provide a better shape. If desired, add decorations to personalize the mittens.
In conclusion, creating these Simple Soft Cotton Crochet Baby Mittens is a joyful and rewarding experience. The warmth of cotton yarn combined with simple techniques makes it perfect for anyone, even if you’re new to crochet. I invite you to try this pattern, take your time, and enjoy the process. Please share photos of your finished mittens or explore other similar crochet projects on the blog. Happy crocheting!