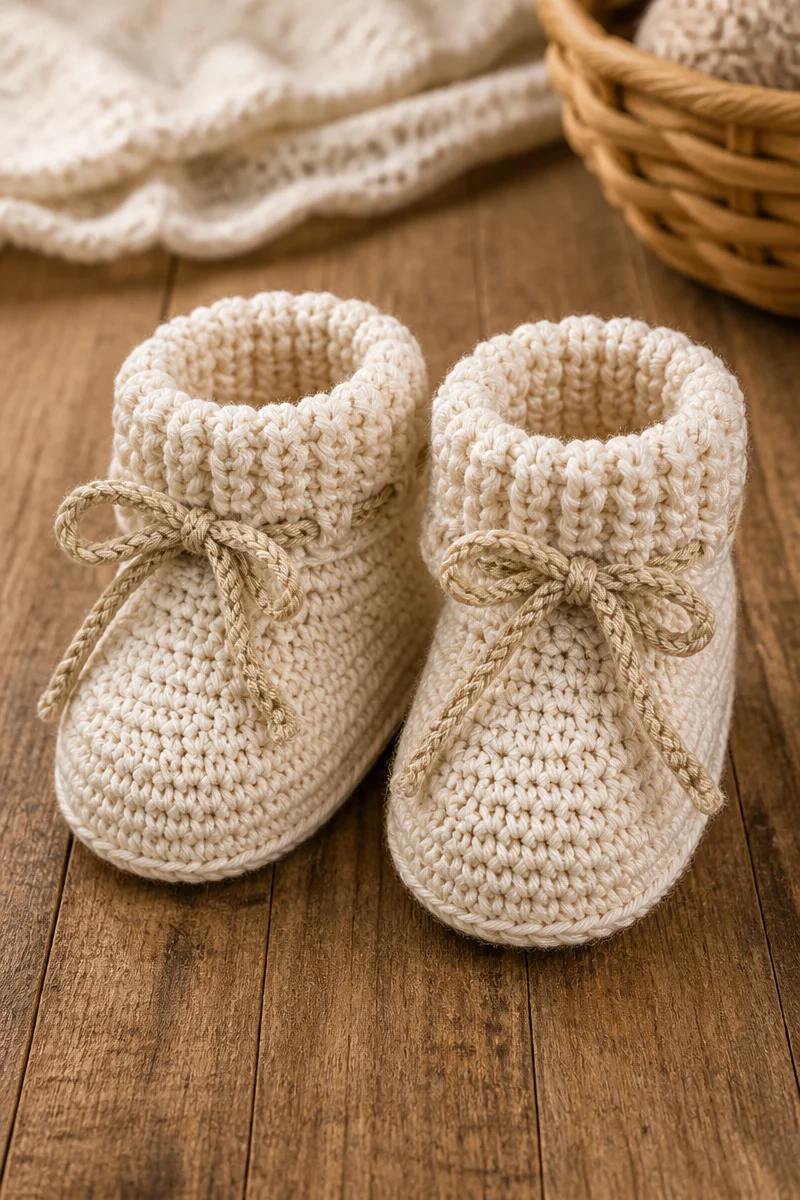
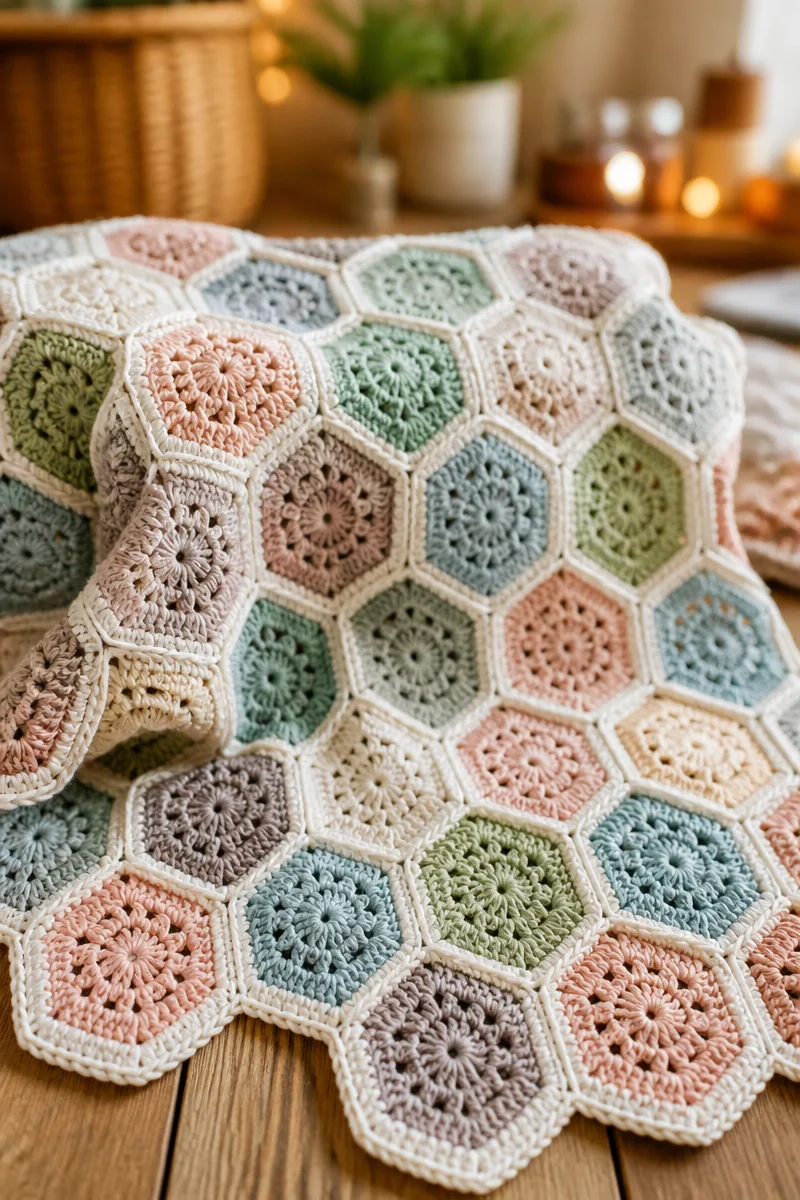
Making a crochet baby girl dress is like wrapping a little one in love and comfort. Whenever I sit down to create patterns like this, I feel a wave of relaxation wash over me. Crocheting has a wonderful way of calming the mind. This baby dress project is the perfect blend of creativity and serenity, allowing you to unwind while crafting something truly special.
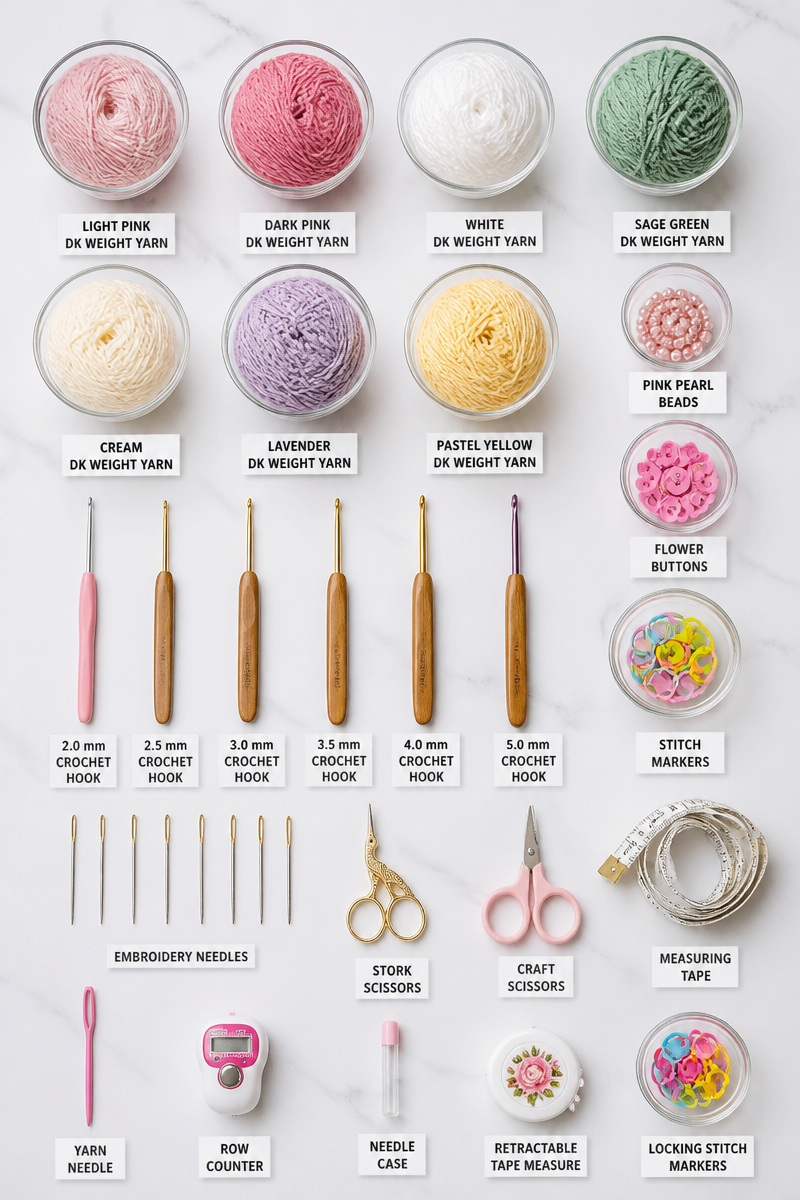
The materials for this dress are delightful. You will need DK weight baby yarn, which is soft against small, sensitive skin and comes in a variety of charming colors. A 3.5mm hook is the right size to achieve a beautiful, delicate fabric. You will also need a ribbon for an elegant touch and two small buttons for closure. Don’t forget your yarn needle for weaving in those pesky ends! The texture of the finished dress is light and airy, perfect for a sweet little girl.
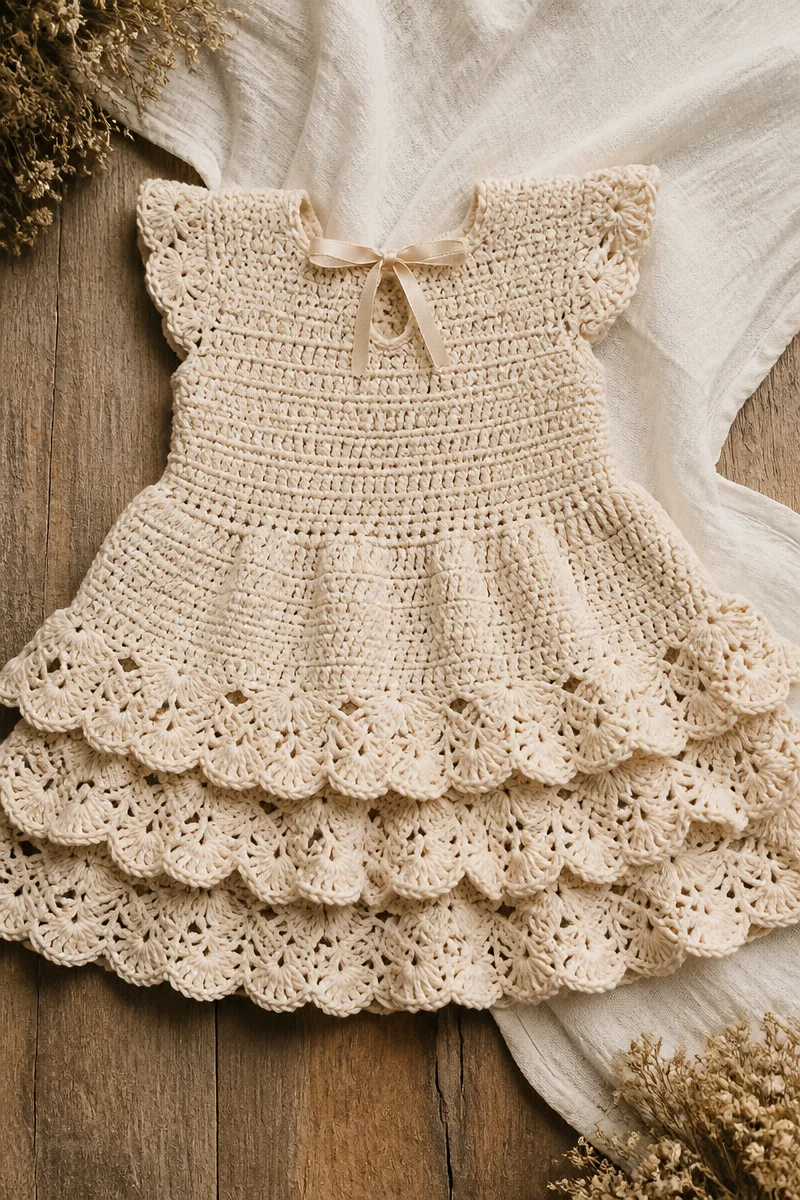
Creating this adorable dress is straightforward, making it accessible even for beginners. You’ll start by crocheting a fitted bodice in the round with double crochet stitches, skillfully shaping it with increases at the chest. As you transition to the skirt, a fuller stitch pattern, like shells, beautifully adds volume. After working down to the desired length, you can decide whether to add a button or a ribbon tie at either the back or shoulder, finishing it off with a neat single crochet edge along the hem, sleeves, and neckline.
This crochet baby dress isn’t just about aesthetics; it serves as a wonderful, heartfelt gift. Imagine wrapping this lovely piece as a present for a baby shower or birthday. Its charm makes it appropriate for chilly nights, festive gatherings, or simply providing a lovely handmade touch to everyday wear.
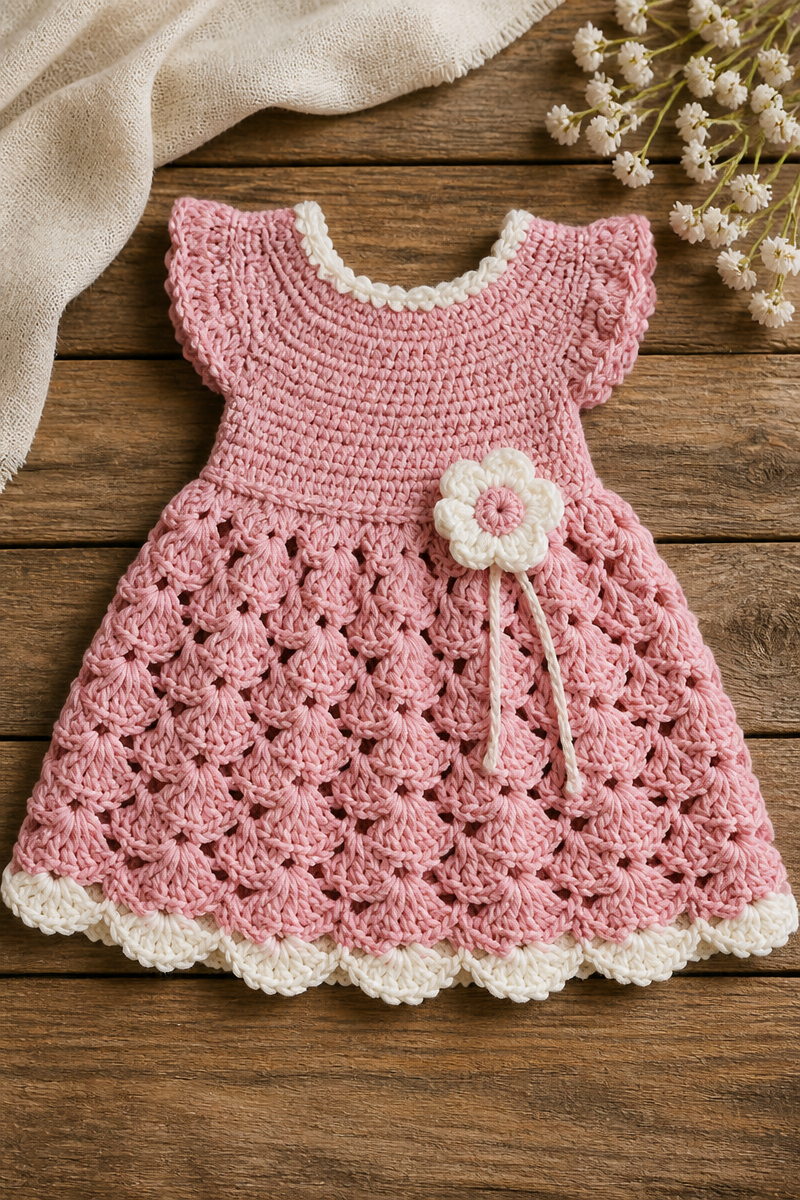
Why You Will Love This Crochet Baby Girl Dress Pattern
- Works up quickly: The easy stitches mean you won’t be spending months on this project.
- Simple stitches: Techniques like double crochet and single crochet make it approachable, even for those just beginning their crochet journey.
- Relaxing project: The repetitive motions of crocheting are soothing and can wipe away the stresses of the day.
- Versatile fit: The design is flexible, allowing for adjustments to better fit your little one.
- Perfect gift: Handmade items carry a personal touch that store-bought garments often lack.
DK Weight Baby Yarn Tips
When working with DK weight baby yarn, it’s essential to choose a soft, hypoallergenic type. Look for acrylic blends that are smooth and gentle on little ones’ skin. While crocheting, keep the tension consistent to avoid tight stitches that can lead to a stiff fabric. If you notice the yarn splitting as you work, try using a sharper hook or choosing another colorway. This will keep your project frustration-free and enjoyable.
Options for Substitutions
- Swap out acrylic for cotton yarn, which is breathable for warmer months.
- Use baby wool for a softer, cozy feel during colder seasons.
- Adjust the hook size to a 4.0mm for a looser stitch pattern.
- Opt for a ribbon that matches the yarn color for a coordinated look.
- Consider using bamboo buttons instead of plastic for a natural touch.
- Experiment with different brands of DK weight yarn for varied textures and appearances.
Watch Out for These Mistakes
One common mistake when crocheting the fitted bodice is accidentally dropping stitches at the end of a row. Always count your stitches to ensure your bodice will fit snugly. As you switch to the skirt, be cautious of not increasing evenly; this can create an uneven flare. Make sure to follow your stitch counts closely to achieve the right balance.
Another pitfall is getting the length of the skirt wrong. It’s easy to lose track of the desired length, so keep measuring regularly. Finally, when adding the closure, whether it’s buttons or a ribbon tie, double-check that they are securely fastened and adequately positioned. If they are too loose, they might come undone, which could lead to a wardrobe malfunction during wear.
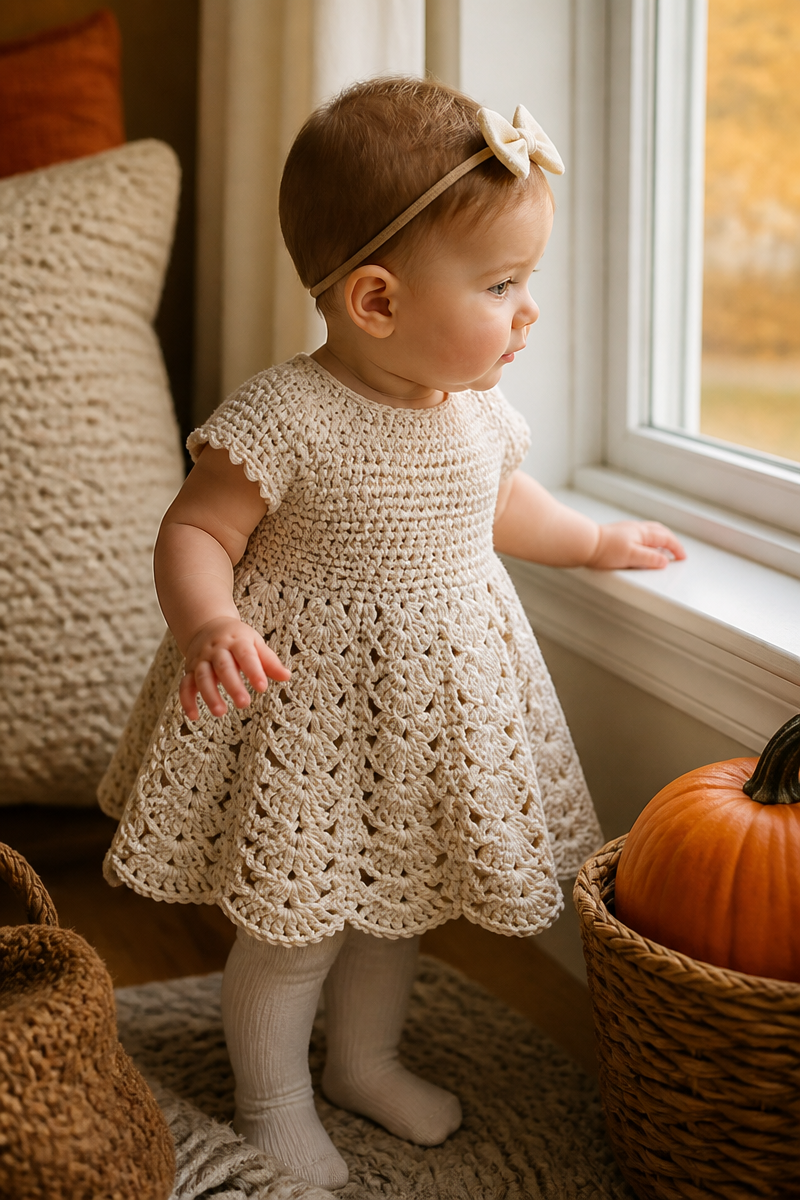
What to Pair With This Crochet Baby Girl Dress Pattern?
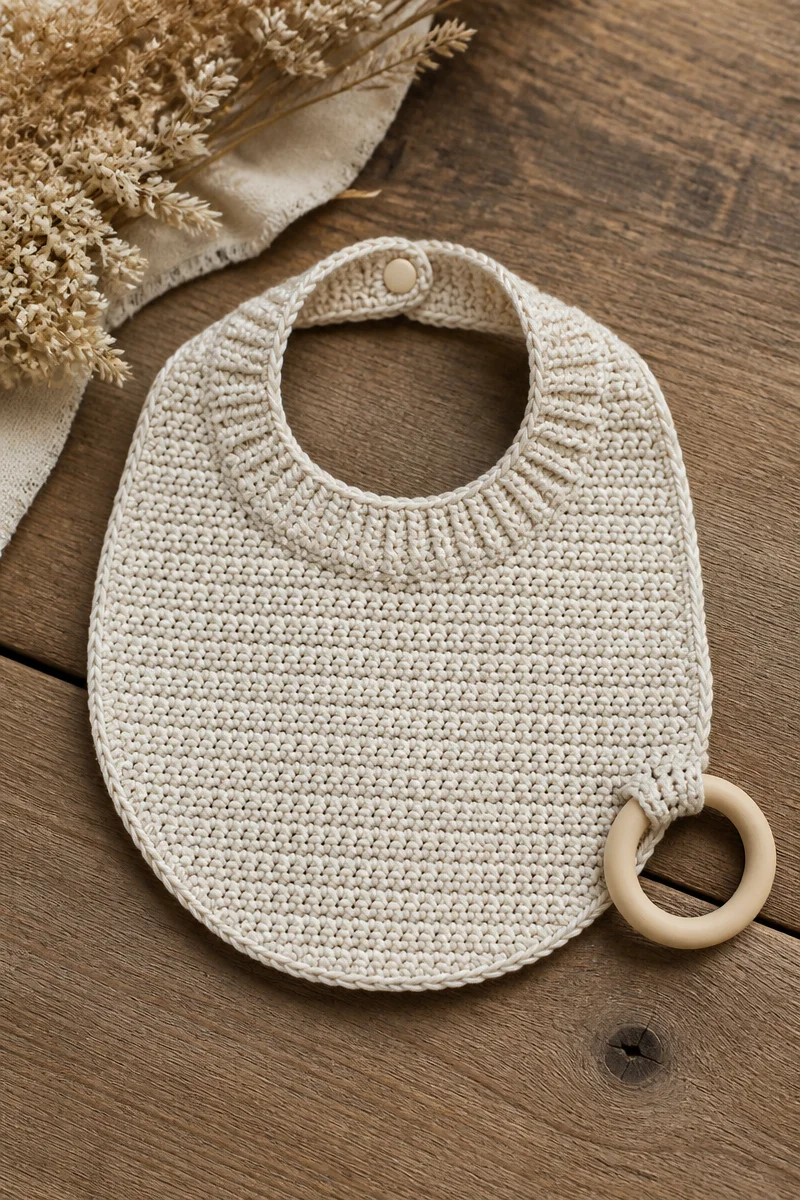
To complement this beautiful baby dress, consider crocheting a matching headband adorned with a flower or bow. A set of booties with the same stitch pattern would add to the ensemble, making it perfect for special occasions. Additionally, you could create a light shawl to keep the little one warm during cool evenings.
Care and Washing Instructions
When it comes to keeping your crocheted baby dress looking its best, proper washing and care are essential. For hand-washing, use cool water and a mild detergent. Gently agitate the garment, but avoid harsh rubbing or wringing. If you prefer machine washing, place the dress in a mesh laundry bag on a gentle cycle.
For drying, lay the dress flat on a clean towel to maintain its shape. Do not hang it, as this can stretch out the delicate fabric. To ensure it maintains its structure, consider blocking it by either steaming lightly or using a wet blocking method, especially if the stitch definition is important.
Pattern Info
Prep Time: 30 minutes (gathering supplies)
Make Time: 3 hours (for the entire dress project)
Total Time: 3 hours 30 minutes
Level of Difficulty: Beginner
Sizing: Newborn to 12 months (adjustable based on desired fit)
Gauge and Sizing Notes
Estimated sizing and gauge details for this pattern: It is crucial to check your gauge to ensure that your dress fits the baby properly. The bodice should measure approximately 12-14 inches around, depending on adjustments. The skirt will flow down 12-14 inches in length, allowing for growth as well.
Materials Needed
- DK weight baby yarn
- 3.5mm hook
- Ribbon
- 2 small buttons
- Yarn needle
Step-by-Step Instructions
Step 1: Create the Fitted Bodice
To begin, take your DK weight baby yarn and 3.5mm hook. Start with a slip knot and create a foundation chain that fits around the chest of your intended size. Join the last stitch to the first to create a circle for crocheting in the round. Work double crochets for several rounds, increasing stitches at the chest to create a fitted shape. Keep checking that the bodice fits snugly.
Step 2: Transition to the Skirt
Once the bodice is complete, begin your skirt by switching to a fuller stitch pattern. A shell stitch works wonderfully here; simply alternate between clusters of double crochets and skipped stitches. As you progress, remember to space your increases evenly to achieve the desired flare. Continue adding rounds until you reach your preferred length for the skirt.
Step 3: Finalize the Length of the Skirt
Keep crocheting until your skirt reaches the desired length. Depending on whether you want a longer dress or a tunic style, measure frequently to ensure you are on track. Once you have reached this point, you can prepare to finish the edges and add the closure.
Step 4: Add Closure and Finishing Touches
Decide where you would like to place either the button closure or ribbon. Sew the buttons on securely if you have chosen them. If opting for a ribbon, weave it through holes made in the back or shoulder area. Lastly, finish the hem, sleeves, and neckline with a single crochet edge to give your dress a polished look.
In closing, creating a crochet baby girl dress is a fulfilling experience that blends creativity with sentimental value. The pattern offers an inviting simplicity that caters to crocheters of all skill levels. I encourage you to try your hand at this delightful project. Share your finished dress on social media or drop by to leave a comment with your thoughts. Happy crocheting!