Making a crochet baby toy ball is truly a delightful experience. With each stitch, you can feel the comfort and joy that comes from working with yarn. This project is perfect for unwinding after a long day, and there’s something so satisfying about creating a soft, colorful toy for a little one. It brings a sense of nostalgia, evoking memories of simpler times spent crafting with loved ones.
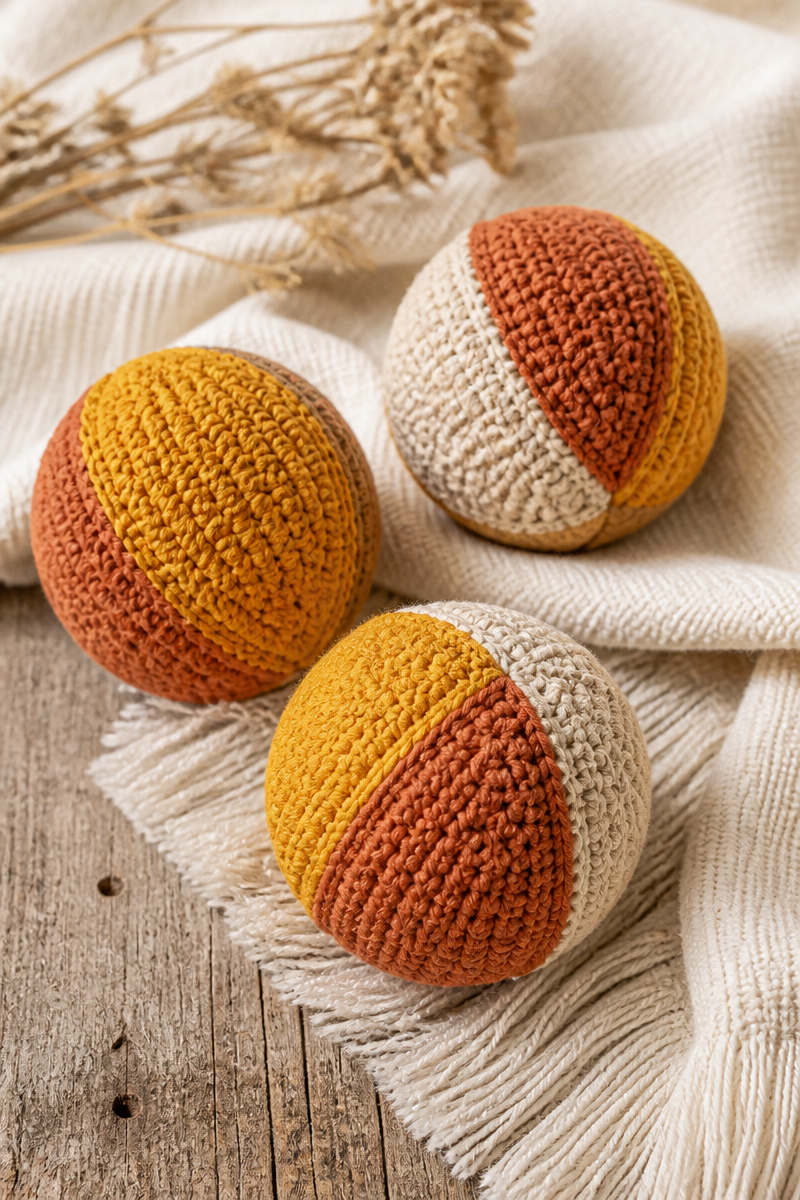
For this charming project, you will need some lovely materials. You’ll use worsted weight yarn in vibrant shades of mustard yellow, terracotta, and cream. A 3.5mm hook is ideal for this yarn, providing a nice tight weave that makes the finished product durable and safe for babies. The addition of polyester stuffing and a jingle bell also adds a fun element, while a yarn needle will help you tidy up those loose ends for a polished finish.
The technique is straightforward and accessible, making it an excellent choice for beginners and experienced crocheters alike. You begin by crocheting a small sphere using single crochet stitches, carefully increasing and decreasing your stitches to form the shape. Working with color-blocked panels creates a stunning visual effect. Once you add that delightful jingle bell and stuff the ball firmly, all that’s left is to close the opening and weave in those pesky loose ends. You can even experiment with different color combinations for a matching set, creating adorable toys that fit comfortably in a baby’s tiny hands.
This crochet ball is not just an engaging project—it’s also a thoughtful gift. Imagine giving a handmade toy at a baby shower or for a new parent. It’s a great way to show you care, combining warmth, artistry, and practicality in one beautiful package. Plus, they make wonderful items for craft fairs, allowing you to share your love for crochet with the community.
Why You Will Love This Crochet Baby Toy Ball Pattern
- Works up quickly for immediate satisfaction.
- Simple stitches make it easy, even for beginners.
- A relaxing project to unwind and clear your mind.
- Perfect for creating unique, personalized gifts.
- Allows for creativity with color combinations.
Worsted Weight Yarn Tips
When working with worsted weight yarn, choosing a brand that suits your needs is essential. A good quality yarn like Red Heart Super Saver or Lion Brand Vanna’s Choice will give you a soft texture that is safe for little hands. Make sure you check the yarn label for washing instructions, as some brands may require specific care. Keep in mind that this kind of yarn can be prone to splitting, especially with smaller hooks. To avoid this, be deliberate and gentle when inserting your hook. It also helps to keep tension loose but controlled to maintain the integrity of your stitches.
Options for Substitutions
- Swap brands for different textures; try Bernat or Karen Simply Soft.
- Use cotton yarn instead of acrylic for a cooler touch.
- Experiment with chunky yarn for a larger ball.
- Choose a different hook size to adjust the stitch tightness.
- Consider animal-friendly yarns for eco-conscious crafting.
- Mix and match colors from the same yarn line for cohesiveness.
Watch Out for These Mistakes
One common pitfall when crocheting a small sphere is dropping stitches at the end of rows. This can lead to uneven shapes and gaps in the ball. Always ensure you have the right number of stitches at the end of each round; counting can prevent this.
Another issue is tension. If your tension is too tight, you might struggle to stuff the ball later. Conversely, if it’s too loose, the stitches can appear baggy. Aim for a pleasant, even tension that lets the yarn flow smoothly through your fingers.
Don’t forget to place the jingle bell at the right time. If you wait too long, you won’t be able to position it properly without making a mess. Make sure it goes in before you close up the ball. Finally, remember to weave in all loose ends thoroughly. This not only gives a cleaner look but also prevents curious babies from pulling out any stray yarn.
What to Pair With This Crochet Baby Toy Ball Pattern?
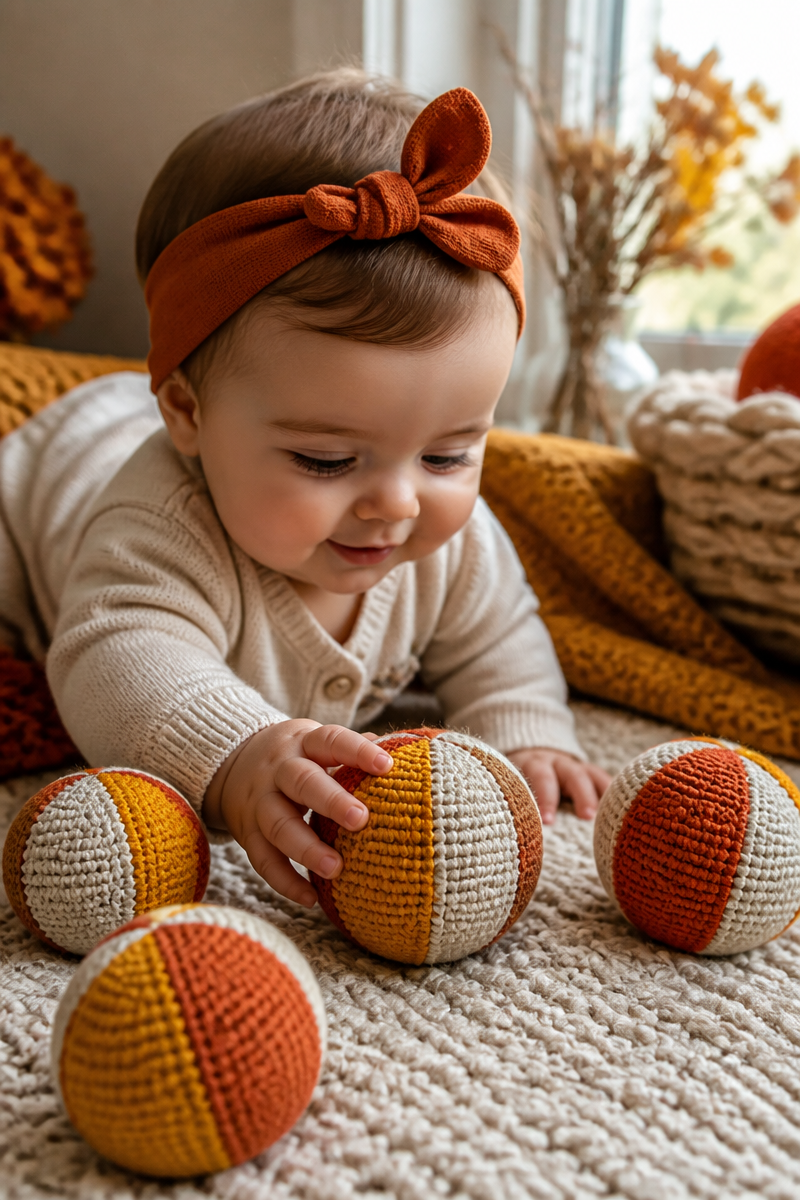
To complement your crochet baby toy ball, consider making a soft baby blanket or a matching rattle. A cozy, handmade blanket makes a perfect addition, providing warmth and comfort for nap time. You might also enjoy creating a cute beanie or booties that match the colors in your toy balls. These simple projects will keep you busy and help you create a lovely ensemble for any little one.
Care and Washing Instructions
Washing your crochet toy ball is simple. If the yarn you chose is machine washable, you can place it in a laundry bag and wash it on a gentle cycle with like colors. If you’re using delicate yarn, you may prefer hand washing it in cool water with a mild detergent.
For drying, lay the finished balls flat to avoid stretching out the shape. Placing them on a towel is a great option. As for blocking, since this is a stuffed toy, it doesn’t need heavy blocking. A light spritz with water can help reshape any stitches if needed.
Pattern Info
Prep Time: 10 minutes (to gather supplies)
Make Time: Approximately 1 hour (for one ball)
Total Time: About 1 hour and 10 minutes
Level of Difficulty: Beginner
Sizing: Each finished ball measures roughly 5 inches in diameter, small enough for a baby’s grip.
Gauge and Sizing Notes
Estimated sizing and gauge details for this pattern: Checking your gauge helps ensure that your finished ball will be the right size and shape. For this pattern, strive for a gauge of approximately 5 single crochet stitches per inch. Your finished toy ball should be around 5 inches in diameter, perfect for a little one to hold and explore.
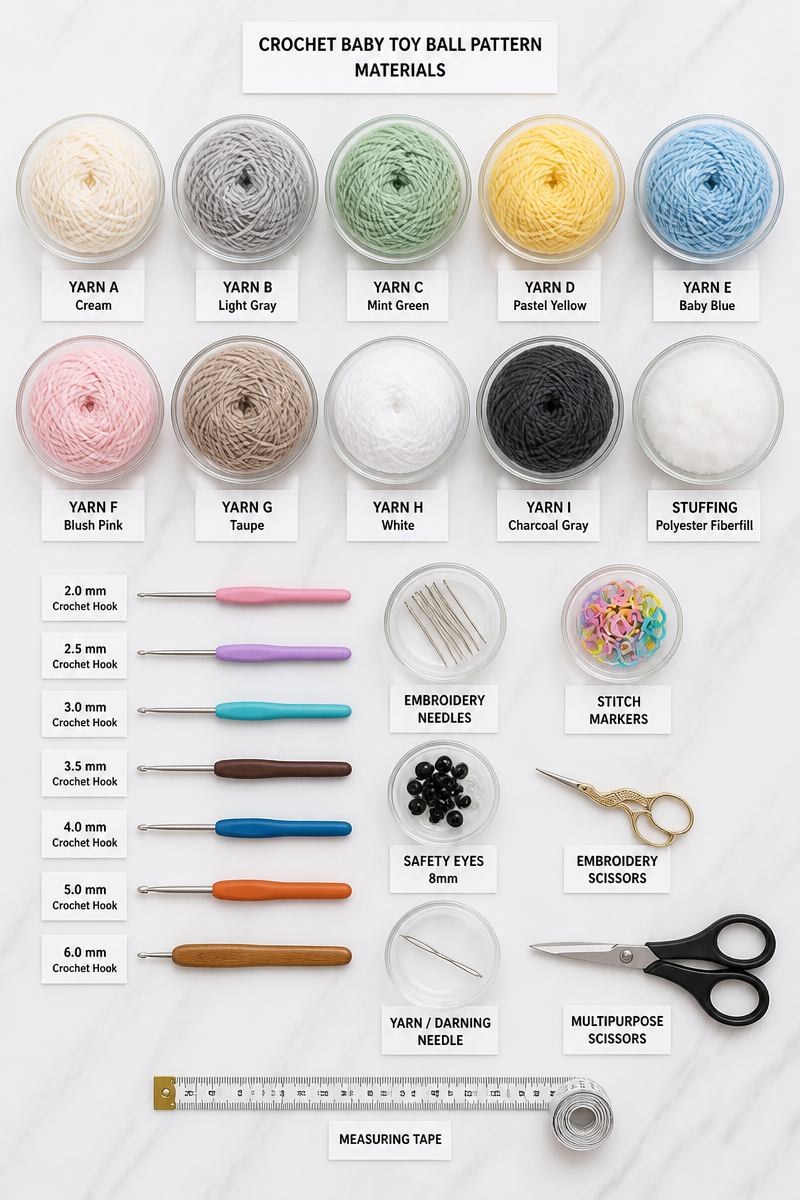
Materials Needed
- Worsted weight yarn in mustard yellow
- Worsted weight yarn in terracotta
- Worsted weight yarn in cream
- 3.5mm hook
- Polyester stuffing
- Jingle bell
- Yarn needle
Step-by-Step Instructions
Step 1: Create the Foundation Ring
Start with your mustard yellow yarn. Create a magic circle and crochet 6 single crochet stitches into the circle. Pull the yarn tail to tighten the ring. This will serve as the foundation for your ball.
Step 2: Increase the Sphere
For the next round, work 2 single crochet stitches in each stitch around. You should now have 12 stitches. Continue increasing in each round by adding an additional stitch between increases until you reach a total of 30 stitches.
Step 3: Establish the Color Blocks
Now, switch to terracotta. Continue working even rows in single crochet for approximately 5 rounds, maintaining the 30 stitches. Then, change to cream yarn, repeating the same for the next set of rounds.
Step 4: Insert the Jingle Bell
Before you close the ball, carefully place the jingle bell inside. Make sure it’s positioned in the center to help your ball maintain shape.
Step 5: Stuff and Close
Firmly stuff the ball with polyester filling, ensuring it is evenly distributed. Once stuffed, work together the last stitches and weave your yarn tail through the final stitches before pulling tight.
Step 6: Weave in Loose Ends
Finally, take your yarn needle and weave in any remaining loose ends. Make sure everything is secure, and you’re done! Feel free to experiment with different colors to make a whole set.
In summary, creating a crochet baby toy ball is both enjoyable and rewarding. The bright colors and fun design will surely bring smiles to little faces. I invite you to try the pattern and share your lovely finished product. Your creative journey awaits, and I can’t wait to see what you craft!