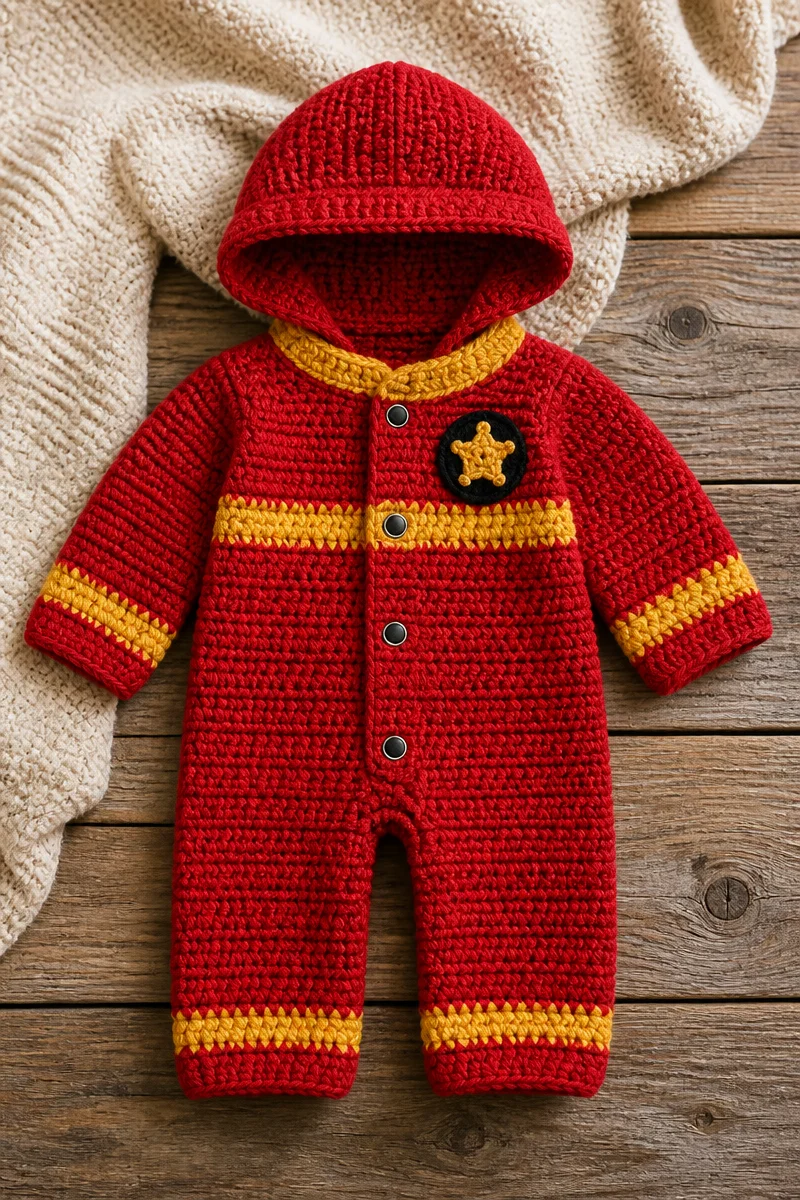
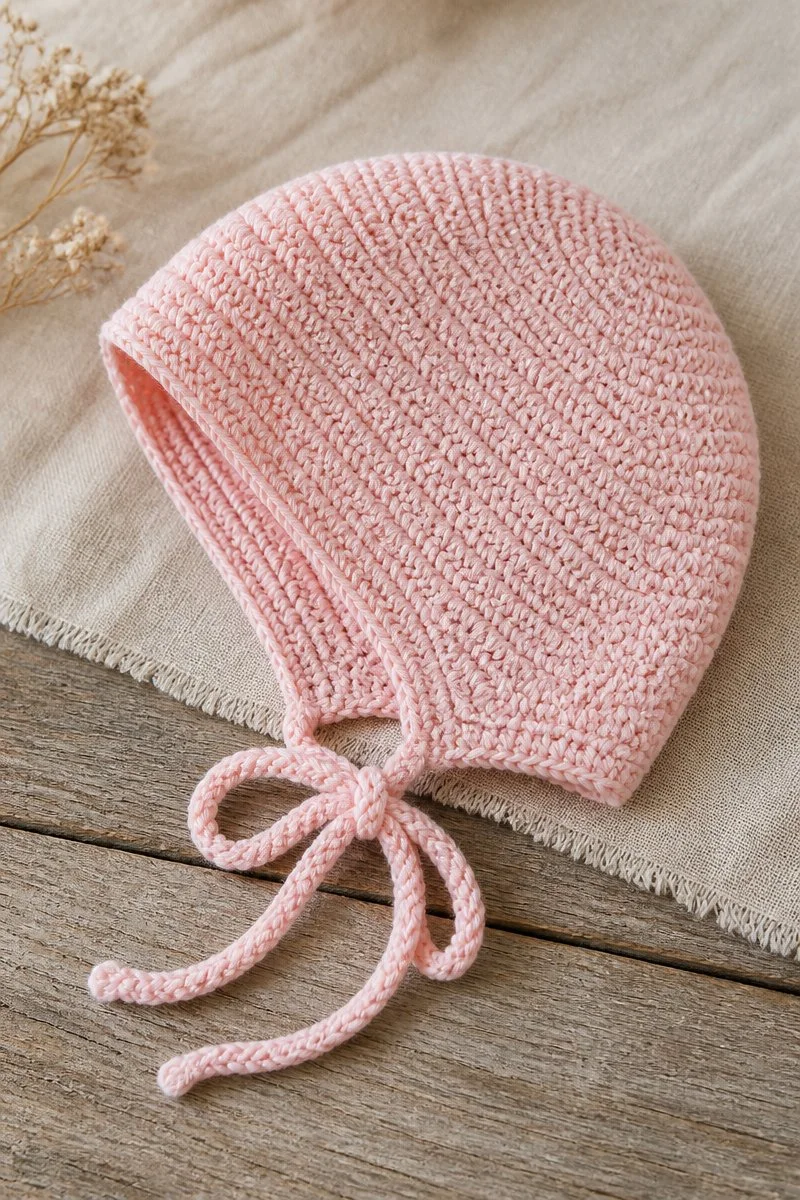
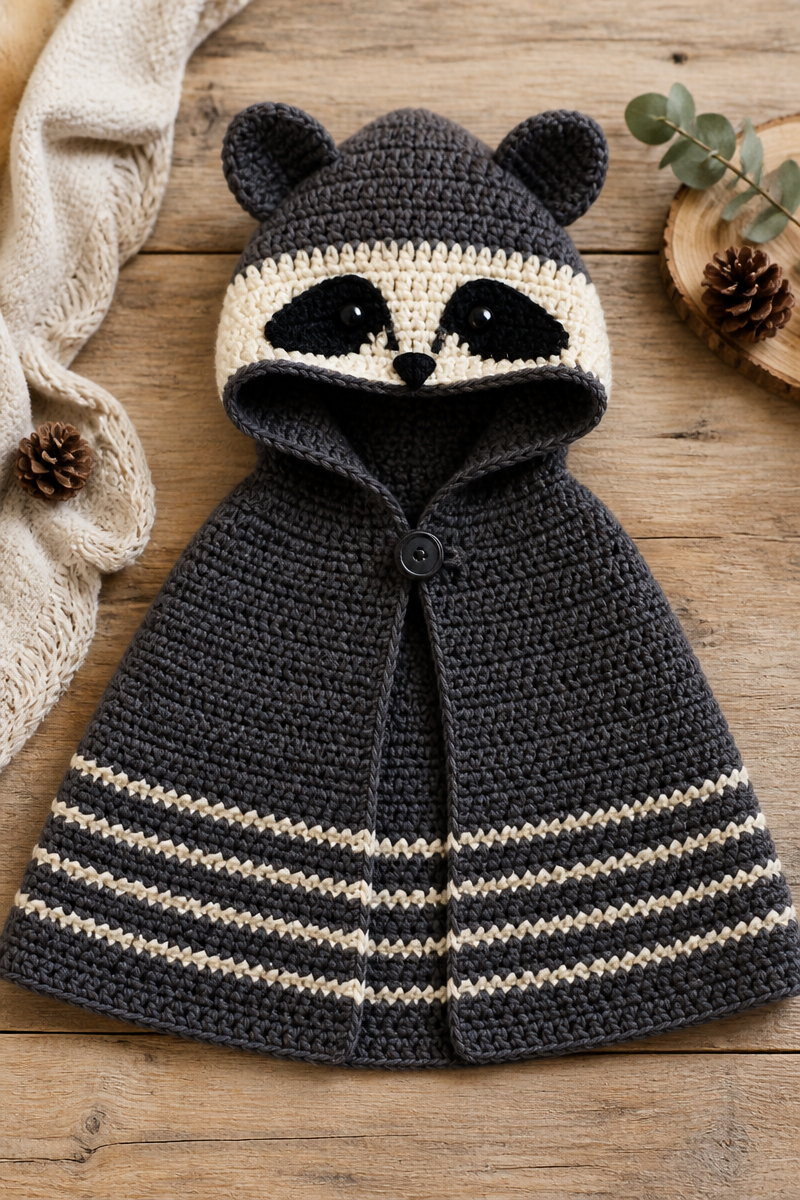
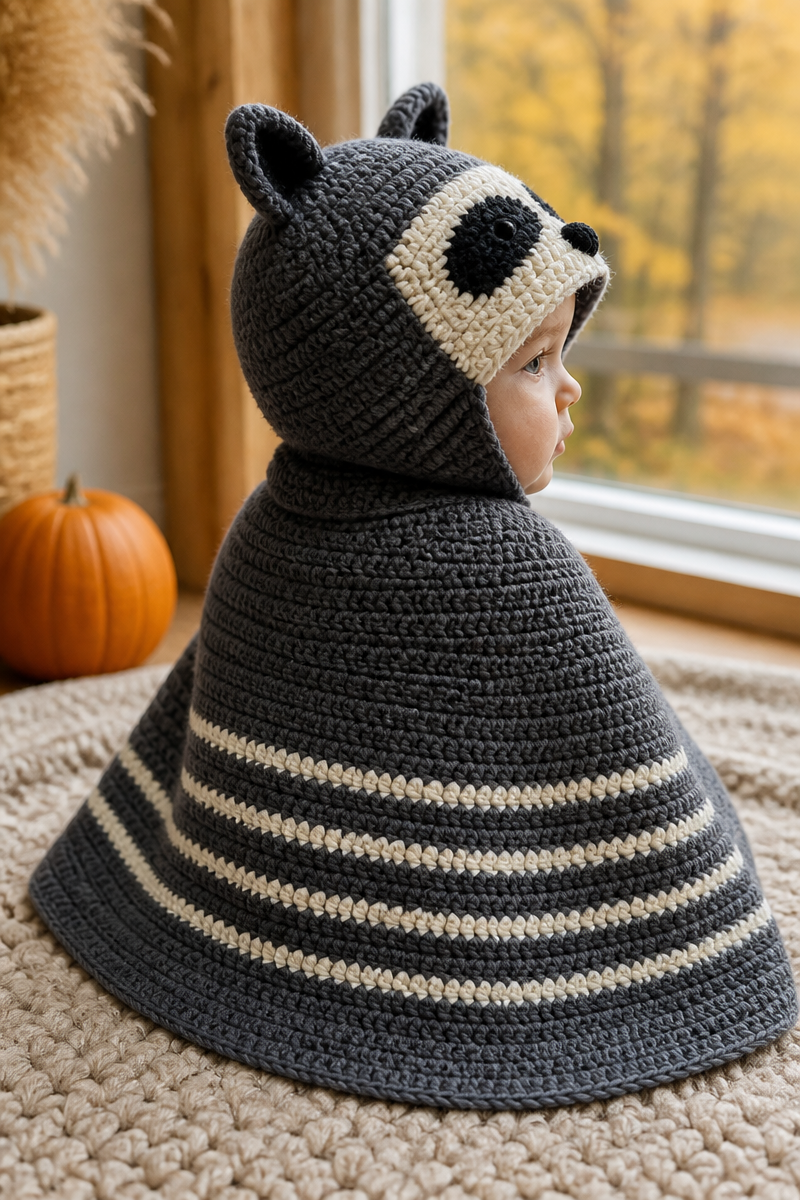
This hooded cape combines a cozy crochet hood with a softly flared cape body and playful raccoon features. The hood is worked in continuous rounds from the top down, creating a smooth, fitted crown that transitions into a simple banded face in contrasting cream yarn. Attached ears are lightly stuffed for dimensional appeal, and the cape body is worked flat with subtle flare shaping. The design includes embroidered tail stripes and facial markings, giving the piece character with minimal bulk.
Worsted weight yarn and an H/8 (5.0 mm) hook balance warmth and drape without excessive stiffness. The stitch counts and shaping focus on fit and proportion, ensuring the hood can comfortably cover a toddler’s head with a clear face opening. The cape’s gradual flare prevents restriction around the shoulders and enables free arm movement. This piece suits cool-weather outings and photo sessions, bringing a woodland motif to baby outerwear.
Materials were chosen for color contrast and ease of embroidery, with a solid dark gray for grounding and a soft cream for face and tail pattern accents. The embroidered mask and nose require simple stitches with black floss, while parchment-tipped polyester stuffing adds subtle ear volume without deforming the silhouette. The button closure and chain-loop offer secure neck fastening with a minimal finish.
Why You’ll Love This Baby Raccoon Cape
This cape’s top-down hood construction uses a tight circular increase sequence to form a smooth crown, then transitions to straight rounds to establish a subtly contoured face frame. The flat cape body offers gentle flare with spaced increases every four rows, producing just enough volume for ease and movement without adding weight. The yarn’s structure holds shape well and highlights the embroidered markings sharply. Minimal finishing steps make this project quick to assemble and customize.
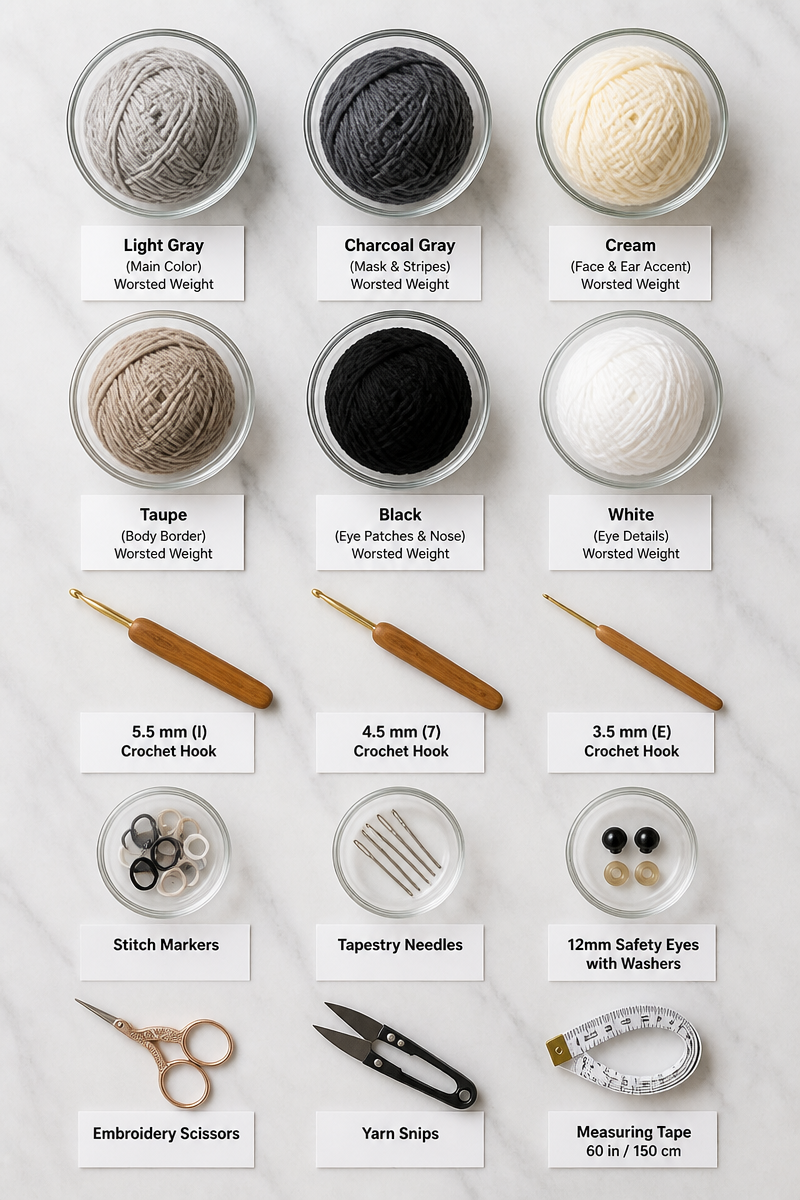
Materials
- Hook: US H/8 (5.0 mm), preferably ergonomic for longer sessions
- Yarn: Worsted weight #4 yarn
- Charcoal gray, approx. 150 yards
- Cream/ivory, approx. 50 yards
- Yarn needle for sewing and weaving ends
- 1 stitch marker to mark start of rounds
- Black embroidery floss for mask and nose details
- Polyester stuffing, small amount for ears
- 1 button for neck closure
Gauge
16 sc x 18 rows = 4 inches (10 cm) in single crochet, worked in the round (hood). The flat cape body uses the same gauge in rows.
Finished Size(s)
- Hood depth: 7 inches from crown to front face edge
- Hood crown circumference: approx. 24 stitches (about 6 inches circumference, accounting for yarn stretch and shaping)
- Neck opening circumference matching cape body top edge: approx. 59 stitches (about 15 inches)
- Cape width at first row: 59 stitches (~15 inches)
- Cape width at last row: approx. 69 stitches (~17.5 inches) after flare shaping
- Cape body height: 20 rows (~11 inches)
Stitch Multiple
Cape foundation chain: 59 stitches. No stitch multiple constraint; flare increases follow fixed increments every fourth row.
Abbreviations
- ch: chain
- sc: single crochet
- inc: increase (2 sc in same stitch)
- rnd(s): round(s)
- st(s): stitch(es)
- sl st: slip stitch
Charcoal & Cream Worsted Yarn Tips
The worsted weight yarn used here holds stitches clearly, which benefits color transition definition and embroidery. It works best with a relaxed tension to avoid a stiff fabric, especially within the hood where stretch is limited. The 5.0 mm hook balances stitch size and density, creating a breathable but warm texture. Blocking isn’t essential but can smooth edges and even embroidery tension.
Avoid overly tight tension around increases to keep the hood crown smooth rather than puckered. The cream yarn’s lighter weight and slight halo may cause less stitch definition, so count stitches carefully during transitions. Polyester stuffing compresses without retaining bulk or moisture, making it ideal for the small ears.
Options for Substitutions
- Use a 4.5 mm hook for a slightly tighter, warmer fabric and smaller hood circumference if needed.
- Substitute acrylic worsted yarn for an easier care option; ensure consistent gauge.
- Use a wool blend for extra softness and natural warmth, keeping the same hook size and gauge.
- Swap cream for pale gray or beige for a subtler contrast on the face band and tail stripes.
- For a softer drape on the cape, use a cotton blend worsted yarn; note slightly decreased elasticity in the hood.
- Replace the button with a simple snap for easier fastening on wiggly babies.
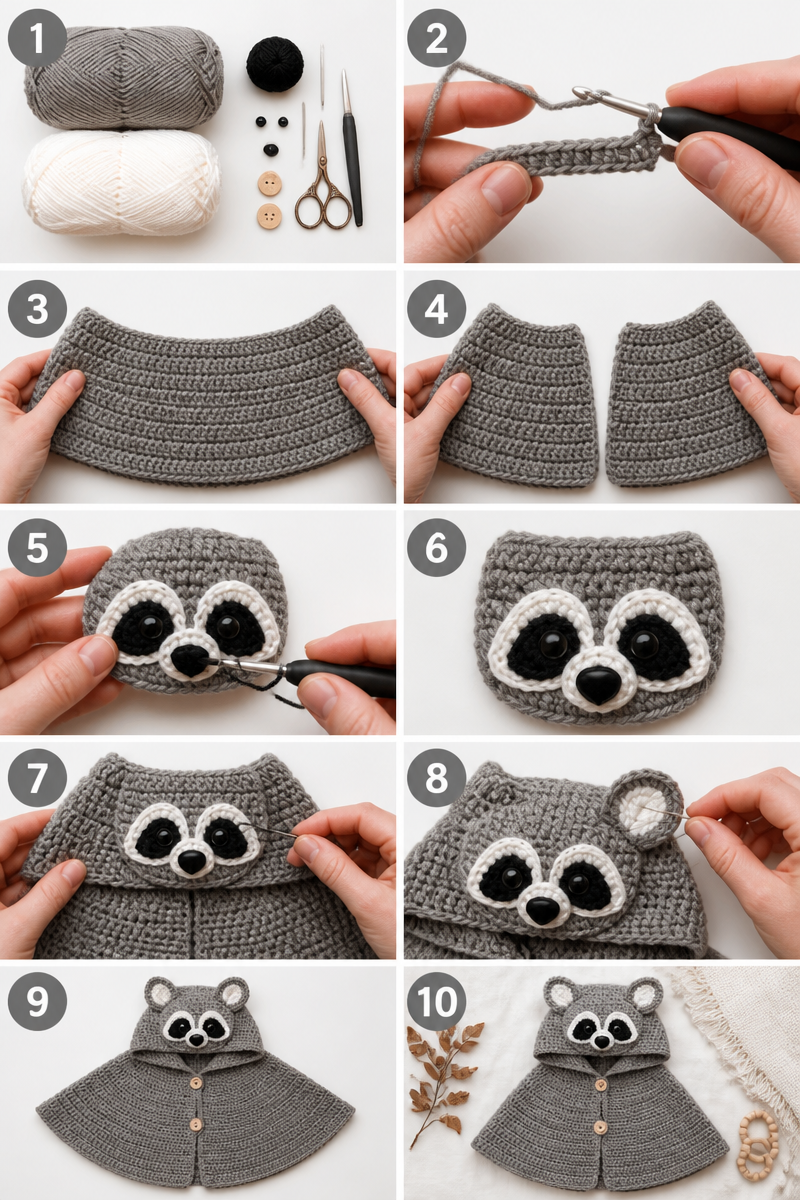
Pattern
Hood
Rnd 1: With charcoal, ch 2, work 6 sc in 2nd ch from hook. (6 sts)
Rnd 2: Inc in each st around. (12 sts)
Rnd 3: sc 1, inc around. (18 sts)
Rnd 4: sc 2, inc around. (24 sts)
Rnd 5-6: sc in each st around. (24 sts each rnd)
Rnd 7: Switch to cream, sc in each st around. (24 sts)
Rnds 8-12: Switch back to charcoal, sc in each st around. (24 sts each rnd)
Continue sc in each st around (24 sts) in charcoal until hood measures 7 inches deep from crown edge at rnd 1. Fasten off.
Ears (make 2)
With charcoal, ch 2, 5 sc in 2nd ch from hook. (5 sts)
Rnd 2: Inc in each st around. (10 sts)
Rnd 3: sc in each st around. (10 sts)
Stuff lightly, flatten, and whip stitch closed.
Cape Body
Row 1: With charcoal, ch 60, sc in 2nd ch from hook and across. Turn. (59 sts)
Rows 2-20: Ch 1, sc across. Turn. Every 4th row (Rows 4, 8, 12, 16, 20), increase 1 st at each end by working 2 sc in the first and last st of the row (final row approx 69 sts).
Fasten off.
Tail Stripes (embroidery)
Using cream yarn and tapestry needle, embroider 4 parallel horizontal stripes evenly spaced across the lower third of the cape body to mimic a raccoon tail pattern.
Finishing
- Attach cape’s straight top edge (Row 1, 59 sts) to hood’s bottom edge (Rnd 12, 24 sts) with whip stitch evenly spaced, adjusting spacing so edges align without puckering.
- Sew ears to top of hood, positioned 2 inches apart, centered along crown.
- Embroider black eye mask shape across cream face band (Rnd 7). Use satin stitch or simple outline for clarity.
- Embroider small black triangle nose at front tip of hood crown (Rnd 1 area).
- Sew button at one side of neck opening on cape corner. Create a 4-ch loop on opposite corner for closure.
- Weave in all ends securely.
Assembly
- Fold ears flat along the whip-stitched closed edge and stitch to hood crown, spacing them 2 inches apart center to center.
- Align cape’s top edge (Row 1 chain foundation) evenly around hood bottom edge (final round). Since cape top edge has 59 sts and hood bottom has 24 sts, spacing is about 2.5 cape stitches per 1 hood stitch; distribute evenly to avoid distortion but do not stretch hood.
- Use whip stitch with charcoal yarn to join the cape and hood along these edges.
- Embroider black mask securely on cream face band, keeping edges clean and shape symmetrical.
- Embroider nose at hood tip with small satin stitches forming a neat triangle.
- Attach button at neck opening edge and make a matching 4-ch loop on opposite side.
Watch Out for These Mistakes
The hood crown increases exactly by 6 stitches per round. Do not alter the increase pattern or stitch count, which will cause fit issues. Maintaining an even tension here is essential for a smooth dome shape.
When adding the ears, avoid stuffing too firmly; overstuffing will distort the hood silhouette and affect how the ears sit. Light, even stuffing preserves shape without bulk.
Joining the cape body to the hood requires even spacing despite differing stitch counts (59 vs. 24). Do not forcibly stretch or bunch either piece. Use guiding pins or markers to align multiples of cape stitches to each hood stitch. This prevents puckering or puckers along the neck edge.
Increasing at cape edges every 4th row requires vigilance. When working the increase row, place one increase at the start and one at the end of the row evenly. Missing or doubling these will skew the cape’s flare symmetry.
The black embroidery work benefits from consistent stitch length. Avoid gaps or overworked areas which can make the mask or nose look uneven.
Care and Washing Instructions
Machine wash on cold, gentle cycle using a mesh laundry bag to protect the embroidery. Lay flat to dry to maintain shape; avoid hanging which may stretch the hood opening and cape flare. Light blocking with steam can be used to smooth edges but avoid direct heat on the embroidered areas. Polyester stuffing will maintain ear shape after washing but dry fully before storage to prevent odor. The yarn fiber may pill lightly with wear; gentle handwashing can extend life.
Questions About Making This Baby Raccoon Cape
Q: Can this pattern be easily resized for older children?
A: Yes. Increase the hood crown size by continuing rounds of increases before working straight rounds, and lengthen the cape by adding rows. Maintain proportional increases in flare every 4th row.
Q: What is the skill level required?
A: Intermediate. The hood’s circular increases and attaching differently sized edges require some experience. Embroidery is basic but benefits from neat attention.
Q: Can the ears be left unstuffed?
A: Yes, but they will be less three-dimensional and may flop. Light stuffing gives a neater appearance.
Q: Is there an alternative to embroidery for facial details?
A: You can use applique felt shapes sewn or glued on, but embroidery offers a cleaner, more flexible finish.
Q: What if I want a different closure?
A: The button and chain loop can be replaced with Velcro or snaps. Adjust loop length as needed.
Q: Can I use DK yarn instead?
A: Yes, but you must adjust hook size and gauge accordingly, and recalculate stitch counts for the same fit.
Q: How tight should the crochet tension be for the hood?
A: Moderately firm, to maintain the hood’s dome shape without puckering. Avoid loose stitches that distort the crown shaping.
This raccoon hooded cape blends clear shaping with tasteful detail and straightforward finishing steps. Share pictures of your finished piece for inspiration and fitting notes.