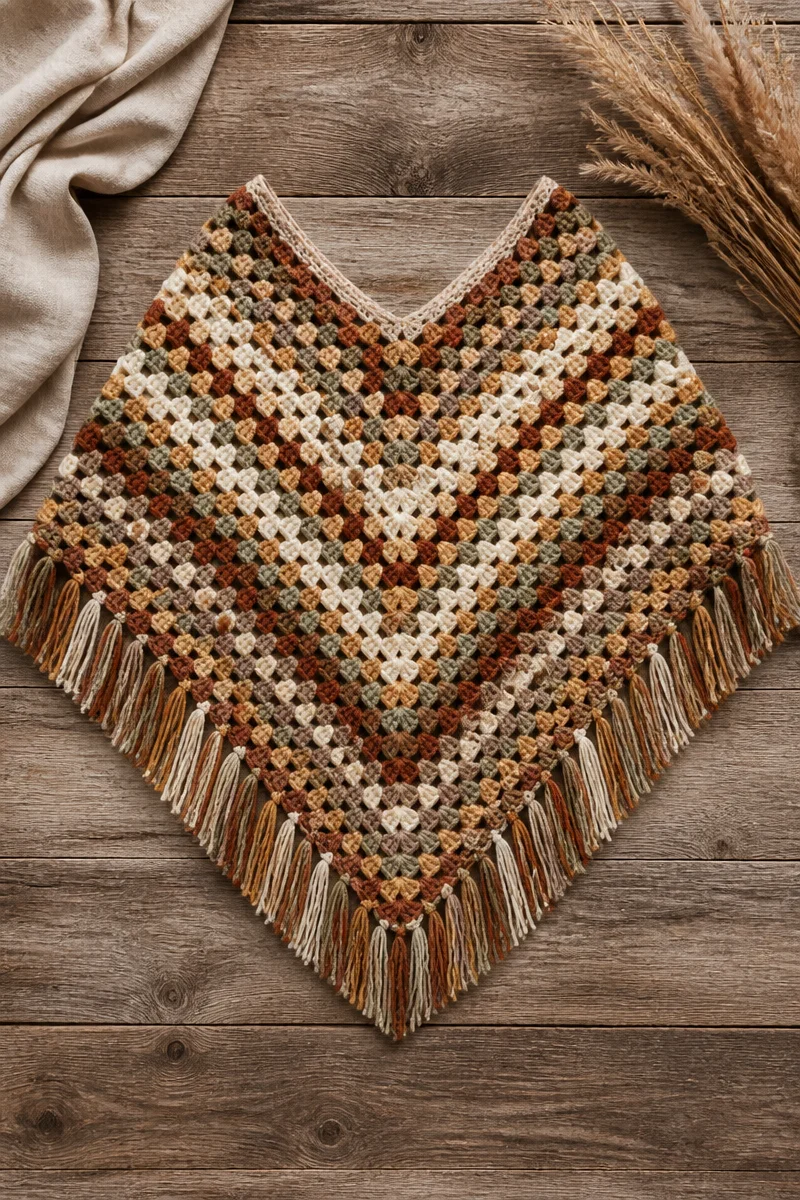
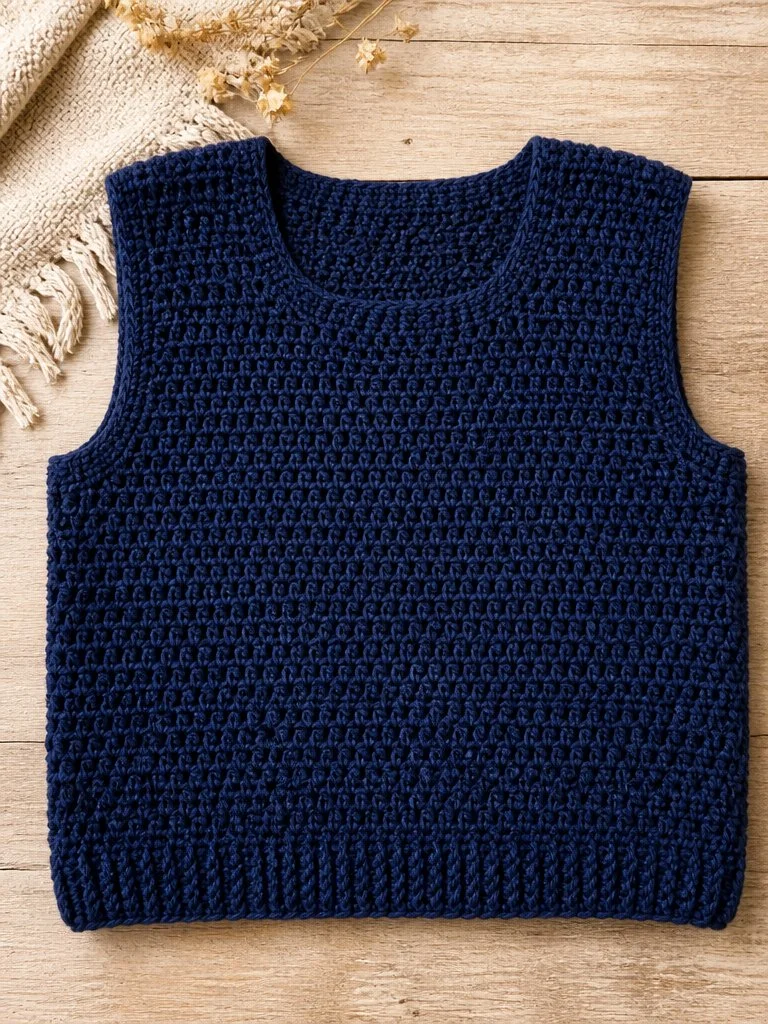
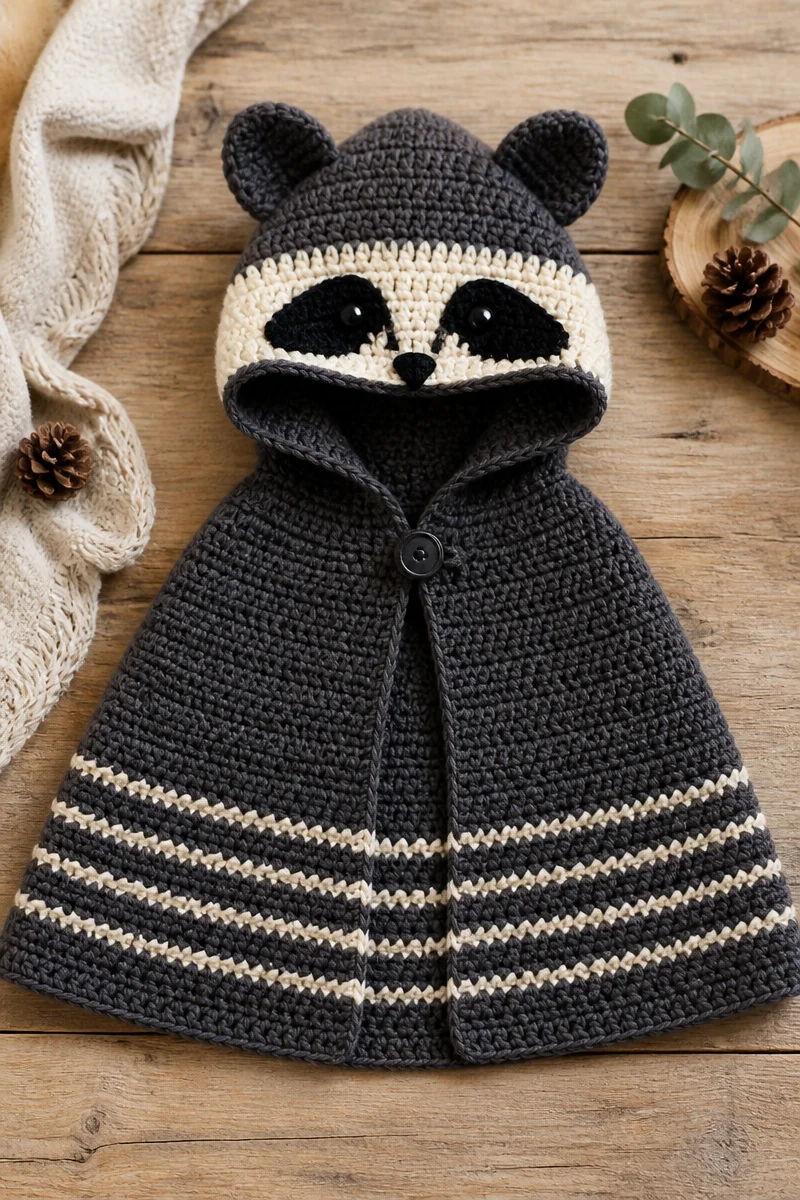
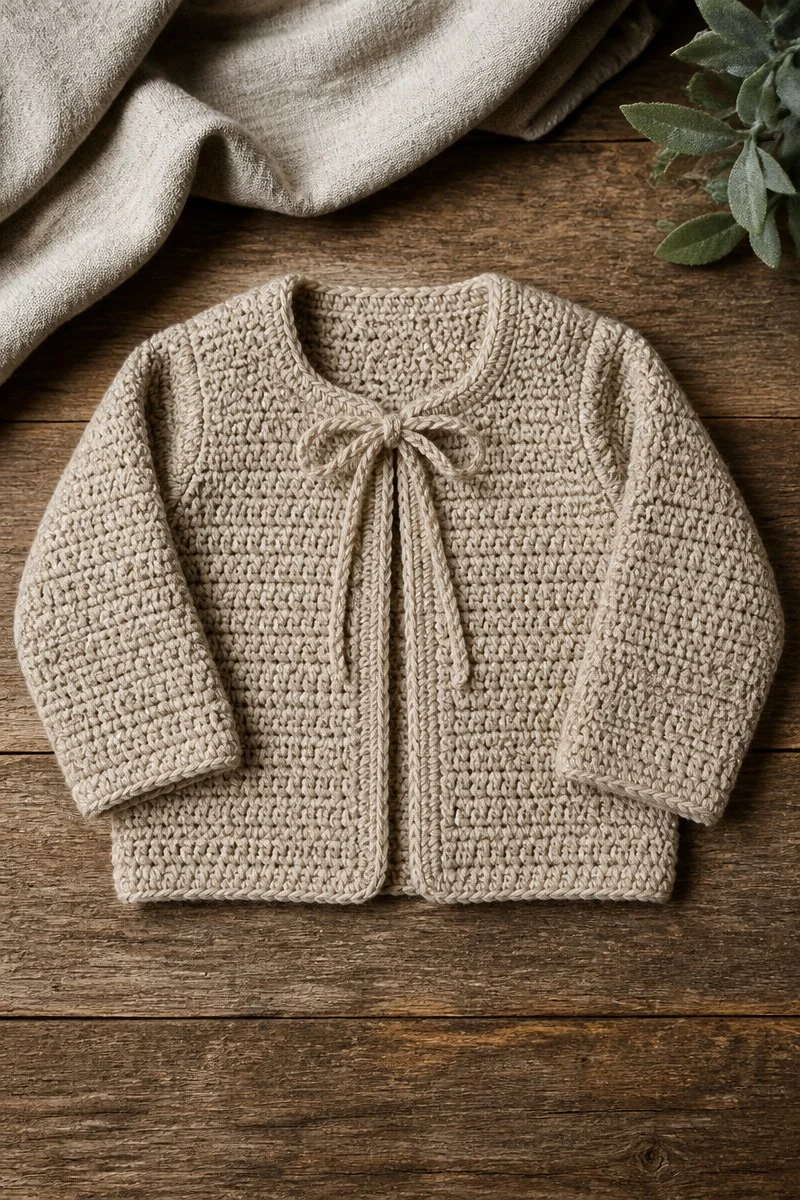
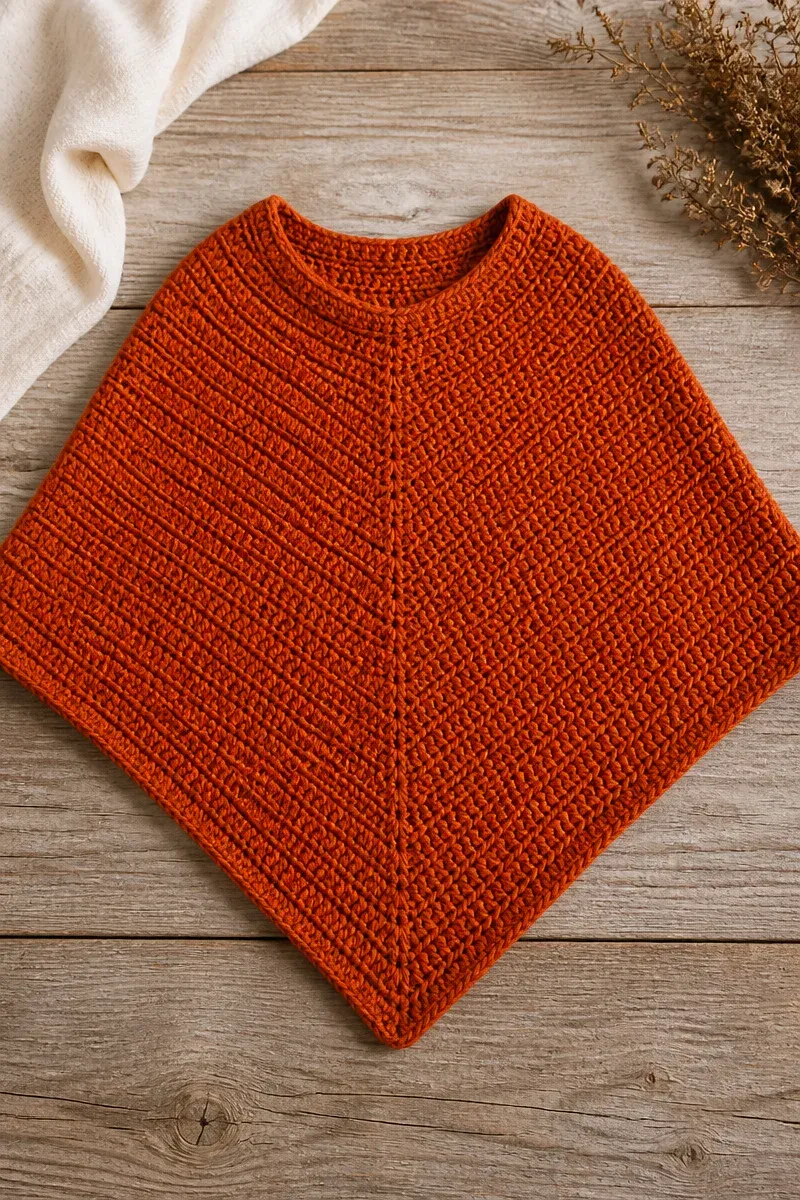
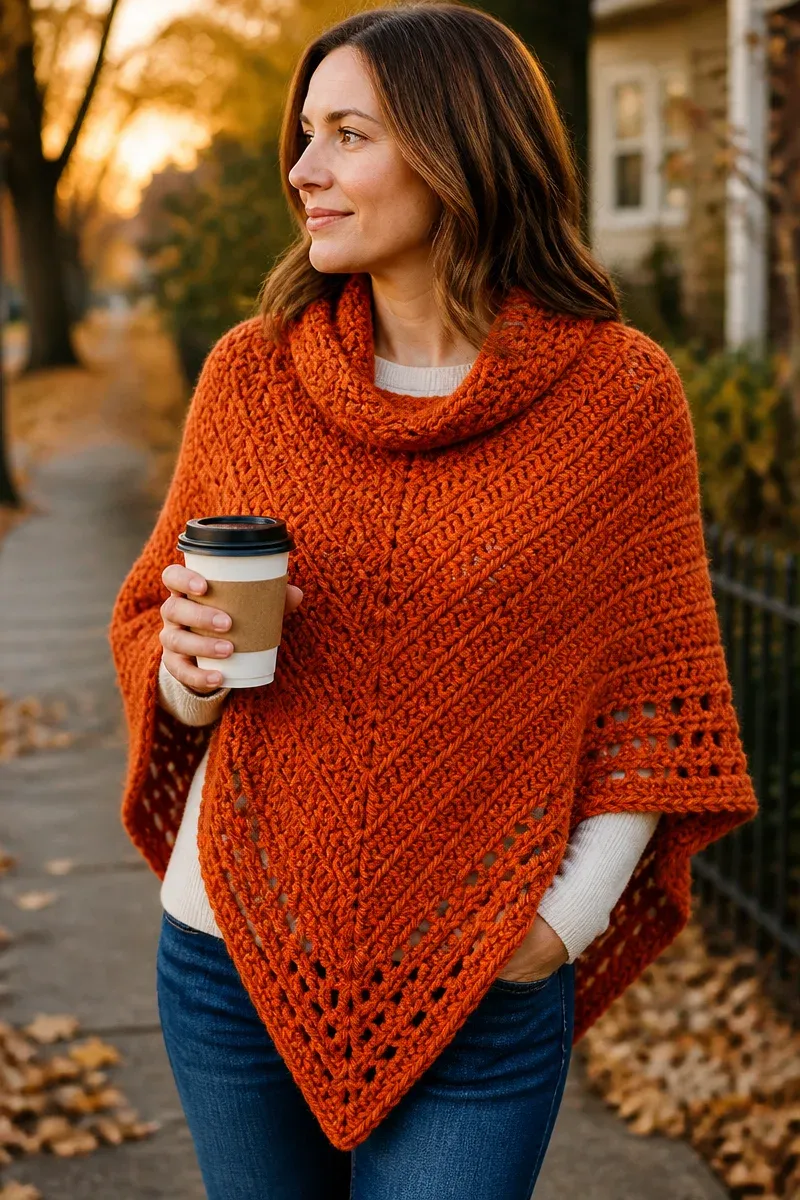
This lightweight poncho is built from two simple rectangular panels joined in a plus-shaped silhouette, offering effortless layering with a modern edge. Constructed entirely in double crochet for a clean drape and subtle texture, it’s designed to accommodate a wide range of body types through its generous neck opening and relaxed fit. The burnt orange acrylic blend yarn delivers warmth without bulk, making it ideal for cool autumn days.
The construction emphasizes minimal finishing with only two panels to stitch together, plus neat single crochet edgings around the neck and hem. This approach saves time, reduces bulk at seams, and simplifies blocking. The choice of worsted weight acrylic balances durability and easy care, standing up well to repeated wear and wash without fading or stretching. While natural fibers can offer softness and breathability, this acrylic blend keeps the poncho lightweight and budget-friendly.
This pattern suits crocheters who want a quick project with a contemporary look and practical layering piece. The design works well over casual or office attire, with enough length to provide cozy coverage while maintaining a sleek silhouette. Finished dimensions accommodate a broad size range without complicated shaping or finishing.
Why You’ll Love This Poncho
The standout feature is the clever assembly of two rectangular panels into a plus shape, creating a roomy neck opening and softly flared hem. The entire body is worked in straightforward double crochet rows, giving clean lines and a versatile fabric texture. The acrylic blend yarn knits well with a 5mm hook, producing a fabric that’s both sturdy and drapey. Finishing is minimal: simple seams with a 10-inch neck gap and single crochet edging that sharpens the silhouette while keeping it tidy. This pattern offers speed without sacrificing style or wearability.
Materials
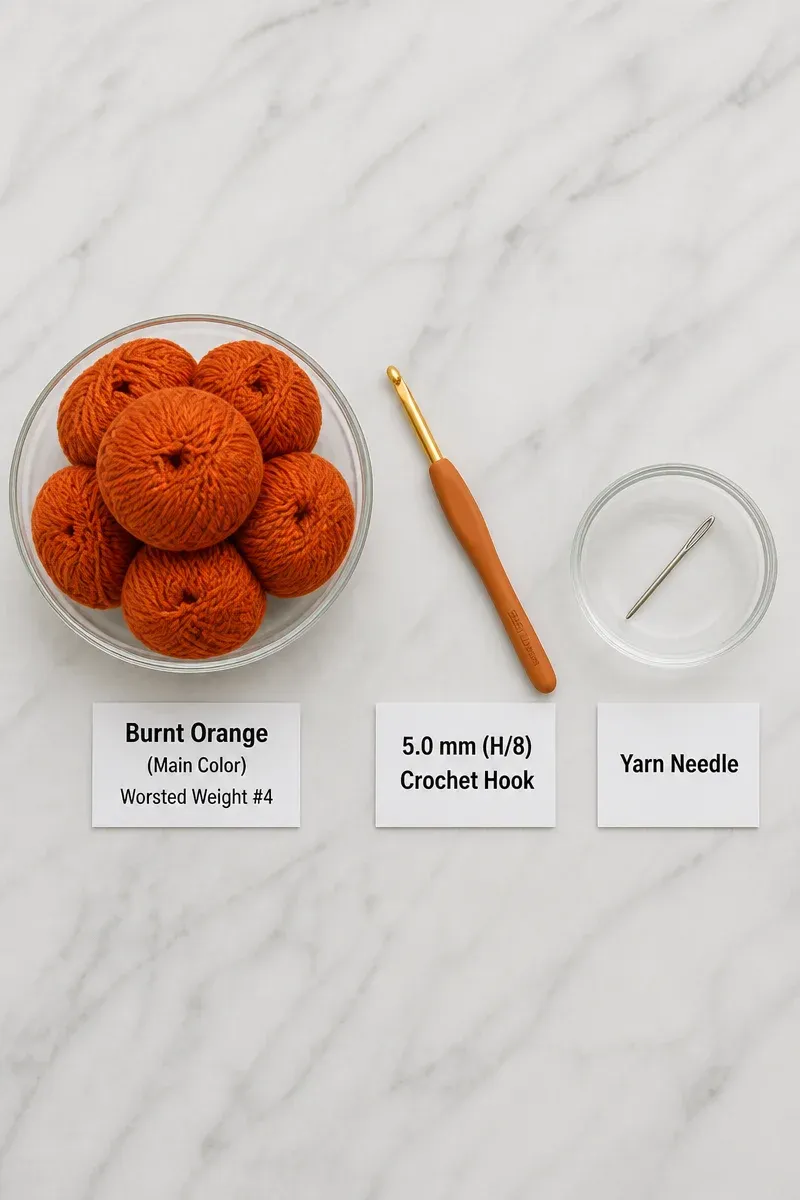
- Hook: US H/8 (5mm)
- Yarn: worsted weight #4 acrylic blend, burnt orange, approximately 800g/1,300 yards total
- Notions: yarn needle for weaving ends and seaming
Gauge
13 stitches x 9 rows = 4 inches (10 cm) in double crochet
Finished Size(s)
One size: Two rectangular panels, each approximately 24 inches wide by 17 inches high, joined into a poncho measuring approximately 34 inches front-to-back and 48 inches side-to-side around the neck opening, with a 10-inch neck gap.
Abbreviations
- ch = chain
- dc = double crochet
- sc = single crochet
- sl st = slip stitch
- st(s) = stitch(es)
- rnd = round
- row = row
Acrylic Blend Yarn Tips
This acrylic blend yarn has a smooth, slightly silky finish that slides easily on a 5mm hook, making tension consistent but advising a steady hand to avoid loose stitches that can lead to overly drapey fabric. Acrylic fibers hold blocking well, and this yarn in particular softens after the first wash without losing shape. It resists pilling and fading, suited for frequent wear. Avoid high-temperature washes or drying to maintain color vibrancy and fiber integrity.
Options for Substitutions
- Substitute with a worsted weight wool or wool-blend yarn for added warmth and natural fiber breathability; adjust hook size if yarn diameter varies.
- Use cotton worsted weight for a lighter, cooler option ideal for early autumn or spring layering.
- Switch to a sport weight yarn and a smaller hook (e.g., 4mm) to create a lighter, more delicate poncho; recalculate foundation chain accordingly.
- Select a variegated or tonal yarn to add visual texture without changing stitch pattern.
- Use a bulky weight yarn with a larger hook for a chunkier winter version; adjust foundation chain to maintain the same width.
- Opt for a hypoallergenic acrylic brand if skin sensitivity is a concern.
Poncho Pattern
Panels (make 2)
Foundation: Ch 79.
Row 1: Dc in 4th ch from hook and in each ch across — 77 sts.
Rows 2–38: Ch 3 (counts as first dc), dc in each st across — 77 sts. Repeat until piece measures approximately 17 inches from foundation. Fasten off.
Neck Edging
Join yarn at the neck opening edge.
Rnd 1: Ch 1, sc evenly around neck edge, join with sl st (count sts to match circumference minus neck gap).
Rnd 2: Ch 1, sc in each st around, join. Fasten off.
Hem Edging
Join yarn at bottom point of poncho.
Rnd 1: Ch 1, sc evenly around entire lower edge, working 3 sc at each corner point, join.
Rnd 2: Repeat Rnd 1, fasten off.
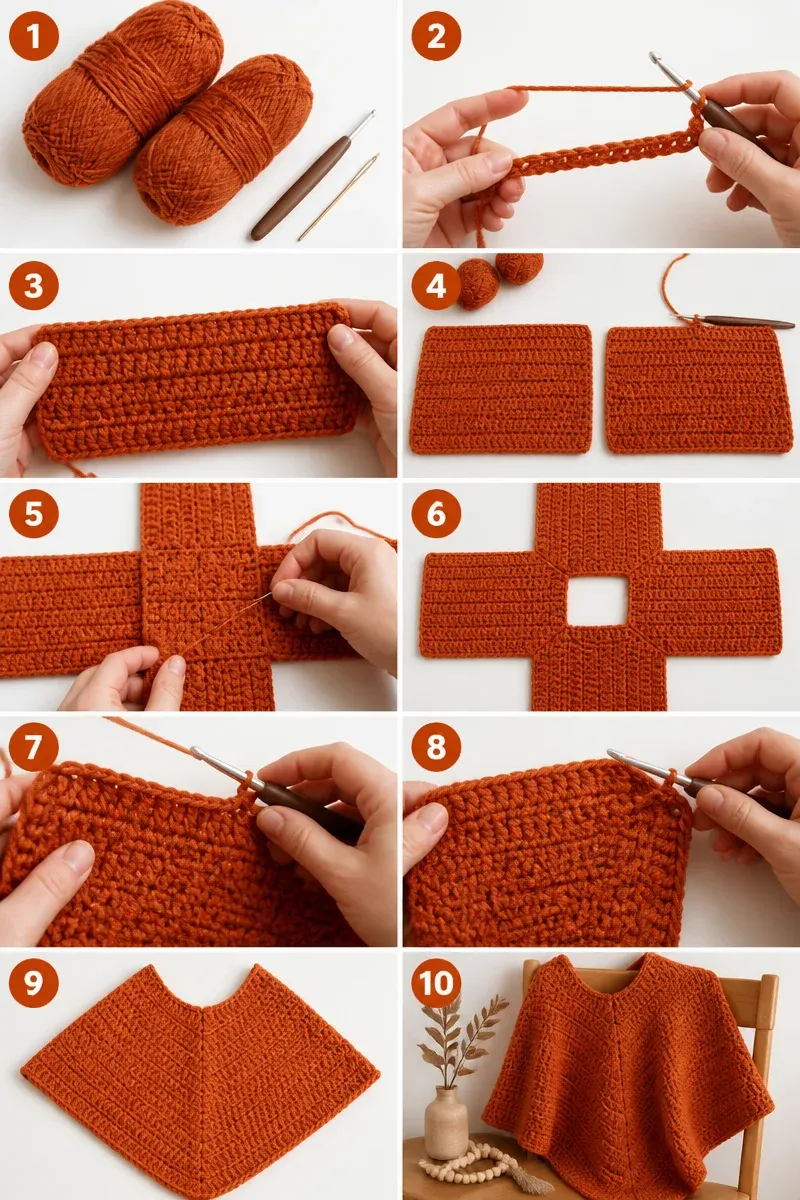
Assembly
- Lay two panels to form a plus shape: place Panel A vertically and Panel B horizontally over it, both right sides up.
- Sew one short edge of Panel A to one long edge of Panel B, starting from each outer corner and working toward the center, leaving a 10-inch gap unsewn at the middle of the seam to form the neck opening.
- Repeat the seam on the opposite side with the remaining panel edges, again leaving a 10-inch neck gap.
- Attach neck edging yarn at one side of the neck opening and follow neck edging instructions.
- Attach hem edging yarn at bottom point and work hem edging as described.
Watch Out for These Mistakes
The main assembly challenge is creating the neck openings consistently on both seams. Be sure to measure and leave exact 10-inch gaps to prevent a too-tight or asymmetrical neckline. The panels form a plus shape; if seams are shifted or stretched, the neck opening may skew off-center.
Pay close attention to evenly spacing sc stitches in the neck and hem edging rounds. The neck edge circumference equals the combined edges minus the 10-inch gap, so miscounting will cause puckering or overly stretched finishing.
Blocking is critical after assembly to relax seams and even out the rectangular panels’ drape, ensuring a balanced, clean shape without unwanted folds or wrinkles.
Because panels are simple rectangles, uneven tension or inconsistent row counts in either panel will result in misaligned seams or an unbalanced poncho silhouette. Measure carefully as you proceed.
The hem edging requires 3 sc at each corner to maintain smooth shaping; omit these and corners will pinch or fold.
Care and Washing Instructions
Machine wash cold on gentle cycle. Use mild detergent. Avoid bleach and fabric softener. Lay flat to dry for best shape retention; machine drying on low heat is possible but may reduce yarn longevity. Acrylic fibers resist shrinking but prolonged heat can cause distortion. Block the poncho flat after washing to restore dimensions and smooth any stretching from wear.
Questions About Making This Poncho
Q: Can I adjust the size of this poncho?
A: Yes. Adjust the foundation chain in multiples of the stitch increment to maintain gauge. Add or subtract rows to reach desired length. Remember to keep both panels the same size and recalculate seam allowance for neck openings.
Q: Is this pattern suitable for beginners?
A: Yes. It uses basic stitches and simple rectangular shapes, making it approachable. Seaming and edging require moderate skills but clear instructions are provided.
Q: Can I use natural fibers instead of acrylic?
A: Absolutely. Wool or cotton substitutes work but may change fabric drape and care requirements.
Q: How do I measure the neck opening accurately for the edging?
A: Measure the total length of the unsewn edges (minus the 10-inch gap) before joining the yarn for the neck edging to ensure sc stitches fit evenly around.
Q: What if my gauge is off?
A: Adjust hook size to meet gauge. The pattern’s fit depends on gauge accuracy to maintain intended panel dimensions and neck opening size.
Q: How should I seam the panels for a neat finish?
A: Mattress stitch or whip stitch with matching tension works well. Seam from outer corner toward center, leaving the correct neck gap unsewn.
Q: Can I add buttons or ties to close the neck opening?
A: This design is meant to stay open for layering ease. Adding closures requires design adjustments to maintain balanced shaping.
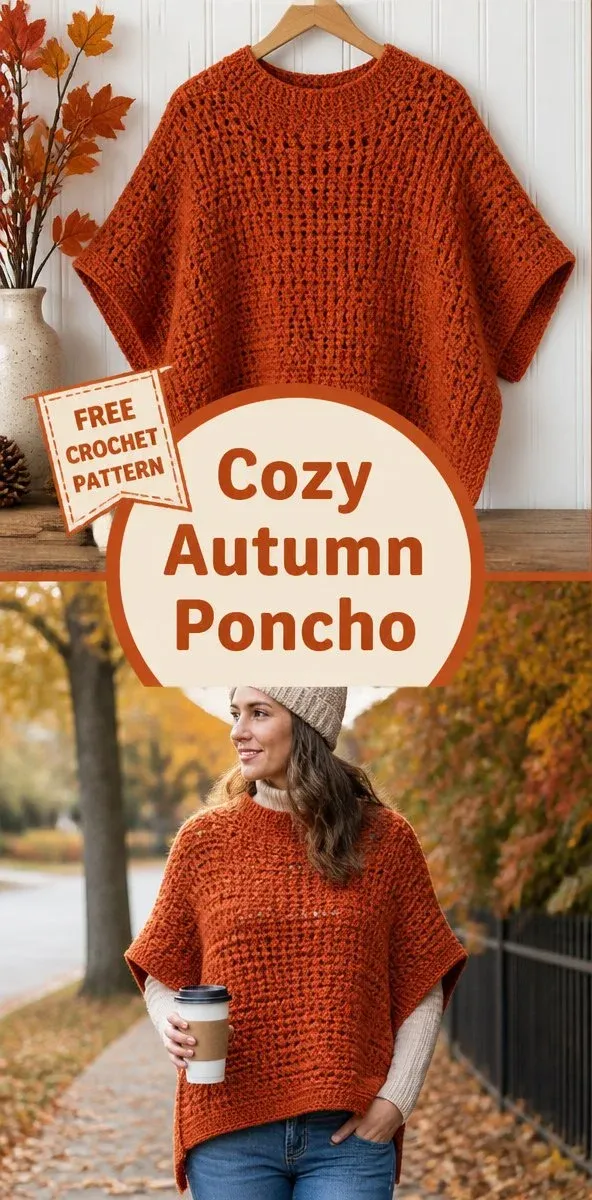
This poncho delivers modern, practical layering in minimal steps, crafted for an accessible make with reliable yarn and simple shaping. Share your finished poncho to inspire others.