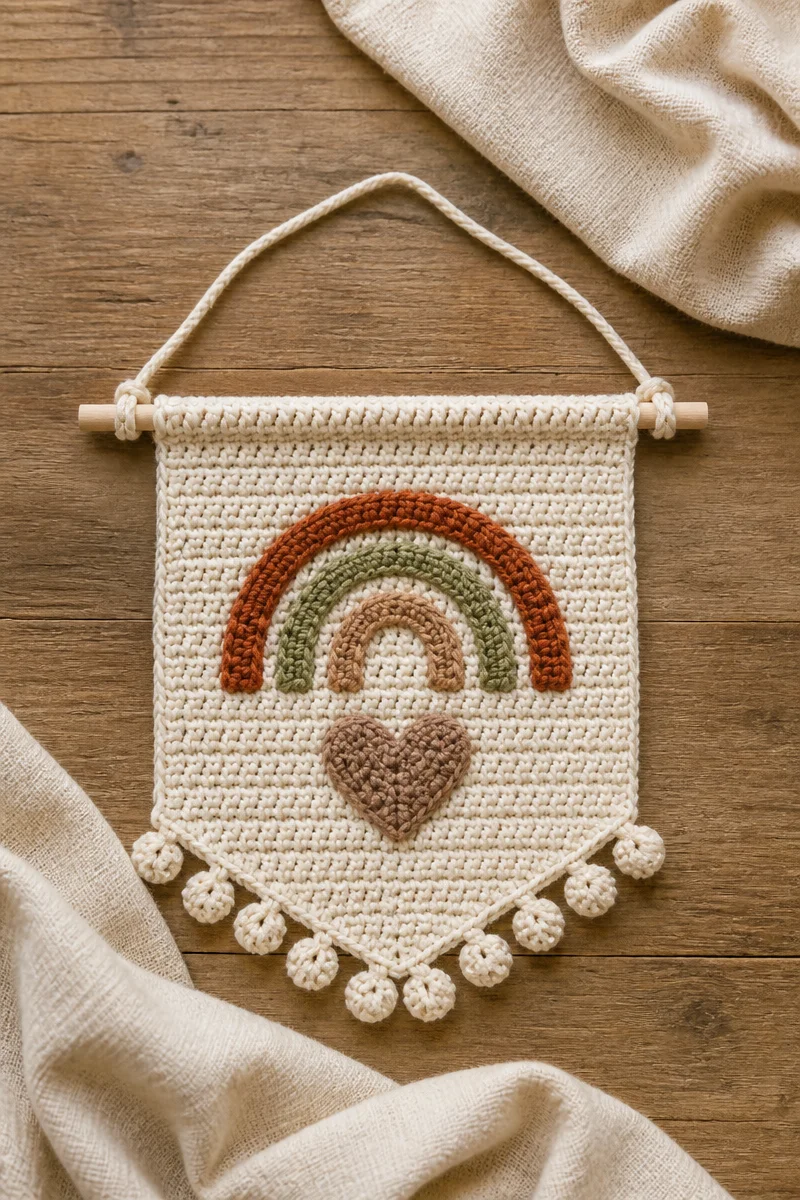
As I set aside some time to crochet today, I find myself returning to a project that’s pure comfort to make: the Crochet Baby Wall Hanging Decor. There’s something so soothing about watching yarn flow through my fingers while I create a beautiful piece that few would guess is a beginner’s project. This wall hanging brings joy not just to those who create it but also to those who will ultimately receive it.
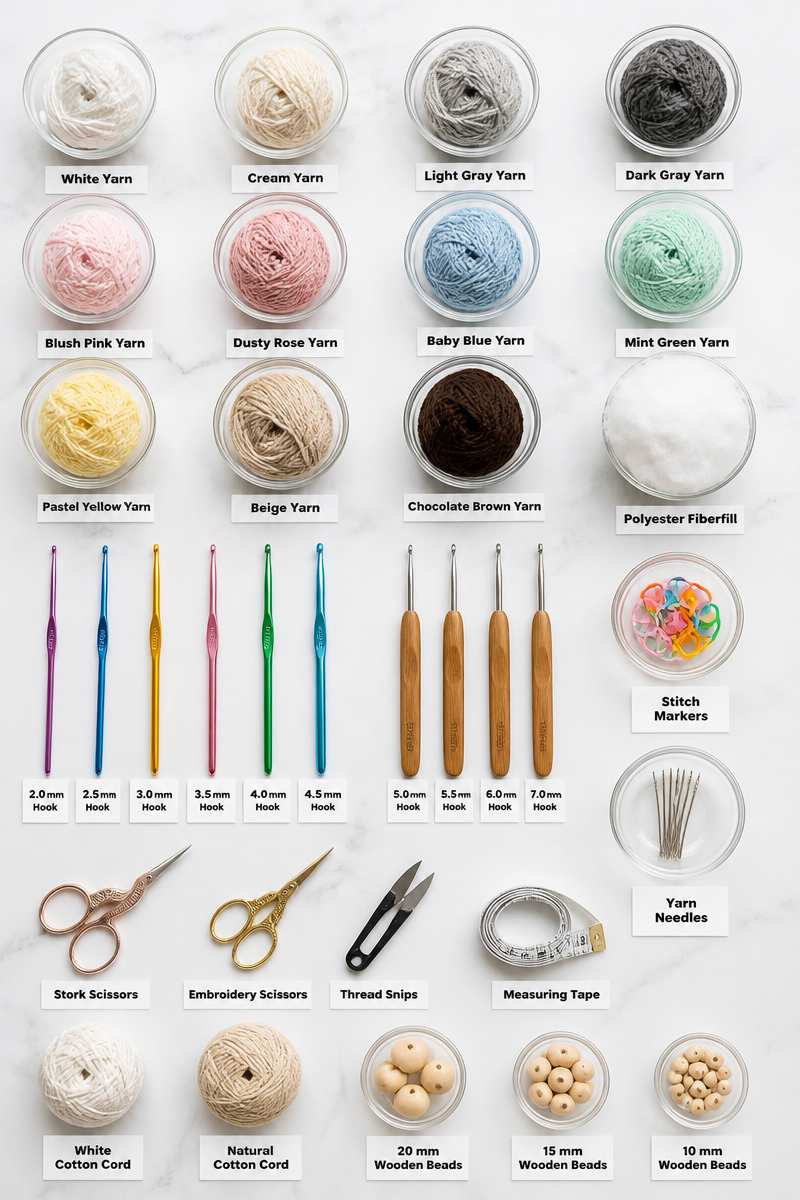
For this lovely piece, you’ll need a few key components: Worsted cotton yarn, a dowel rod, a 4mm hook, fringe yarn, and a yarn needle. I love working with worsted cotton yarn because of its soft texture and vibrant color options. The dowel rod serves as a simple yet effective way to display your work, while the hook size ensures that the stitches are just right for a nice, airy feel. The fringe yarn adds a lovely boho touch that makes this decor piece stand out.
The method to create this wall hanging is simple and enjoyable. You’ll crochet a small triangular or fan-shaped panel using rows of double crochet and open shell stitches for added texture. Once that’s done, you’ll attach evenly cut fringe strands along the bottom edge for that trendy macrame look. Finally, fold the top row over a wooden dowel and stitch it in place, making it ready to hang.
This wall hanging is perfect for a baby’s room, giving it a cozy atmosphere. It also makes a beautiful handmade gift for new parents or can add a charming touch to craft fairs. Whatever the occasion, this wall hanging is sure to brighten any space.
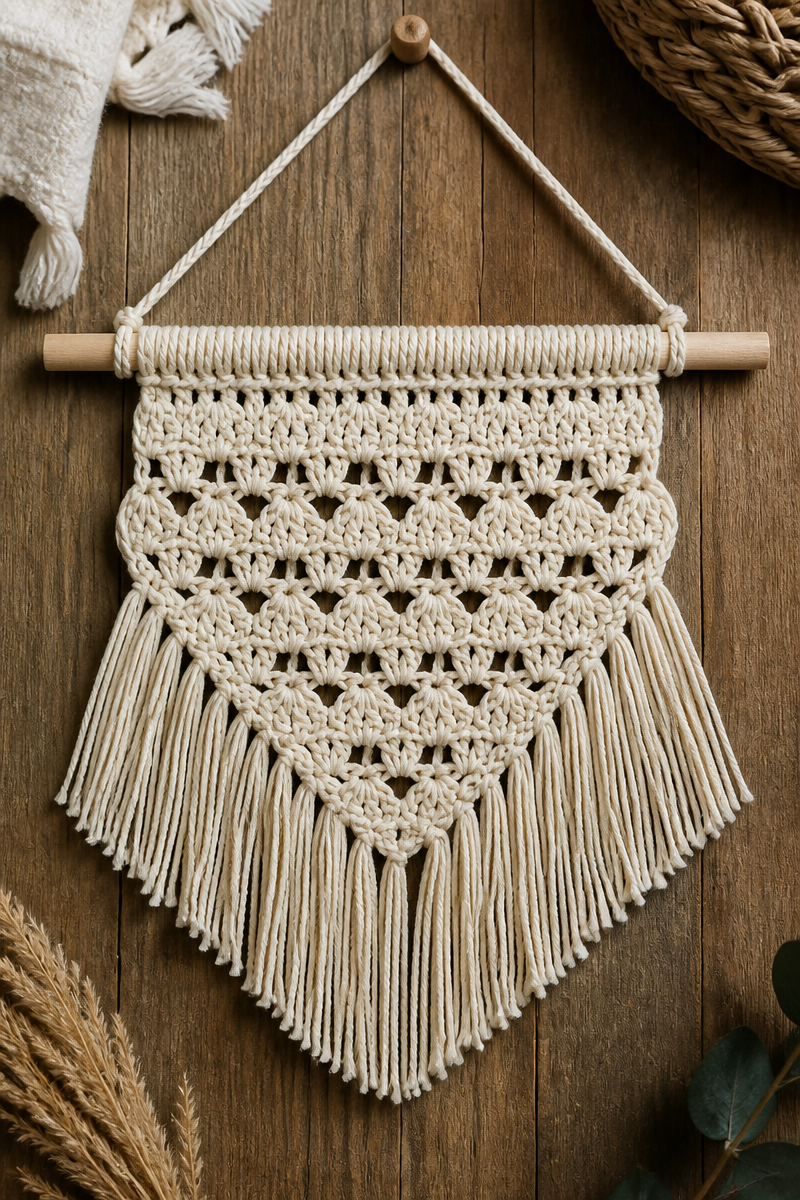
Why You Will Love This Crochet Baby Wall Hanging Decor
- Works up quickly, making it perfect for last-minute gifts.
- Simple stitches ensure that crafters of all levels can enjoy it.
- Relaxing project to unwind at the end of the day.
- Beautiful texture adds a professional touch without advanced skills.
- The charming boho look complements so many nursery themes.
Worsted Cotton Yarn Tips
When selecting Worsted cotton yarn, look for brands that offer a soft and durable option. Cotton yarn has the advantage of being washable and holds dye well, making your colors vibrant. To prevent splitting while crocheting, try to maintain a steady tension and avoid yarn that feels too thin or uneven. Proper handling is key; always make sure to store it wrapped properly and away from direct sunlight to preserve its color.
Options for Substitutions
- Switching to organic cotton for a more eco-friendly choice.
- Using a different color palette or brand of worsted yarn to personalize your project.
- Trying a bamboo blend yarn for a softer, unique feel.
- Utilizing an adjustable dowel rod if you want to customize the length.
- Changing the hook size slightly for different stitch tensions.
- Opting for acrylic yarn if you’re looking for affordability or easier care.
Watch Out for These Mistakes
Many beginners encounter common pitfalls when crafting their Crochet Baby Wall Hanging Decor. One of the most frequent is dropping stitches at the end of a row, especially when using double crochet. Always double-check your stitch count to prevent this issue. Tension is also a key factor in achieving a neat panel; work too tightly, and your piece may scrunch up. Another mistake is skipping chain spaces in your shell stitch, which can result in uneven edges. Take your time and ensure you’re placing your hook correctly to maintain that lovely, flowing texture.
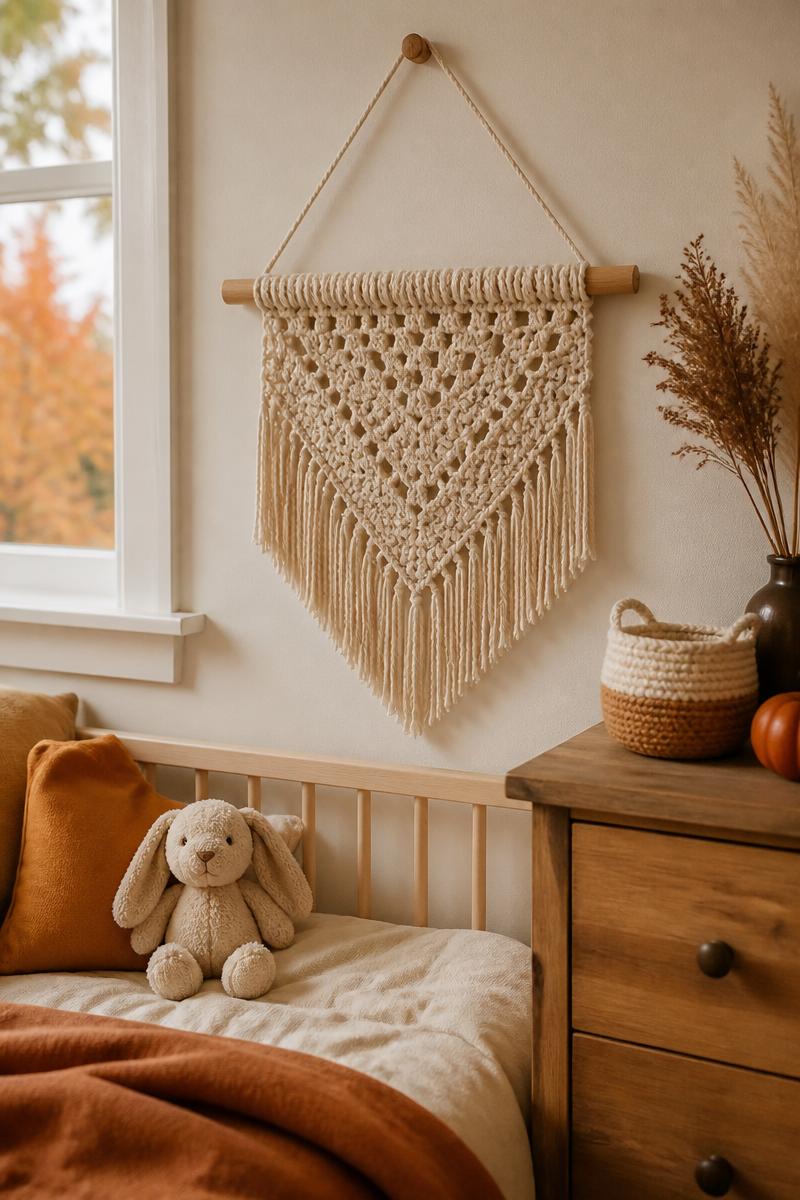
What to Pair With This Crochet Baby Wall Hanging Decor?
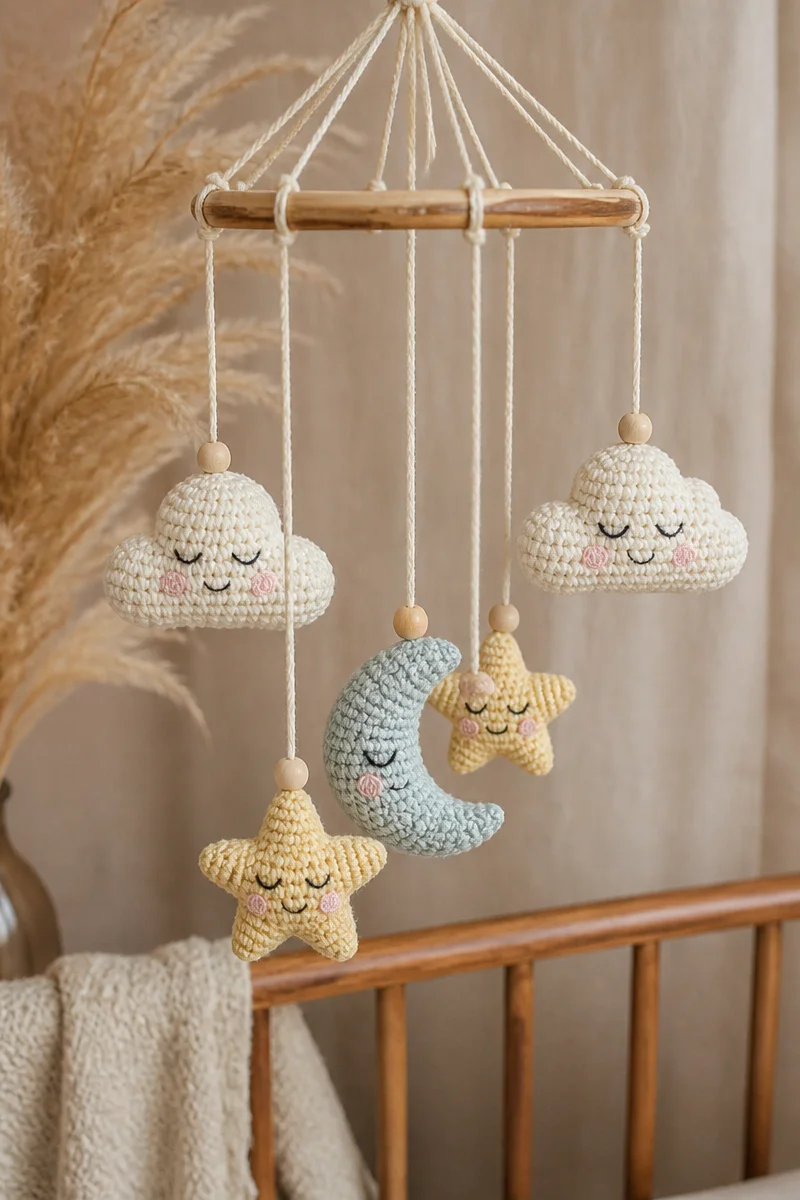
If you want to create a cohesive nursery look, consider pairing your wall hanging with a matching crochet mobile, soft baby blankets, or even a set of crochet stuffed animals. Each of these projects complements the wall hanging beautifully while giving you more chances to show your crochet skills.
Care and Washing Instructions
Washing your Crochet Baby Wall Hanging Decor is simple. For best results, hand-wash in cold water using a gentle detergent. If machine washing is a must, use a delicate cycle and a laundry bag to protect your work.
For drying, lay the piece flat to allow it to dry naturally, preventing stretching or distortion. You may not need to block this piece if your gauge and tension are correct; however, if you want it to be super sharp, a light steam blocking will help enhance its shape.
Pattern Info
Prep Time: About 30 minutes for gathering supplies.
Make Time: Approximately 2-3 hours to complete the piece.
Total Time: 2.5-3.5 hours.
Level of Difficulty: Beginner.
Sizing: Expect a finished piece measuring roughly 12 inches wide by 15 inches long, depending on your personal tension and the style you choose.
Gauge and Sizing Notes
Estimated sizing and gauge details for this pattern: It’s essential to check your gauge, especially if you’re hoping to achieve the same dimensions and affect as outlined. A mismatch in gauge can lead to frustration, so make a small test swatch if you’re unsure. The finished project typically has dimensions of about 12 by 15 inches, depending on personal tension and stitch style.
Materials Needed
- Worsted cotton yarn
- Dowel rod
- 4mm hook
- Fringe yarn
- Yarn needle
Step-by-Step Instructions
Step 1: Create the Foundation Chain
Start by making a foundation chain of about 30 chains, or adjust based on your desired size. Be sure to leave a little extra for the panel’s desired width.
Step 2: First Row of Double Crochet
In the fourth chain from the hook, double crochet. Continue double crocheting in each chain across the row until you reach the end. This establishes the base of your piece.
Step 3: Add Open Shell Stitches
For the next row, chain three and turn your work. Create an open shell stitch by making five double crochets in the first stitch. Skip one stitch and single crochet in the next, repeating this across the row.
Step 4: Begin Shaping the Panel
To form the triangular shape, in the following row, reduce your double crochets gradually. This can be done by skipping more stitches as you work your way down, creating a tapering effect.
Step 5: Attach Fringe Yarn
Once you’ve reached your desired height, cut your fringe yarn into even strands and attach them along the lower edge of your work. Use a yarn needle to secure them neatly.
Step 6: Fold and Hang
Finally, fold over the top row of your finished piece and stitch it to the dowel rod using your yarn needle. This will create the mechanism for hanging your lovely wall decor!
In conclusion, the Crochet Baby Wall Hanging Decor is not just a project; it’s a piece of love to hang in a child’s room or a perfect gift to bring joy to new parents. I encourage you to gather your supplies, try this pattern, and share your delightful creations. I would love to see your finished work and hear your thoughts on this project. Happy crocheting!