Crocheting can be both a delightful and calming craft, allowing us to express our creativity while creating something meaningful. The process of crafting a baby headband bow set offers pure comfort and joy, making it an ideal project for both seasoned crocheters and beginners alike. As you loop the yarn, the rhythmic motion can be soothing, providing a perfect escape from the everyday hustle. Plus, the satisfaction of creating an adorable accessory for a little one is truly rewarding.
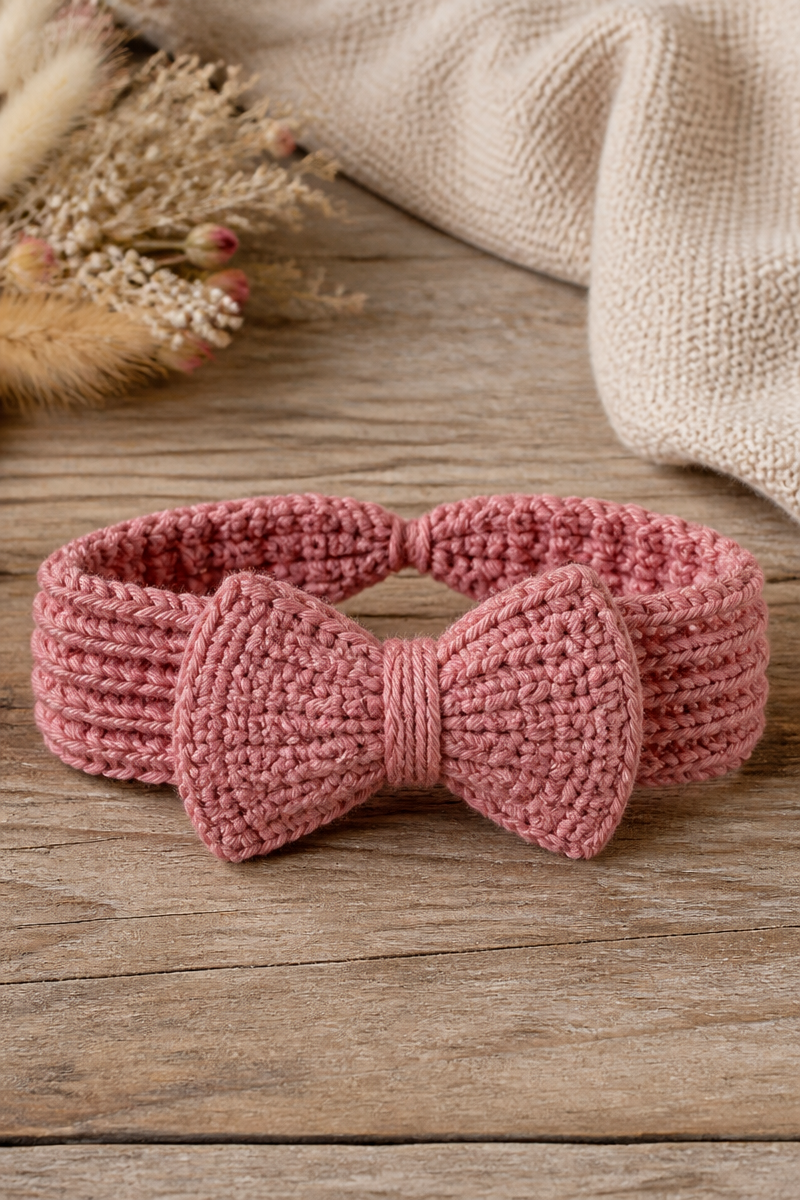
This crochet pattern utilizes basic yet essential supplies, including cotton yarn, a 3.5mm hook, an elastic cord, and a yarn needle. The cotton yarn lends a soft touch that is gentle against a baby’s delicate skin, making it a safe option for infants. The choice of a 3.5mm hook is perfect for creating tight stitches without compromising the flexibility of the headband. When finished, the texture of the headband is slightly ribbed, giving it a lovely look and feel that adds character and charm.
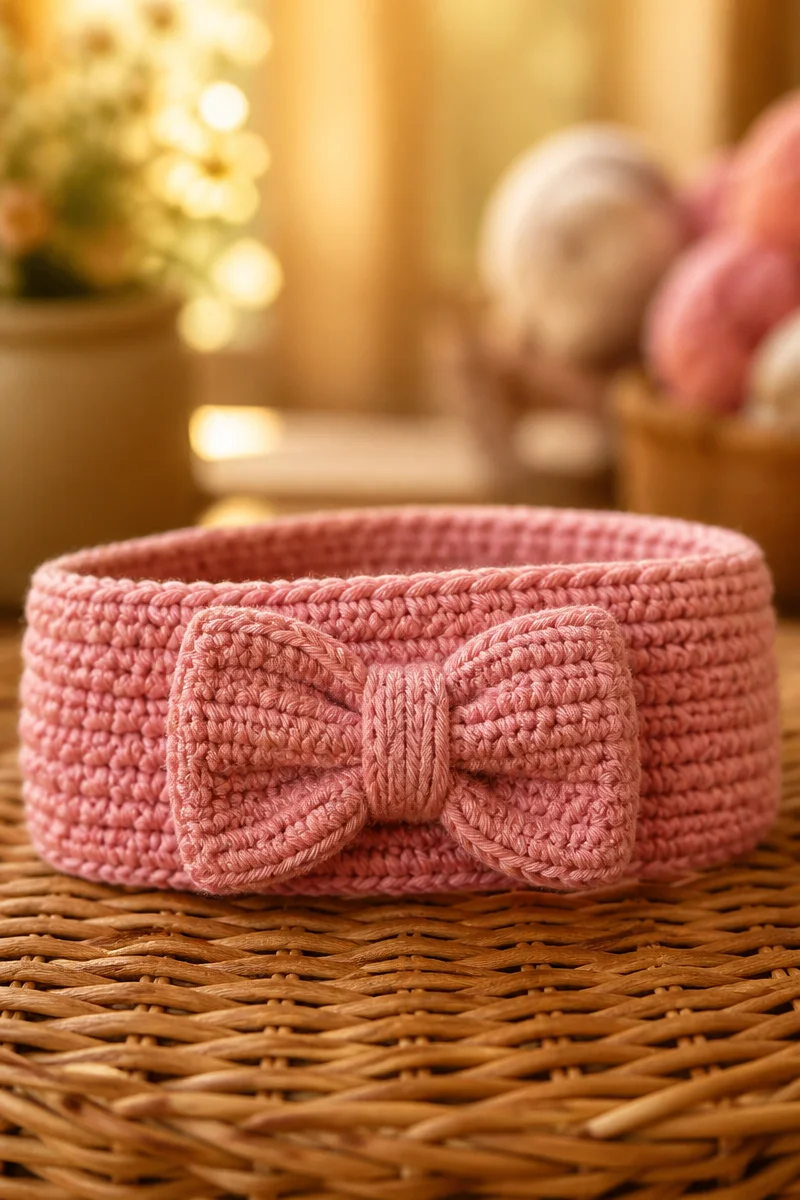
The method is simple and straightforward. You will begin by crocheting a ribbed band that fits comfortably around a baby’s head. After joining the ends with an elastic cord to provide the perfect stretch, you’ll create a cute folded bow shape that is cinched in the center with a wrapped strand of yarn. Finally, the bow is securely sewn onto the front of the band, completing your lovely accessory.
This headband set is not just a beautiful handmade gift for new parents but also versatile enough for various occasions. Whether it’s for a chilly evening, a holiday celebration, or even a craft fair, this charming headband bow set is sure to bring smiles and warmth wherever it’s worn.
Why You Will Love This Crochet Baby Headband Bow Set
- Works up quickly, perfect for last-minute gifts.
- Simple stitches make it an ideal project for beginners.
- The soothing rhythm of the project makes it relaxing to work on.
- Customizable with different colors and yarn types for unique styles.
- Makes a beautiful and thoughtful gift for baby showers or birthdays.
Cotton Yarn Tips
When working with cotton yarn, selecting the right type is crucial for achieving the best results. Cotton yarn is known for its durability and breathability, making it a dependable choice for baby items. Look for a high-quality cotton yarn that is soft, non-irritating, and well-structured, as this will ensure your finished headband not only looks good but also feels comfortable to wear. To avoid splitting while crocheting, make sure to keep your hook sharp and use a smooth yarn with good twist. If you ever feel your stitches are catching, consider switching to a more tapered hook design for easier handling.
Options for Substitutions
- Try a thicker cotton yarn if you want added warmth.
- Use organic cotton yarn for a more eco-friendly choice.
- Swap the 3.5mm hook for a 4.0mm hook for a looser gauge.
- Consider elastic yarn for an even stretchier band.
- Substitute with acrylic yarn if you want a vibrant color assortment.
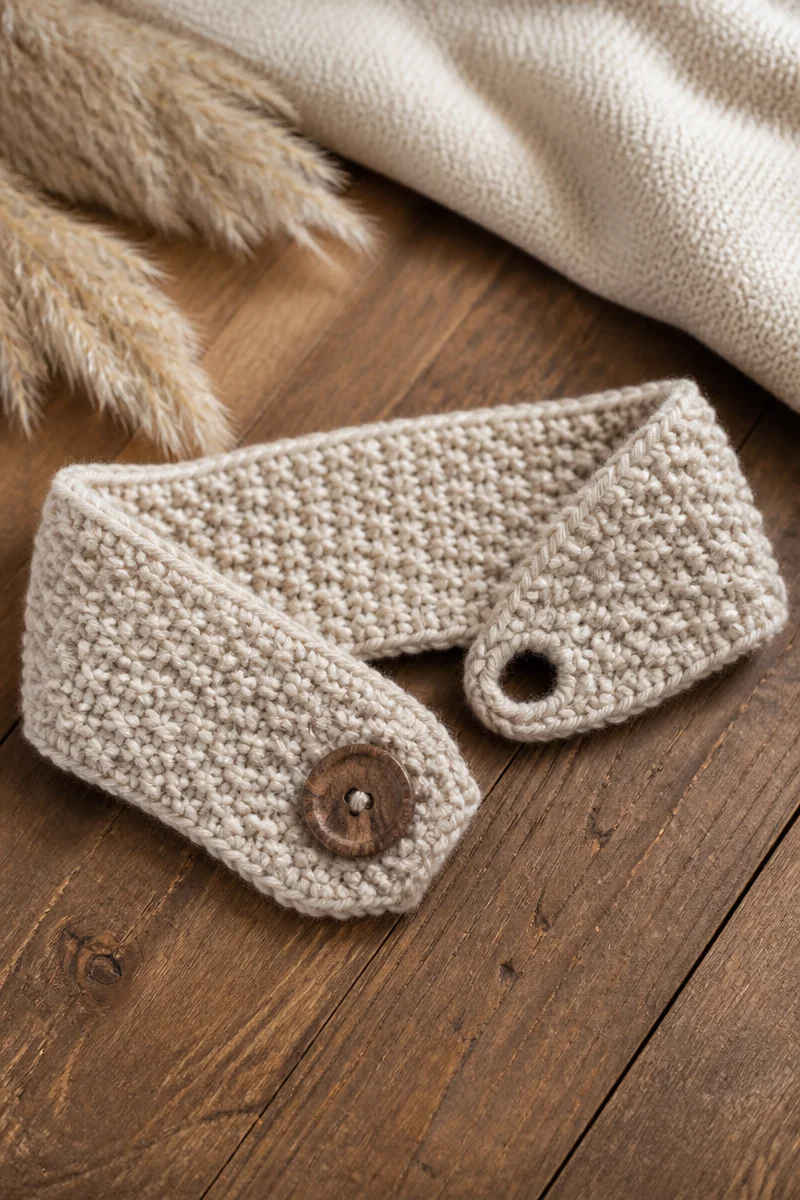
- Use a button instead of a sewn bow for a quicker modification.
Watch Out for These Mistakes
While creating the ribbed band, a common mistake is not paying attention to your gauge. If your stitches are too tight or too loose, the headband may not fit properly. Always take the time to check your tension before starting. Dropping stitches at the end of a row is another pitfall; keep an eye on your work to avoid having to unravel and redo parts of your project. When joining the ends, make sure that the elastic cord is neither too loose nor too tight, as this can affect its overall fit. Lastly, when you cinch the bow, ensure you have twisted the center tightly enough so that it maintains its shape without unraveling.
What to Pair With This Crochet Baby Headband Bow Set?
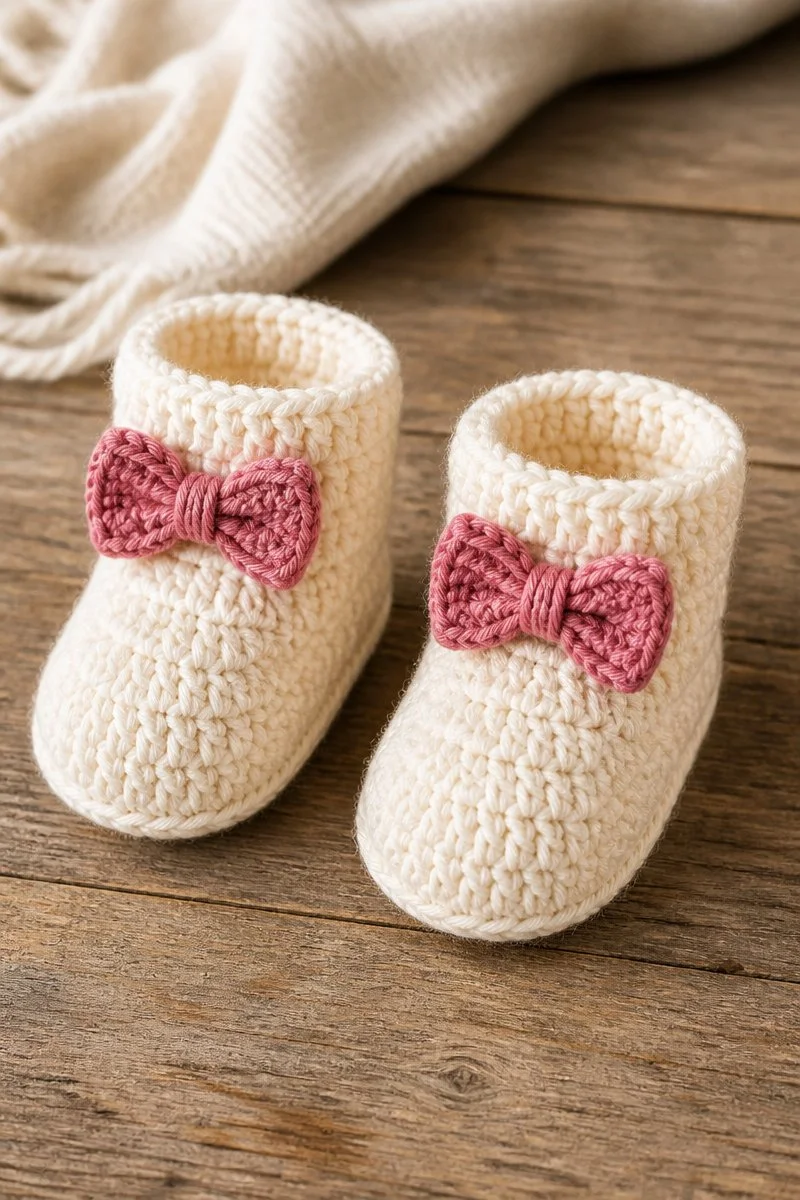
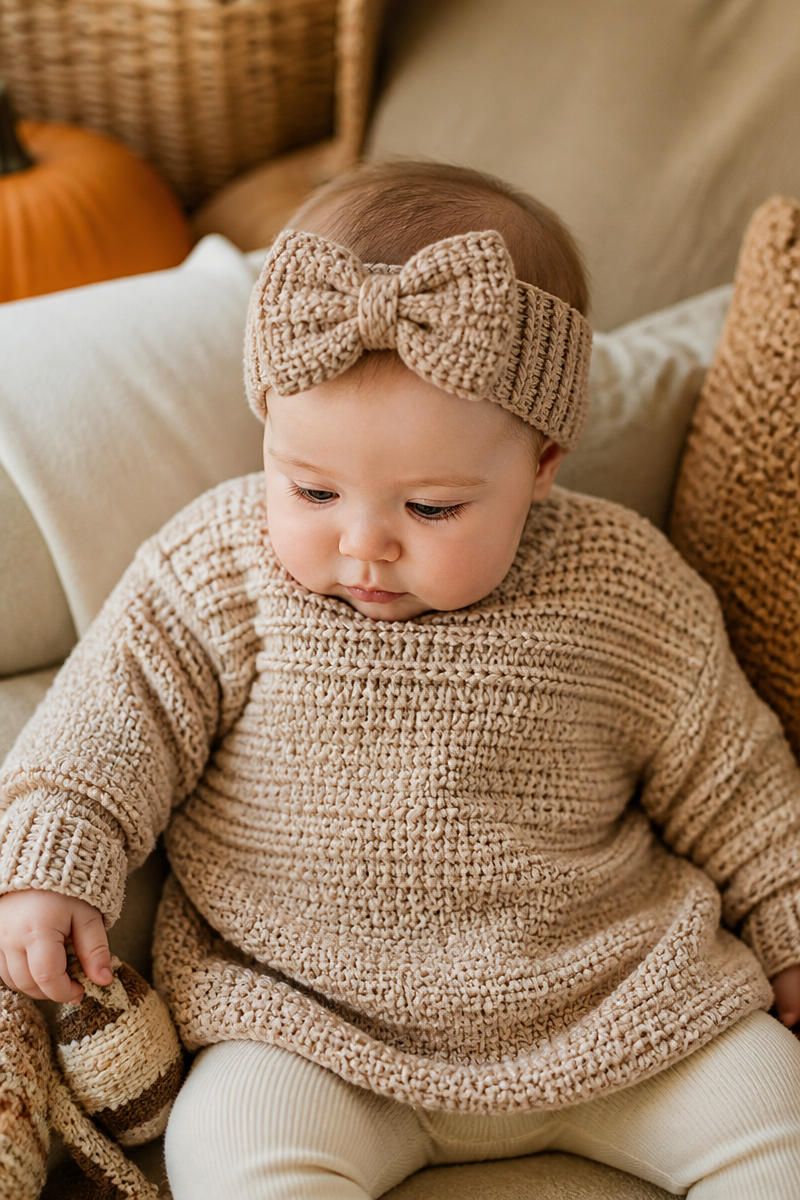
To create a complete look, consider pairing this baby headband with matching booties or a small crochet blanket. A simple crochet flower can also be a cute addition to pin onto the bow or even as a separate accessory. These projects not only complement one another but will also make lovely personalized gifts that new parents will treasure.
Care and Washing Instructions
Washing your cotton yarn creations is easy. For best results, hand wash the headband in cold water using a gentle detergent. If machine washing, choose a gentle cycle. Avoid bleach to preserve the colors.
For drying, lay flat on a clean towel to air dry. This prevents stretching and helps maintain its shape.
Blocking is not necessary for this project; however, if you find any uneven edges after washing, use a steam iron gently over the finished piece to help reshape it.
Pattern Info
Prep Time: 15 minutes
Make Time: 1.5 hours
Total Time: 1 hour 45 minutes
Level of Difficulty: Beginner
Sizing: Fits ages newborn to 1 year comfortably
Gauge and Sizing Notes
Estimated sizing and gauge details for this pattern: Checking gauge is essential to ensure that your final product will fit as intended. For this headband, it’s estimated to be about 16 inches in circumference when relaxed, making it suitable for a baby’s head. If your stitches are significantly looser or tighter than the recommended gauge, adjust your hook size accordingly to maintain the right fit.
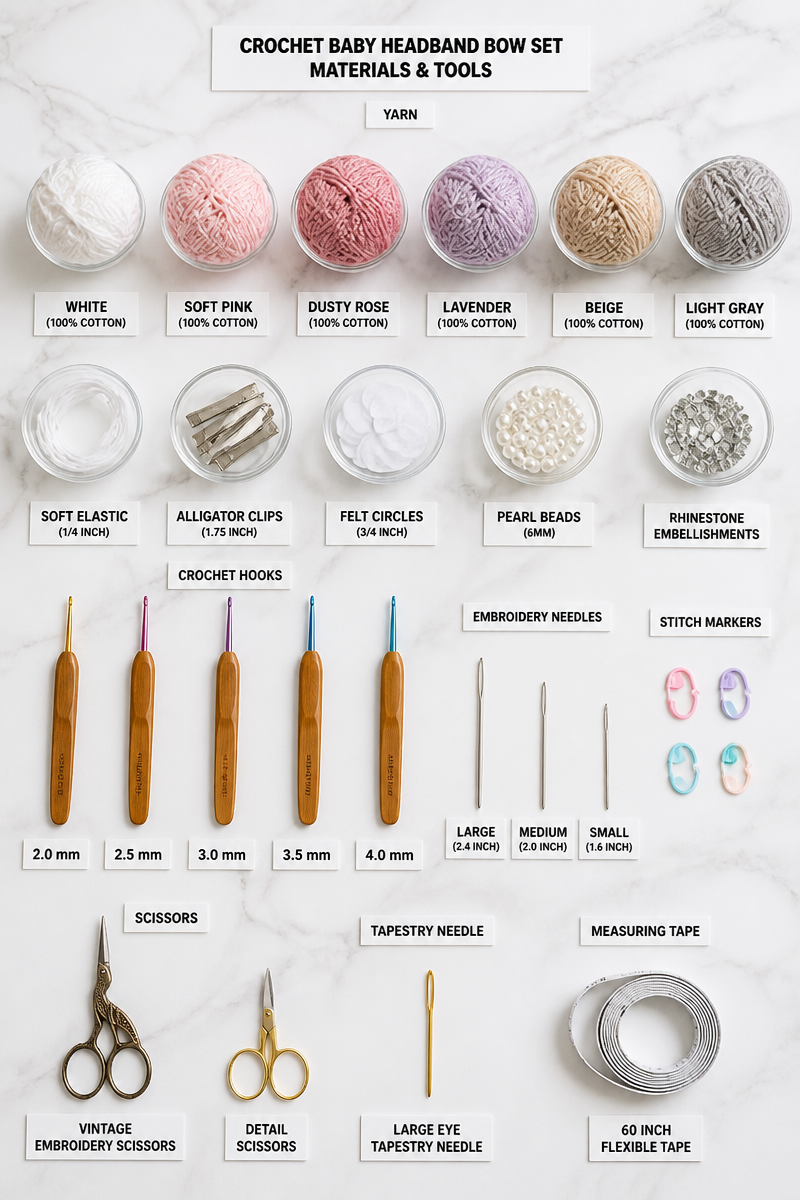
Materials Needed
- Cotton yarn
- 3.5mm hook
- Elastic cord
- Yarn needle
Step-by-Step Instructions
Step 1: Create the Foundation Chain
Start by making a foundation chain that measures approximately 16 inches, making sure it is neither too tight nor too loose. This measurement is crucial to ensure the headband fits comfortably around a baby’s head.
Step 2: Crochet the Ribbed Band
Once your chain is complete, work in a half double crochet stitch into each chain across the row. Chain one and turn. For the following rows, continue to work in the half double crochet stitch, but alternate between a front post and back post stitch to create the ribbed texture. Repeat this pattern until the band reaches a width of around 2 inches or your preferred width.
Step 3: Seam the Band with Elastic Cord
When you have reached the desired length, cut a piece of elastic cord that is approximately 8 inches long. Bring the ends of the crocheted band together and sew them securely while incorporating the elastic cord, ensuring it stretches comfortably.
Step 4: Make the Bow
Next, for the bow, chain about 12 inches in length. Fold this piece in half, and work single crochet stitches down the length to give it some body. Once the bow is completed, cinch the center tightly with a small strand of yarn.
Step 5: Attach the Bow to the Band
Using your yarn needle, carefully sew the bow onto the center front of your headband. Ensure it is stitched securely so it can withstand some playful wear.
Step 6: Finish and Weave in Ends
To complete the project, weave in any loose ends using your yarn needle. Check the band and bow, adjusting as necessary to ensure everything is neatly finished.
In conclusion, the Crochet Baby Headband Bow Set is a charming project that brings joy to both the maker and the recipient. With its simplicity and delightful results, this pattern is perfect for those looking to create a thoughtful gift. I encourage you to give this pattern a try, share photos of your finished creations, and explore similar posts for more crochet inspiration. Happy crocheting!