Crafting a beautiful ear warmer headband is a delightful project that brings both comfort and style. There’s something special about a handmade accessory, especially when it’s designed to keep your ears warm on chilly days. As you work through this crochet pattern, you’ll find it to be not just simple but genuinely enjoyable to create. The rhythmic motions of crochet can provide a sense of calm, making it the perfect pastime for a cozy afternoon.
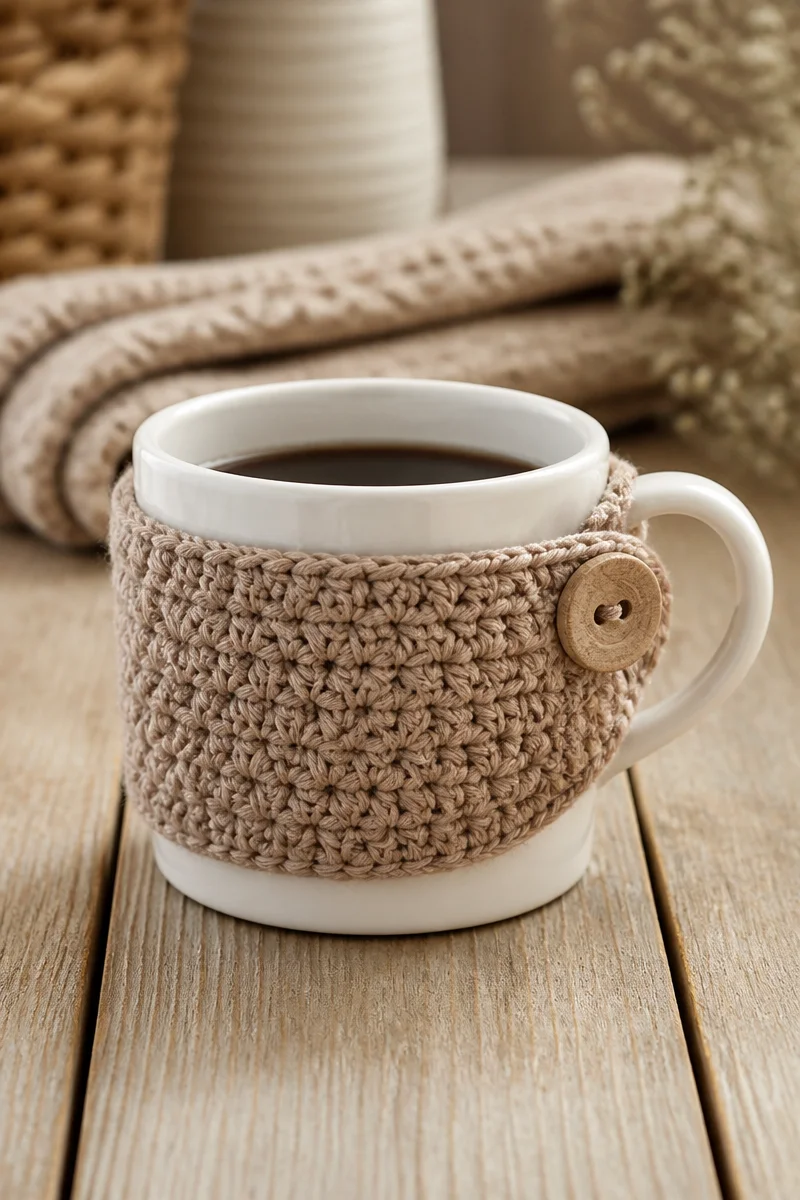
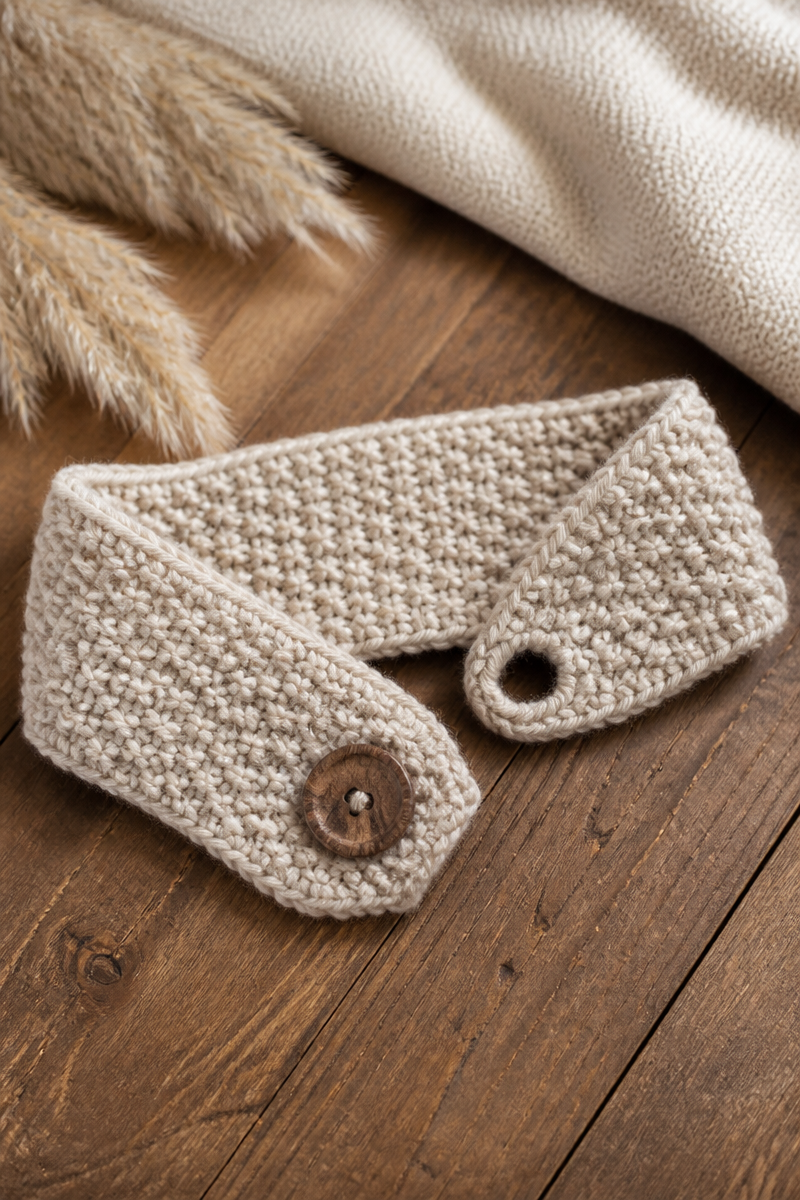
This crochet ear warmer headband calls for bulky weight yarn, a 6.5mm hook, one button, and a yarn needle. Using bulky yarn means that your project will work up quickly, giving you instant gratification. The finished piece features a lovely texture, whether you choose the cozy moss or trendy bean stitch, both of which add visual interest and warmth. As you craft, you’ll appreciate how these materials come together to create a soft, warm accessory that feels great against your skin.
In this pattern, you’ll experience a series of straightforward steps. You’ll first chain a short foundation row, then work a textured stitch until the piece is long enough to snugly fit around your head. Next, you’ll create a buttonhole loop and attach a button on the opposite end to secure the band. Finally, the last steps will have you weave in any ends and lightly block the headband to achieve a great finish.
This headband isn’t just about keeping warm; it’s ideal for a variety of occasions. Imagine wearing it on chilly nights, gifting it to a loved one as a handmade treasure, or even displaying it at craft fairs. Each headband you create can tell a story, connecting the maker and the wearer through the art of crochet.
Why You Will Love This Crochet Ear Warmer Headband Pattern
- Works up quickly, perfect for last-minute gifts.
- Simple stitches make it beginner-friendly.
- A relaxing project that offers satisfaction with each completed row.
- Versatile design that can be customized with different colors and buttons.
- Great for both personal use and gifts, making it a valuable pattern.
Bulky Weight Yarn Tips
When selecting bulky weight yarn for your ear warmer, you’ll want to consider the fiber content, as it greatly affects the comfort and warmth of your project. Opt for a yarn that combines softness with durability, such as an acrylic blend, which is easy to care for and widely available. Look for yarn that has a gentle stretch; this will help the headband fit comfortably without losing shape. Lastly, ensure that the yarn you choose is easy to work with, as this will enhance your overall crocheting experience.
Options for Substitutions
- Acrylic Yarn: Easy to work with and comes in a variety of colors.
- Wool Yarn: Offers natural warmth, perfect for very cold days.
- Cotton Yarn: A lighter option for milder weather.
- Alpaca Yarn: Soft and warm, providing a luxurious feel.
- Different Bulky Brands: Experiment with various brands to find your favorite.
- Adjust Hook Size: A slightly smaller hook can tighten the stitches for a different texture.
Watch Out for These Mistakes
As you create your crochet ear warmer headband, there are a few common pitfalls to avoid. First, dropping stitches at the end of a row can happen if you’re not careful; always double-check your stitch count before turning your work. Another issue is tension; make sure to keep your tension consistent throughout the project to ensure an even fit. Additionally, when adding the buttonhole loop, be certain you’re not skipping a space—this could lead to a buttonhole that doesn’t function properly.
Lastly, when you finish your piece, weaving in all ends may seem like a minor step, but neglecting this can leave your work looking unfinished. Take care to block your headband lightly; it helps the piece maintain its shape and enhances the texture.
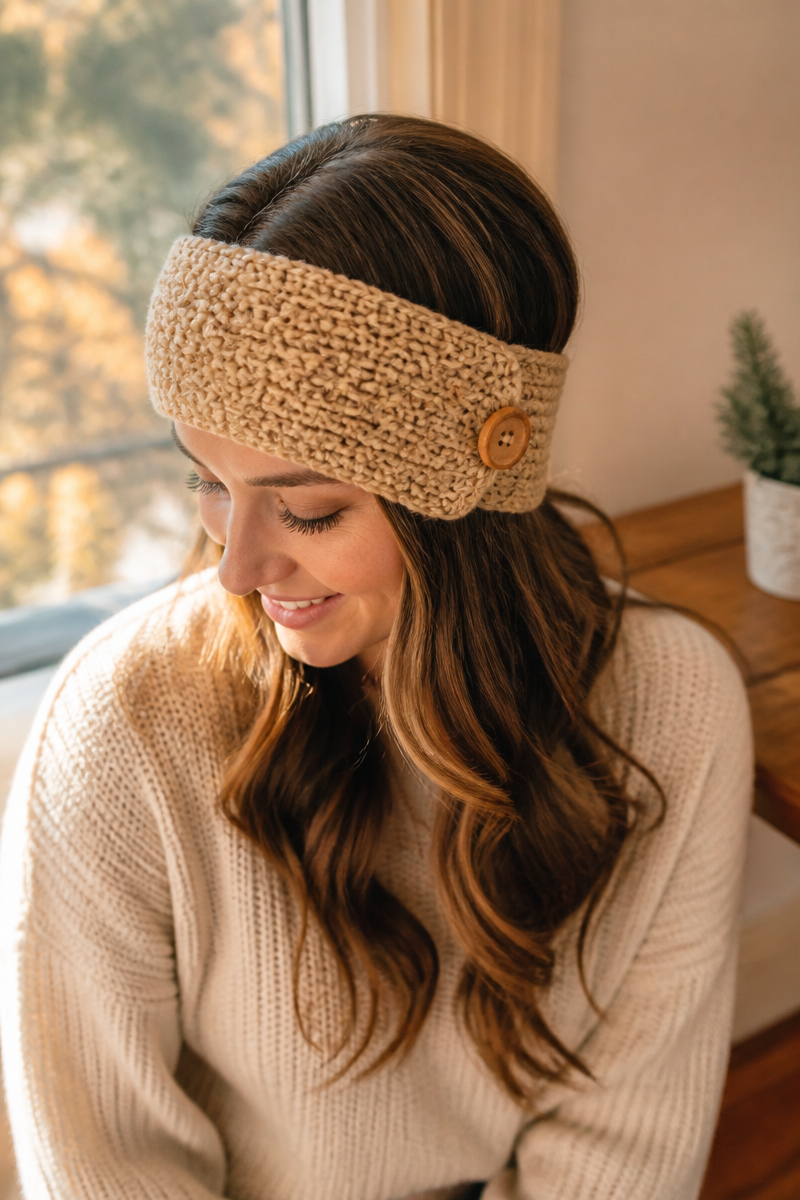
What to Pair With This Crochet Ear Warmer Headband Pattern?
To complete your cozy winter look, consider pairing your crochet ear warmer headband with a matching scarf or cowl. A pair of fingerless gloves can add an extra touch of warmth while allowing for ease of movement. You can also craft a set of cozy slippers to keep your feet warm indoors. Each of these projects not only complements the ear warmer but also makes for delightful gifts during the holiday season.
Care and Washing Instructions
Washing your ear warmer headband made from bulky weight yarn is straightforward. Hand wash your finished piece gently using cool water and a mild detergent. If you’re using a machine, consider placing it in a delicate garment bag and washing on a gentle cycle.
Drying is equally important—lay your piece flat to dry. This helps maintain its shape and prevents any stretching that could occur in a dryer.
Blocking is recommended to enhance the finished look. Simply dampen the piece lightly, lay it flat, and shape it to the desired dimensions. You may not need heavy steam; a gentle wet block often suffices.
Pattern Info
- Prep Time: 15 minutes
- Make Time: 45 minutes
- Total Time: 1 hour
- Level of Difficulty: Beginner
- Sizing: Adjustable to fit most head sizes, typically around 20-22 inches in circumference.
Gauge and Sizing Notes
Estimated sizing and gauge details for this pattern: Checking your gauge is crucial to ensure a proper fit, especially with accessories like headbands that can stretch. For this pattern, a gauge of approximately 8 stitches per 4 inches is ideal. The finished project should measure about 3-4 inches in width and 20-22 inches in length to accommodate most adult head sizes comfortably.
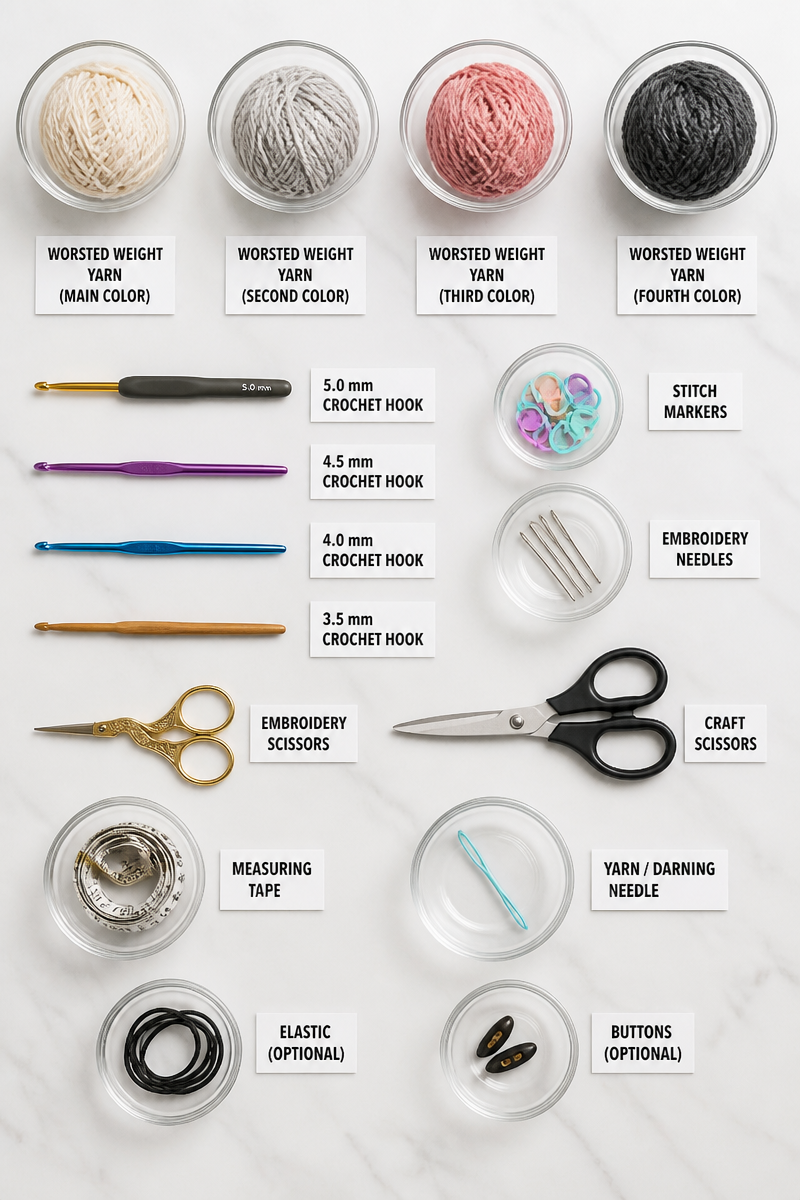
Materials Needed
- Bulky weight yarn
- 6.5mm hook
- 1 button
- Yarn needle
Step-by-Step Instructions
Step 1: Create the Foundation Chain
Start by chaining a short foundation row. Aim for a length that comfortably wraps around your head with a little stretch.
Step 2: Work in Textured Stitch
Use a textured stitch of your choice, like the moss or bean stitch, to create your headband. Keep going until the piece reaches the appropriate length for your head size.
Step 3: Create the Buttonhole Loop
At one short end of your headband, create a buttonhole loop. This involves chaining a few stitches and skipping an equal number when you return.
Step 4: Attach the Button
Sew a button on the opposite end of the headband, ensuring it aligns with the buttonhole. This step secures your headband, allowing it to fit snugly.
Step 5: Weave in Ends
After sewing the button, take time to weave in any final ends using your yarn needle. This gives your headband a clean finish.
Step 6: Block Your Headband
After completing your headband, lightly block it to help shape and define the stitches. This final touch enhances the overall appearance and comfort.
In conclusion, making your own crochet ear warmer headband is a fulfilling and rewarding project. With just a few materials and simple steps, you can create a piece that keeps you warm and adds style to your winter wardrobe. I encourage you to try this pattern and share photos of your projects. Explore similar posts on my blog for more fun crochet ideas, and enjoy the creative journey!