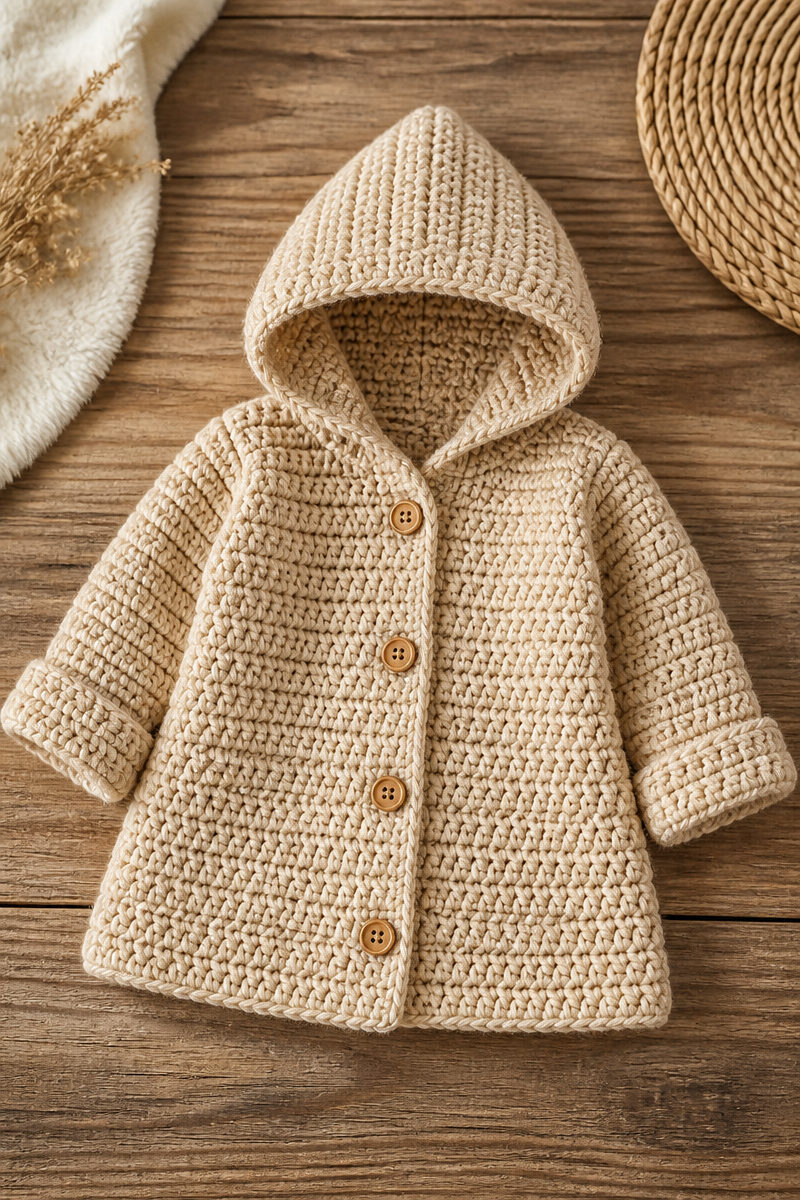
Crocheting has always been a source of comfort for me, and creating this baby hooded coat is no exception. It’s a pure joy to make, offering a sense of relaxation as you work through each stitch. There’s something incredibly satisfying about watching the fabric come together, especially for a beloved little one. The end result—a warm, cozy coat—truly embodies the nurturing spirit of handmade crafts.
For this project, you’ll want to gather a few key materials. Using bulky weight yarn in oatmeal or sage green will give you a luxurious feel, perfect for snuggling up a baby. A 5.5mm hook creates beautiful, large stitches, making the process swift and enjoyable. You’ll also need three wooden buttons to add a charming touch, plus a yarn needle for weaving in any loose ends. The combination of yarn and hook size ensures that the finished coat has a delightful texture, soft enough for delicate skin yet durable enough for everyday wear.
The construction method for this coat is straightforward, making it suitable for beginner and intermediate crocheters alike. First, you’ll crochet the back and two front panels using double crochet, lightly shaping at the waist. After that, it’s time to seam the shoulders and sides, leaving room for sleeves. The sleeves are worked in rounds and attached directly to the armholes. Once the sleeves are complete, you’ll crochet a triangular hood and seam it around the neckline. Finally, adding a single crochet border down the front and sewing on the buttons completes your lovely creation.
This adorable coat is perfect for chilly nights, ensuring that your little one stays cozy and warm. It makes a beautiful handmade gift for baby showers, birthdays, or just as a surprise for someone special. Plus, it could be a lovely item to sell at craft fairs, bringing joy to both the maker and the wearer.
Why You Will Love This Crochet Baby Hooded Coat Pattern
- Works up quickly with large stitches.
- Simple stitches ideal for beginners.
- A relaxing and satisfying project.
- Versatile for both boys and girls.
- Makes an excellent gift or keepsake.
Bulky Weight Yarn Tips
When working with bulky weight yarn, it’s crucial to choose a soft, high-quality fiber that feels gentle against a baby’s skin. Look for blends that include cotton or acrylic, as they provide excellent warmth without excessive weight. Be mindful of how you’re handling the yarn; it can be prone to splitting. Using the right hook size, like the 5.5mm in this pattern, helps you maintain tension while preventing any fraying of the fibers.
Options for Substitutions
- Swap out the oatmeal or sage color for your favorite pastel shades.
- Use 100% cotton yarn instead of acrylic for a breathable option.
- Try a lighter worsted weight yarn with a different hook size for a looser fit.
- Choose a premium wool blend for added warmth and comfort.
- Experiment with variegated yarn for a unique look.
- Opt for baby-safe buttons if you are concerned about safety.
Watch Out for These Mistakes
As you begin crocheting the back and two front panels, be cautious not to drop stitches at the end of each row. This can lead to uneven edges. Tension can also be an issue; if your stitches are too tight, you may have trouble inserting your hook through them later. When seaming the shoulders and sides, ensure you leave enough room for the sleeves; you don’t want to make it too snug. Lastly, while adding the single crochet border, confirm that you’re not skipping any chain spaces, as this can affect the appearance of your finished product.
What to Pair With This Crochet Baby Hooded Coat Pattern?
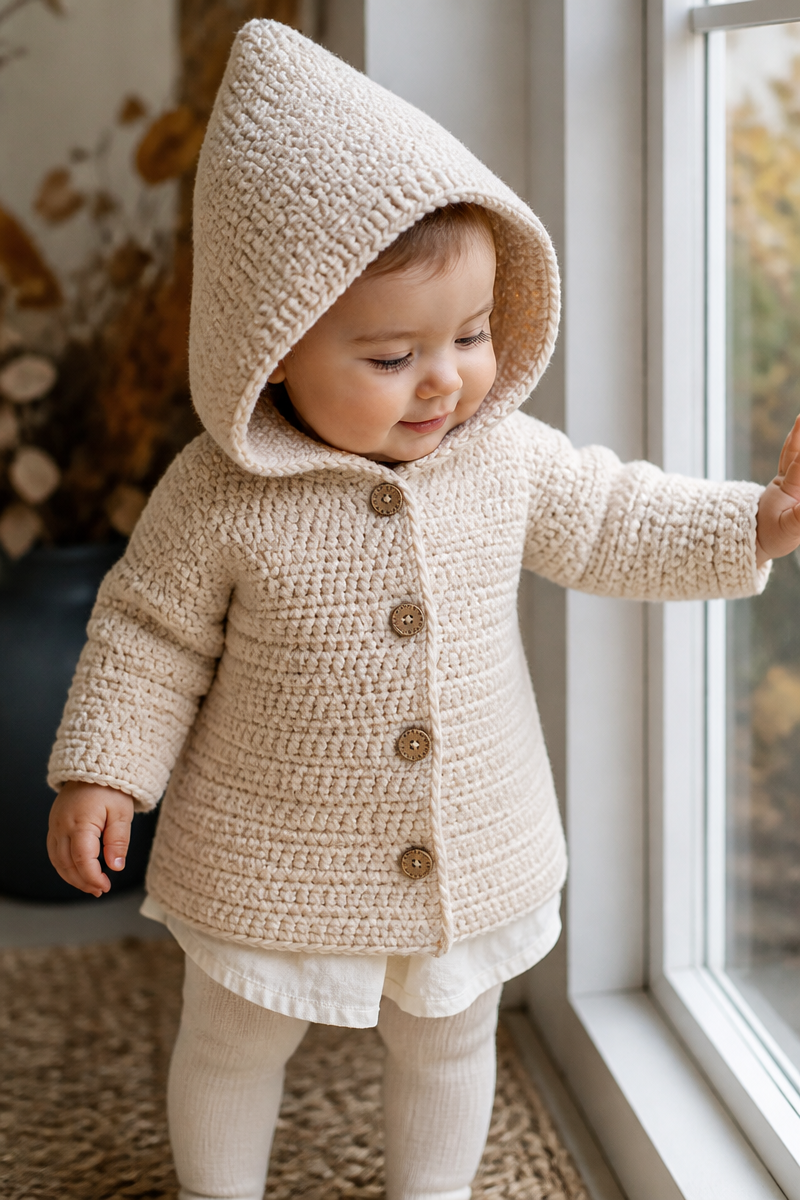
Consider pairing this adorable hooded coat with a crochet beanie and booties for a complete outfit. A matching blanket or a cozy scarf can also enhance the ensemble. Each piece complements the coat beautifully, making for a lovely gift set for babies and toddlers.
Care and Washing Instructions
Washing: It’s generally best to hand wash items made from bulky weight yarn to maintain their shape. Use cool water and a gentle detergent to avoid damage.
Drying: Lay your coat flat on a clean towel to dry, avoiding direct sunlight which can fade colors and cause the yarn to warp.
Blocking: If desired, you can lightly steam block the finished piece to achieve sharper edges and improve the overall appearance.
Pattern Info
Prep Time: Approximately 30 minutes
Make Time: Approximately 4 hours
Total Time: Approximately 4 hours and 30 minutes
Level of Difficulty: Beginner/Intermediate
Sizing: Fits approximately 0-12 months.
Gauge and Sizing Notes
Estimated sizing and gauge details for this pattern: It’s essential to check your gauge before starting to ensure the finished piece fits as intended. A good gauge for bulky yarn is about 10 stitches and 12 rows in a 4-inch square. The finished coat should comfortably fit a baby aged 0-12 months.
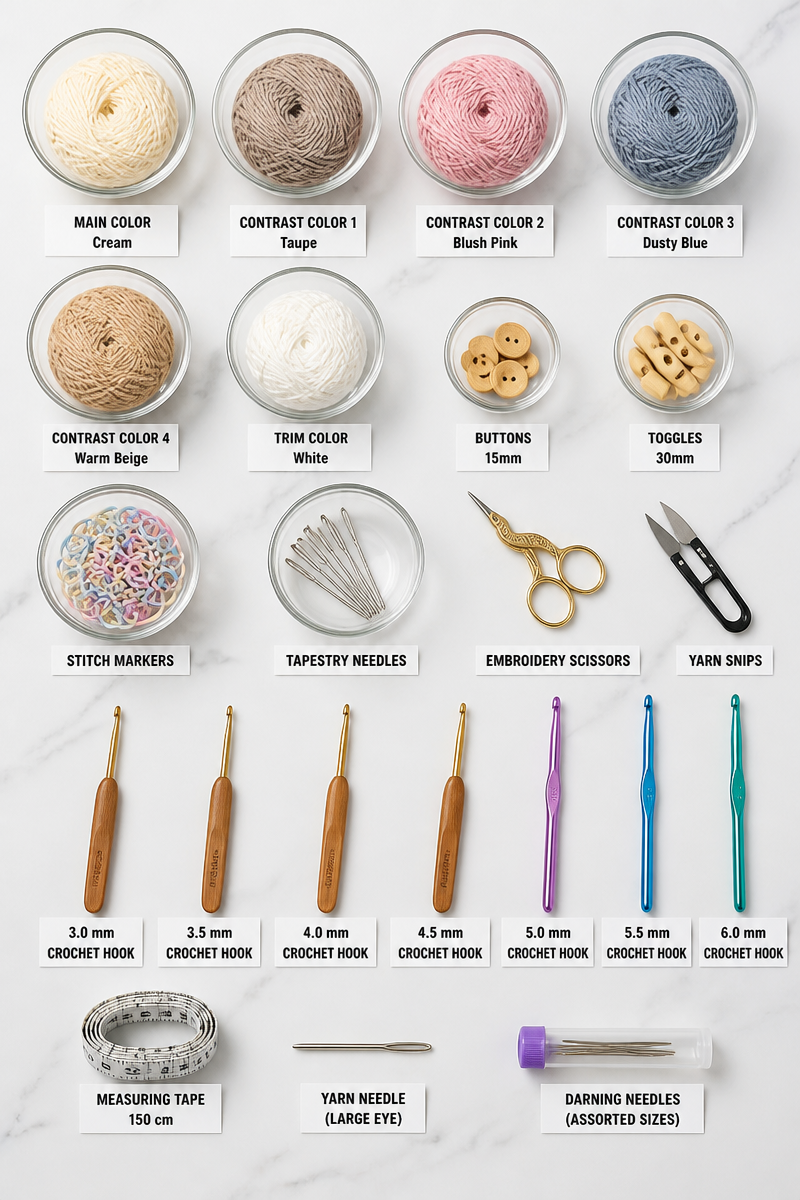
Materials Needed
- Bulky weight yarn in oatmeal or sage green
- 5.5mm hook
- 3 wooden buttons
- Yarn needle
Step-by-Step Instructions
Step 1: Create the Back and Front Panels
Begin by chaining the desired width for the back panel. Use double crochet stitches throughout, shaping it slightly at the waist by decreasing on the sides. Repeat this process for the two front panels, ensuring they are of equal size.
Step 2: Seam the Shoulders and Sides
Once all panels are completed, place them together, aligning the back, and two front panels at the shoulders. Seam the tops together and then the sides, leaving gaps for the future sleeves.
Step 3: Work the Sleeves in Rounds
Next, create the sleeves by working in rounds. Attach your yarn at the armhole and crochet in the round until the sleeves reach your desired length. You can shape them with increases for a nice fit.
Step 4: Crocheting the Hood
For the hood, chain a targeted number of stitches and then work double crochet into each stitch. Form it into a triangle shape, adjusting the size based on the baby’s head circumference.
Step 5: Seam the Hood
After completing the hood, seam it to the neckline of the coat. Ensure it’s securely attached to maintain warmth.
Step 6: Add the Border and Buttons
Finally, add a single crochet border along the front edges. This gives a polished look while reinforcing the structure. Sew on the three wooden buttons for an added touch of charm.
In conclusion, this crochet baby hooded coat is a delightful project that combines practicality and creativity. Whether you’re keeping a little one warm or gifting it to someone special, you will love crafting this piece. I invite you to give it a try—share your finished photos or explore similar patterns. Happy crocheting!