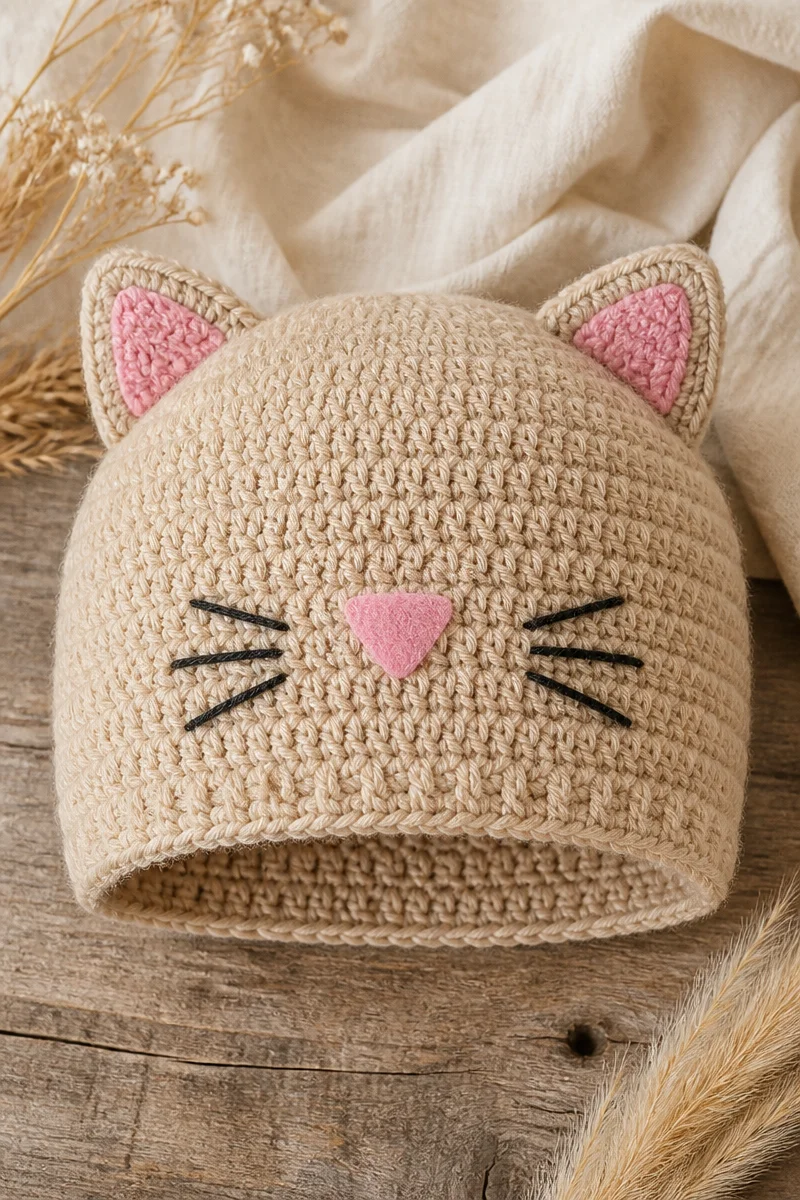
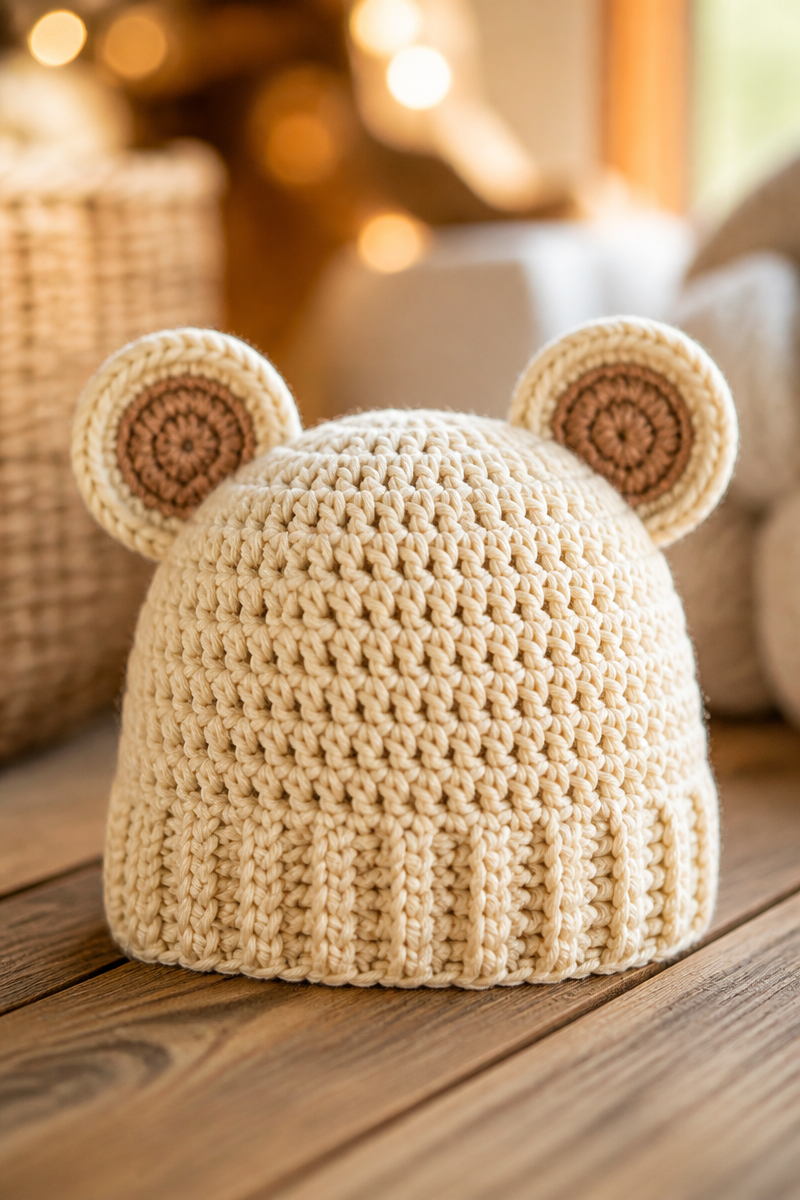
Creating a crochet piece as adorable as this bear ear baby beanie hat is truly a pleasure. It offers a comforting escape from the busyness of everyday life. There’s something purely joyful about transforming soft yarn into a delightful accessory that even the smallest members of the family can enjoy. Whether you’re a seasoned crocheter or just embarking on your crafting journey, this beanie pattern brings pure satisfaction.
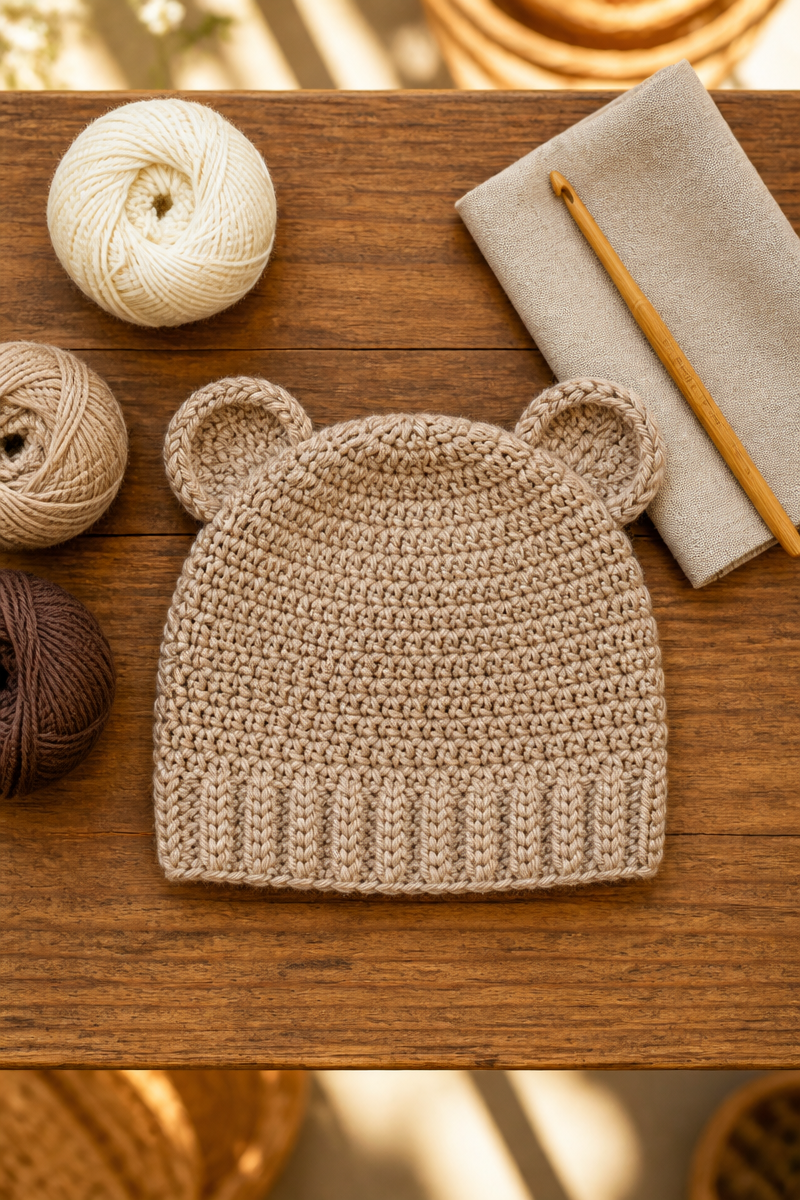
The main materials for this project include a soft yarn, paired with the right crochet hook size to achieve an easy, yet snug fit. You will also need scissors for trimming, and a yarn needle for weaving in any stray ends. Opting for a plush yarn, like a nice acrylic blend, will ensure that the finished piece is not only cozy but visually appealing, too. The texture will be pleasantly soft, making it perfect against little ones’ skin.
The method to follow is straightforward and enjoyable. You will be guided through the steps to create the main beanie shape, craft those adorable bear ears, and then securely attach them to complete this cute hat. For anyone who may feel intimidated, you’ll find comfort in the simplicity of the stitches involved, ensuring a smooth crocheting experience from start to finish.
This tiny bear hat is not just a wonderful craft project; it also serves as a beautiful handmade gift or a charming accessory for chilly outings. Picture a precious baby, bundled up in a warm coat, sporting this delightful beanie on their next stroll in the park.
Why You Will Love This Cute Crochet Bear Ear Baby Beanie Hat Pattern
- Works up quickly, making it perfect for last-minute gifts.
- Uses simple stitches that are beginner-friendly.
- It provides a relaxing project, perfect for unwinding.
- Makes adorable additions to any baby’s wardrobe.
- It’s versatile enough to be customized with different colors.
Soft Acrylic Yarn Tips
When choosing soft acrylic yarn, consider its blend and texture carefully. Select a yarn that is soft yet sturdy, which is critical for baby items. Look for yarn with a good twist to prevent splitting while you crochet. When handling this yarn, pay attention to your tension. Keeping it consistent will lead to a snug-fitting and professional-looking finish. Additionally, washing your hands before you begin can help prevent oils from your skin from transferring to the yarn.
Options for Substitutions
- Consider using cotton instead of acrylic for a more breathable option.
- Swap worsted weight yarn for bulky yarn to create an even warmer hat.
- Utilize different brands of yarn within the same weight category.
- Change the hook size for finer tension or a looser fit.
- Experiment with a mix of textures, such as combining cotton and acrylic yarns.
- Try using animal fibers, like wool, for added warmth but ensure it suits baby’s delicate skin.
Watch Out for These Mistakes
When working through this pattern, be mindful of common pitfalls. First, it’s easy to drop stitches at the end of a row, especially if you’re crocheting late at night. A quick double-check can save hours of unraveling later. Next, tension issues often arise with beginners. Ensure your stitches are evenly spaced and consistently sized to avoid any noticeable gaps. Lastly, one of the most frequent mistakes is skipping a chain space when crocheting the bear ears. This can lead to uneven or poorly shaped ears, so take your time and pay attention to each step.
What to Pair With This Cute Crochet Bear Ear Baby Beanie Hat Pattern?
Consider adding a few matching accessories to complete the look. A cozy pair of mittens in the same yarn will make a lovely gift set. Perhaps even a matching scarf could elevate the outfit for colder days. Additionally, a blanket featuring the same color scheme would be a heartfelt addition to any baby shower gift.
Care and Washing Instructions
For washing this beanie, hand-washing is the best option to maintain its shape and softness. If you do opt for machine washing, use a gentle cycle with cold water and place it in a mesh bag to prevent snagging. After washing, lay the beanie flat to dry, avoiding hanging it up to prevent stretching. As for blocking, little to no blocking is needed for this pattern unless you want to refine the shape of the beanie.
Pattern Info
Prep Time: 20 minutes
Make Time: 1 hour
Total Time: 1 hour 20 minutes
Level of Difficulty: Beginner
Sizing: Fits babies aged 0-6 months based on the pattern’s instructions.
Gauge and Sizing Notes
Estimated sizing and gauge details for this pattern: It’s essential to check your gauge as it ensures the beanie fits properly. For this project, after completing a few rows, aim for a 4×4 inch square to measure about 16 stitches across for every 10 rows. Adjust your hook size accordingly to match these dimensions and ensure the perfect fit for your baby beanie.
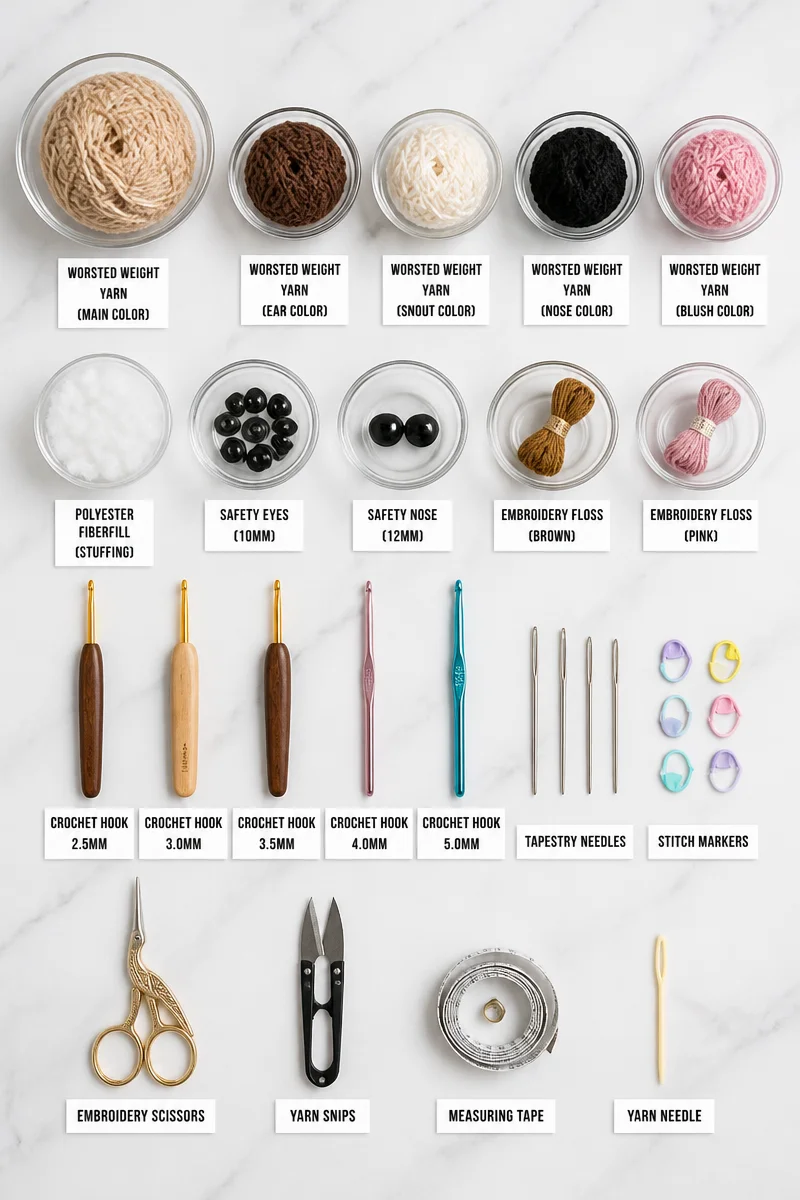
Materials Needed
- Yarn: Soft acrylic yarn (worsted weight, approximately 200 yards)
- Crochet hook: Size H (5.0 mm)
- Scissors: Standard scissors for trimming
- Yarn needle: For weaving in ends
Step-by-Step Instructions
Step 1: Create the Foundation Chain
Start by creating a foundation chain of 50 stitches. This chain forms the base of your beanie. Make sure your chain is neither too tight nor too loose; adjust your tension as needed.
Step 2: Work Rows in the Round
Once you have your foundation chain, join the last stitch to the first to form a loop. Proceed to work in rounds, using single crochet stitches. Continue crocheting in this manner for about 10 rounds or until the beanie reaches your desired length.
Step 3: Create the Bear Ears
To make the bear ears, start with a new yarn piece. Create a small circle by chaining 4 and joining with a slip stitch into the first chain. Work in rounds using double crochet stitches to make three rounds. This will create the shape of the ear. Repeat this process for a total of two ears.
Step 4: Attach the Ears
Once you have both ears, it’s time to attach them to the beanie. Position the ears approximately 5 stitches apart on the top of the beanie. Using your yarn needle, sew the ears onto the beanie securely, ensuring they are well-fastened so they’ll withstand wear.
Step 5: Final Finishing Touches
After sewing the ears, weave in all extra yarn ends. This is also a good moment to check for any loose stitches and tidy them up. If you’d like, you can add a decorative button in the center of each ear for a little embellishment.
Step 6: Enjoy Your Finished Beanie
Your cute crochet bear ear baby beanie hat is now complete! It’s time to try it on a sweet little one or gift it to someone special. Be sure to take a moment to admire your handiwork.
In conclusion, this cute crochet bear ear baby beanie hat pattern is the perfect blend of creativity, warmth, and charm. I encourage you to give it a try and experience the joy of crafting something beautiful. Don’t forget to share photos of your lovely creations and explore more crochet patterns on the blog. Happy crocheting!