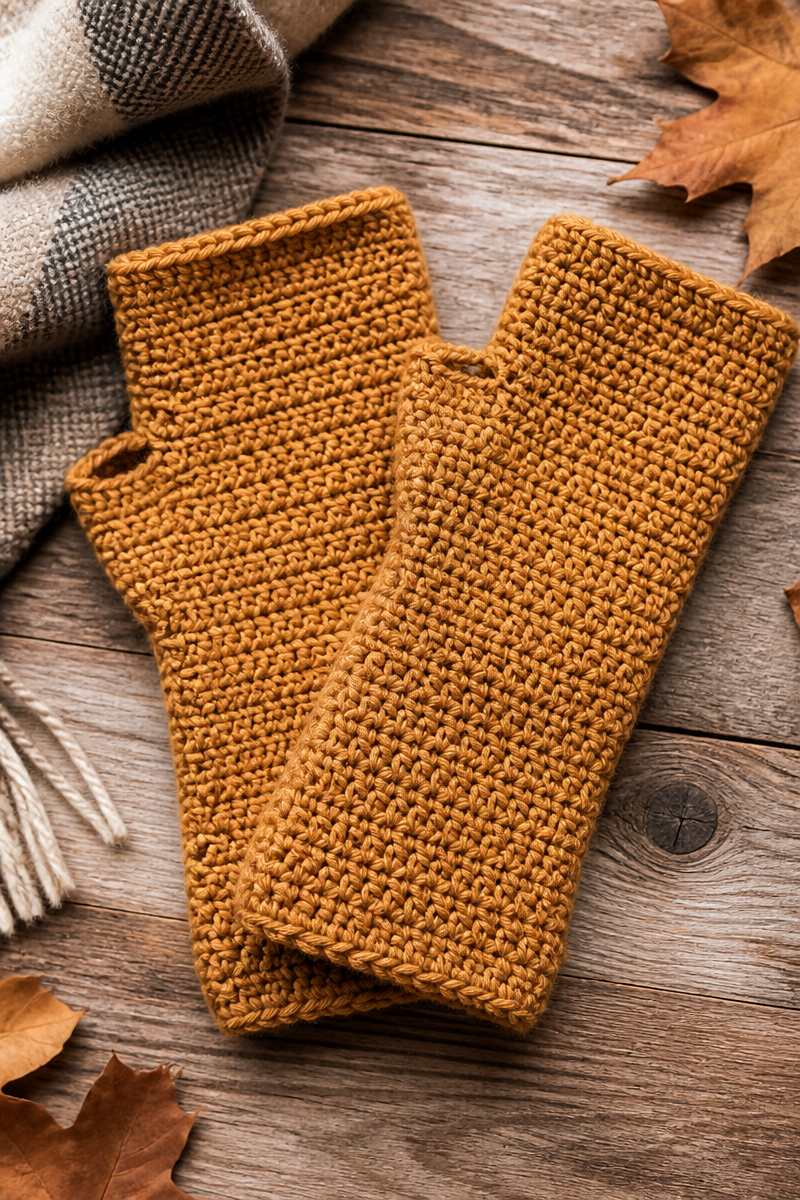
Crocheting fingerless gloves is a delightful way to welcome the cool breezes of fall. This project is pure comfort to make, combining both creativity and warmth. There’s something special about working with your hands, feeling the soft yarn slide through your fingers while you watch the fabric take shape. Each stitch feels like a hug, wrapping your hands in coziness as you craft something meaningful.
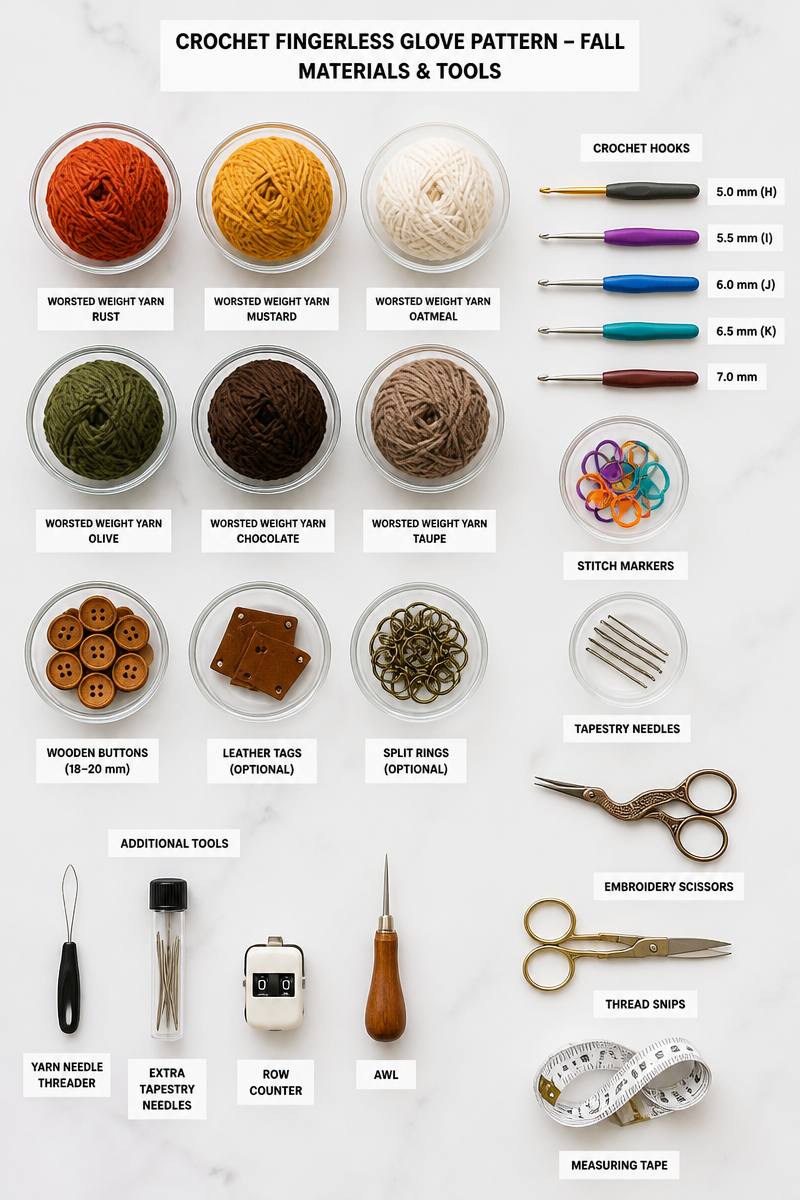
For this pattern, you will need some essential supplies. The worsted weight yarn is perfect for these gloves as it provides a lovely texture that keeps your hands warm without feeling bulky. Pair this with a 4.5mm hook, which is just the right size to create a tight yet flexible fabric. A yarn needle will help you weave in ends neatly, while a stitch marker will keep your rounds organized as you crochet. The combination of these materials will ensure a beautifully finished pair of gloves, perfect for all your autumn activities.
The method for crafting these gloves is straightforward yet enjoyable. You will start by chaining enough stitches to fit around the wrist, joining them into a ring. From there, you will work in half double crochet rounds until the piece reaches the base of the thumb. After skipping a few stitches to create the thumb opening, you’ll continue in rounds to the base of the fingers. To finish it off, a few final rounds in single crochet will give you a clean edge. Finally, simply repeat the process to create a matching glove.
These fingerless gloves are great for chilly evenings spent outdoors or simply sipping your favorite tea at home. They also make beautiful handmade gifts for friends and family. Craft fairs are a perfect setting to showcase these gloves, allowing others to admire your handiwork. Whether you’re treating yourself or sharing the warmth with loved ones, this project is bound to bring smiles.
Why You Will Love This Crochet Fingerless Glove Pattern Fall
- Works up quickly, making it perfect for last-minute gifts.
- Simple stitches to master, suitable for beginners.
- Relaxing project to unwind with after a long day.
- Versatile style that can suit anyone’s wardrobe.
- A great way to use up any leftover yarn you have on hand.
Worsted Weight Yarn Tips
When choosing your worsted weight yarn, look for options that offer softness and warmth. Acrylic blends are excellent for beginners as they are affordable and come in a variety of colors. If you’re using a specialty yarn, ensure it is still soft against the skin. Avoid any that may itch or irritate those with sensitive skin. Remember, the texture of your yarn can significantly affect the final look and comfort of your gloves, so always feel free to swap brands until you find the perfect one for your needs.
Options for Substitutions
- Wool yarn for added warmth.
- Cotton yarn for a lighter, breathable option.
- Bamboo yarn for a soft, eco-friendly choice.
- Blends of acrylic and wool for durability and comfort.
- Changing to a 4.0mm hook for a tighter fit.
- Using a larger hook size for a looser, airier design.
Watch Out for These Mistakes
When starting, many crocheters drop stitches at the end of a round. This can lead to uneven edges, especially in the thumb opening. To prevent this, make sure to count your stitches regularly and keep track with your stitch marker.
It’s also crucial to achieve consistent tension throughout your work. If your stitches are too tight, the glove may not fit well, leading to discomfort. Conversely, if your stitches are too loose, gaps may form, allowing cold air to creep through.
When you create the thumb opening, be careful not to skip too many stitches. This can result in a thumb hole that is either too small or too large. If you’re unsure, it’s okay to reduce or increase the number of skipped stitches based on your hand size.
Finally, when working the final rounds in single crochet, ensure you do not crochet too tightly. A clean finger edge is essential for comfort and overall appearance. Loose stitches will give a better finish and allow the fabric to stretch without constricting your fingers.
What to Pair With This Crochet Fingerless Glove Pattern Fall?
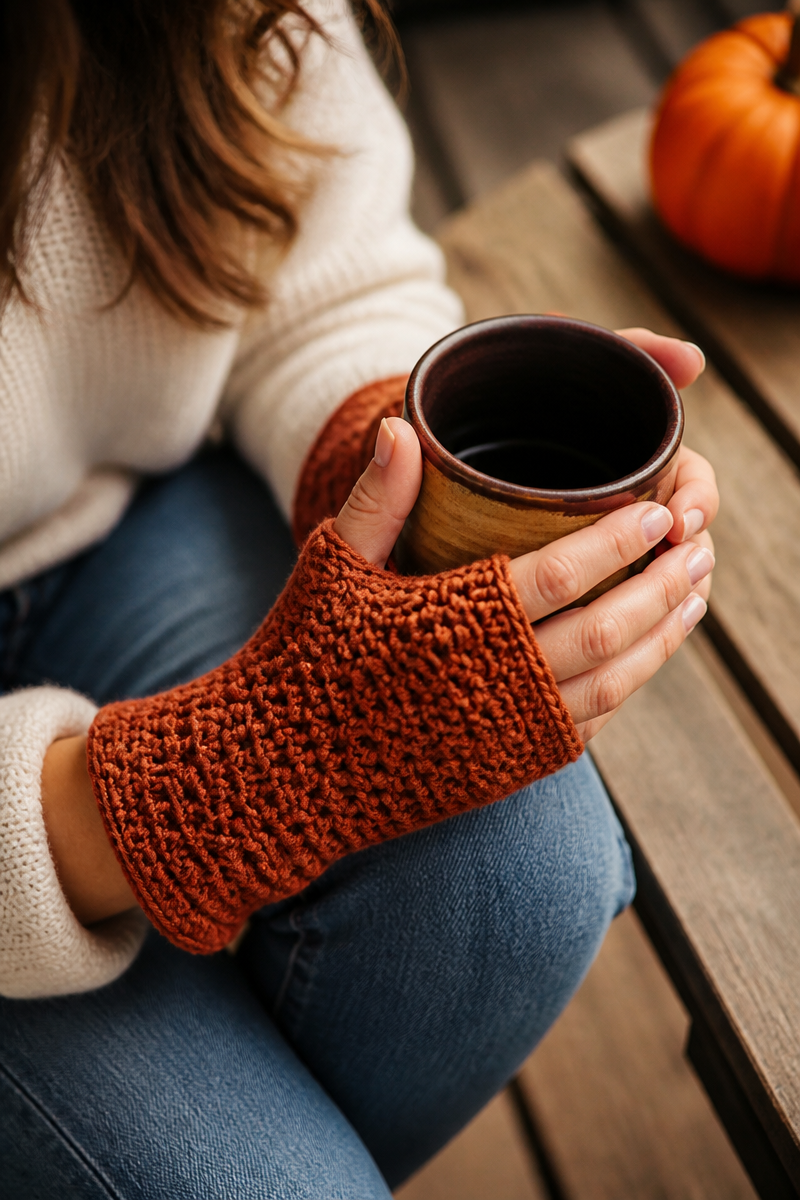
To complement your fingerless gloves, consider pairing them with a cozy hat or a stylish scarf, both made in similar yarns. You could also create a matching cowl or a headband to keep your entire outfit coordinated. These accessories not only enhance your style but also offer additional warmth as the temperatures drop.
Care and Washing Instructions
Washing your fingerless gloves depends on the yarn you select. Most worsted weight acrylic yarns can be safely hand-washed or machine washed on a gentle cycle with cold water. Avoid bleach to keep the colors vibrant.
For drying, it’s best to lay your gloves flat on a clean towel to avoid any stretching.
As for blocking, a light steam can help reshape your gloves if needed. This will help smooth any uneven stitches while maintaining the softness of your finished piece.
Pattern Info
Prep Time: 15 minutes
Make Time: 2 hours
Total Time: 2 hours 15 minutes
Level of Difficulty: Beginner
Sizing: Adjustable based on wrist measurement and your personal preference.
Gauge and Sizing Notes
Estimated sizing and gauge details for this pattern: Checking the gauge is important to ensure your gloves fit perfectly. For this pattern, you can aim for a gauge of about 4 inches square of 13 stitches and 12 rows in half double crochet. The finished gloves should comfortably fit around the wrist and offer enough room for the thumb and fingers to move freely.
Materials Needed
- Worsted weight yarn
- 4.5mm hook
- Yarn needle
- Stitch marker
Step-by-Step Instructions
Step 1: Create the Foundation Chain
Start by chaining enough stitches to comfortably fit around your wrist. Once you have the desired number, join them together to form a ring. Be cautious not to twist the chain as you join.
Step 2: Work the Half Double Crochet Rounds
Begin the first round of half double crochet. Yarn over, insert your hook into the ring, yarn over again, and pull through all three loops on your hook. Continue working in half double crochet rounds until you reach the base of your thumb. Keep your tension consistent throughout this step.
Step 3: Create the Thumb Opening
To create the thumb opening, count and skip a few stitches in the round. Mark the first skipped stitch with your stitch marker. Continue crocheting in rounds until you reach the base of your fingers, ensuring a seamless transition.
Step 4: Final Rounds in Single Crochet
Once you have reached the desired length, work a few rounds in single crochet. This will provide a neat and finished edge for your finger openings. Be mindful of your tension to ensure the edges remain smooth and comfortable.
Step 5: Make the Second Glove
To create a matching glove, repeat all the steps above. If you find yourself wanting to adjust the sizing, feel free to change the number of stitches you chain or the length of your rounds.
In conclusion, this crochet fingerless glove pattern is inviting and enjoyable. You can create something beautiful that brings warmth to your hands while expressing your creativity. I invite you to try your hand at this pattern, share your finished pieces, and explore similar posts for more crafting inspiration. With each stitch, you’re not just creating warmth; you’re crafting cherished memories.