Creating a delightful crochet baby ladybug costume is as pure comfort to make as it is charming to behold. Whether you’re a seasoned crochet enthusiast or just starting your creative journey, this project is perfect for relaxing while you produce a unique and cuddly outfit for the little ones in your life. There’s something genuinely soothing about watching yarn transform into something beautiful, especially when it involves whimsical designs like our adorable ladybug.
As you embark on this delightful pattern, gather your materials: the bright red and black bulky yarn that gives the costume its striking appearance, a 5.5mm hook for an easy grip, soft felt for the ladybug spots, and a yarn needle to finish up those little details. The texture of the finished piece will be cozy and appealing, making it perfect for little ones to wear. Its construction ensures that it will be comfortable, allowing for easy movement while they play and explore.
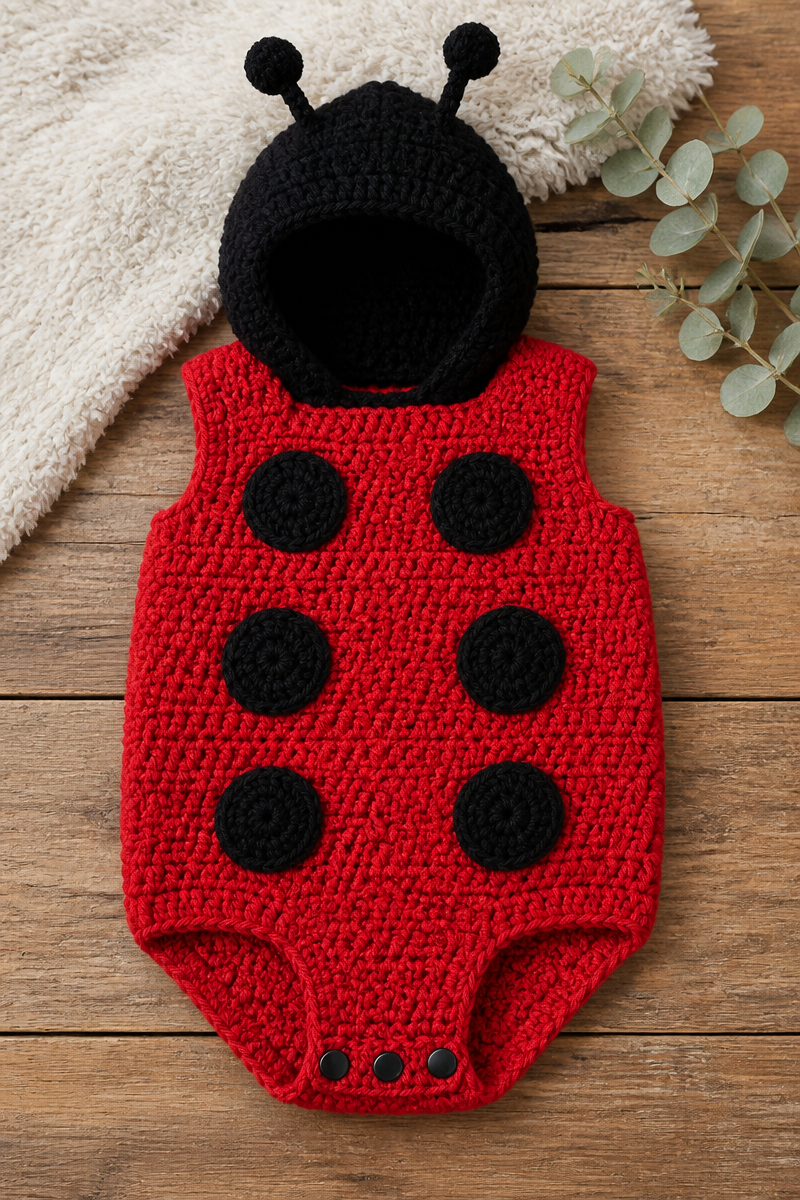
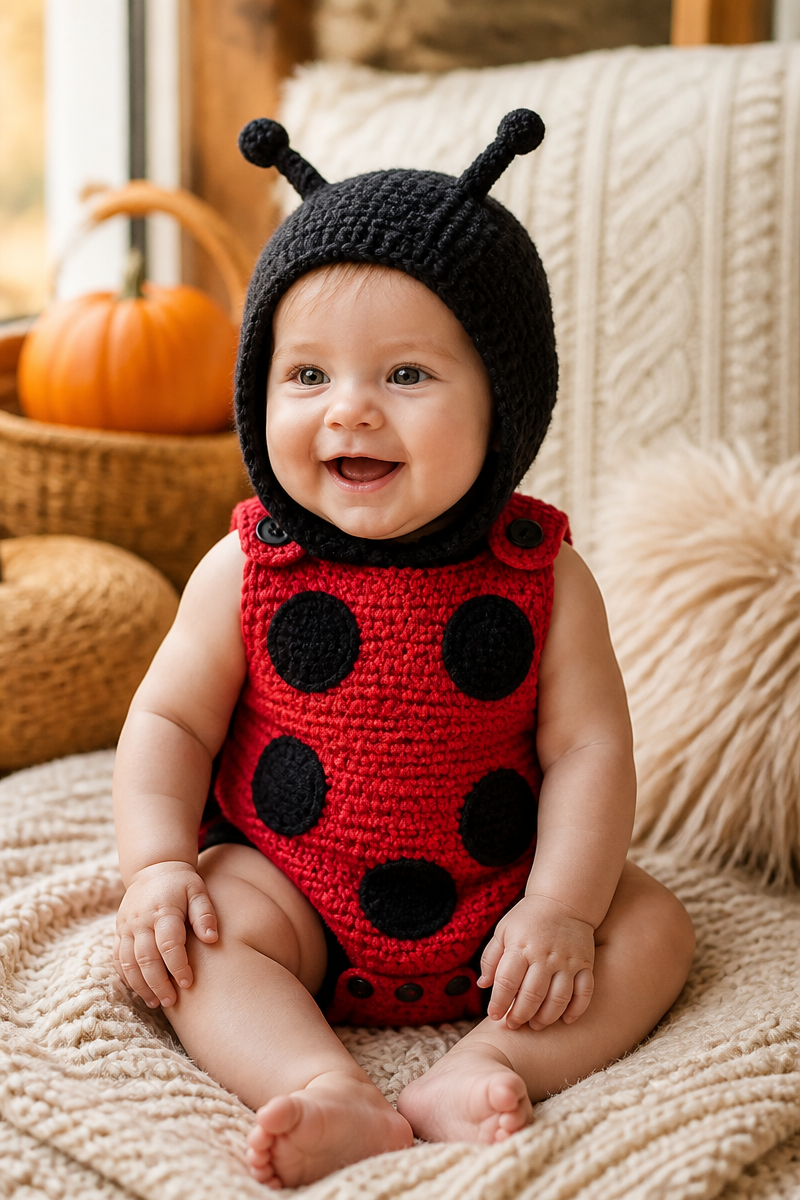
The method for crafting this ensemble is refreshingly straightforward. You’ll start by crocheting two body panels in red using double crochet, elegantly joining them at the shoulders and sides. To ensure a perfect fit, you’ll leave openings for the legs and a snap closure at the crotch. Next, you’ll add some flair by cutting and sewing black felt circles onto the costume for those iconic ladybug spots. A small black hood with adorable antennae will cap off the look beautifully, attaching seamlessly along the neckline.
This costume is not only a charming addition to a child’s wardrobe but also serves practical purposes. It is perfect for chilly nights when snuggly warmth is needed, making it a beautiful handmade gift for baby showers or birthdays. Plus, this costume is great for craft fairs where you can showcase your skills while spreading the joy of handmade items.
Why You Will Love This Crochet Baby Ladybug Costume Pattern
- Works up quickly: With simple stitches, you can complete this costume in no time.
- Fun and playful design: The ladybug theme is cute and cheerful, ideal for little ones.
- Perfect gift: Handmade items are always cherished; this costume makes a wonderful gift.
- Easy to customize: Add your touch by playing with colors or personalizing with different felt shapes.
- Great beginner project: Its simplicity makes it an excellent choice for those new to crochet.
Bulky Yarn Tips
When choosing your yarn for this costume, working with bulky yarn in bright red and black can greatly enhance your project. Select a yarn with a soft texture that feels pleasant against delicate skin. This yarn type works up quickly, allowing you to see progress in your work, which is motivating. To avoid splitting, ensure your hook size matches the yarn’s recommended size to maintain tension and stitch integrity. When crocheting, keep an eye on your tension and prevent it from being too tight, ensuring a comfortable fit for the little one.
Options for Substitutions
- Use acrylic yarn instead of bulky yarn for a lighter option.
- Swap bright red and black colors with pastels for a more whimsical look.
- Try cotton yarn for breathability in warmer weather.
- Use a smaller hook size for tighter stitches if desired.
- Experiment with different yarn weights for various effects.
- Incorporate button closures instead of snaps for a stylistic change.
Watch Out for These Mistakes
As you crochet the back and front body panels, be careful not to drop stitches, especially at the end of a row. This common mistake could lead to uneven edges. Tension issues can arise if you pull the yarn too tightly; ensure you maintain a relaxed grip for even stitches. When leaving the leg openings, double-check your measurements to ensure they are appropriately spaced for comfort. Lastly, when it comes time to attach the hood, ensure that it aligns well with the neckline to provide a seamless look.
What to Pair With This Crochet Baby Ladybug Costume Pattern?
To enhance this adorable ladybug ensemble, consider pairing it with a couple of delightful projects. A small backpack shaped like a ladybug makes a cute accessory for adventures. You might also create a matching blanket or a hat with ladybug ears to keep the little one cozy. Additionally, a set of fingerless gloves in a coordinating color can complete the look for an outdoor outing.
Care and Washing Instructions
For washing, it is best to hand wash your crochet creation in cool water with a gentle detergent to keep the colors bright and the texture soft. If you choose to machine wash, use a delicate cycle and place the costume in a laundry bag to protect it.
For drying, always lay flat to dry, avoiding hanging to prevent stretching. This method keeps the costume’s shape intact for future wear. If necessary, steam blocking can help reshape any uneven areas, particularly around the edges of the hood and the body panels.
Pattern Info
Prep Time: 30 minutes (for gathering supplies)
Make Time: 2-3 hours (for completing the costume)
Total Time: 2.5-3.5 hours
Level of Difficulty: Beginner
Sizing: Designed for infants (3-12 months)
Gauge and Sizing Notes
Estimated sizing and gauge details for this pattern: Checking your gauge is vital to ensure the costume fits properly. For this pattern, the finished costume will fit snugly yet comfortably on little ones. The width should be about 18 inches (45 cm) across the chest, and the overall length from neck to bottom should be around 20-22 inches (50-55 cm).
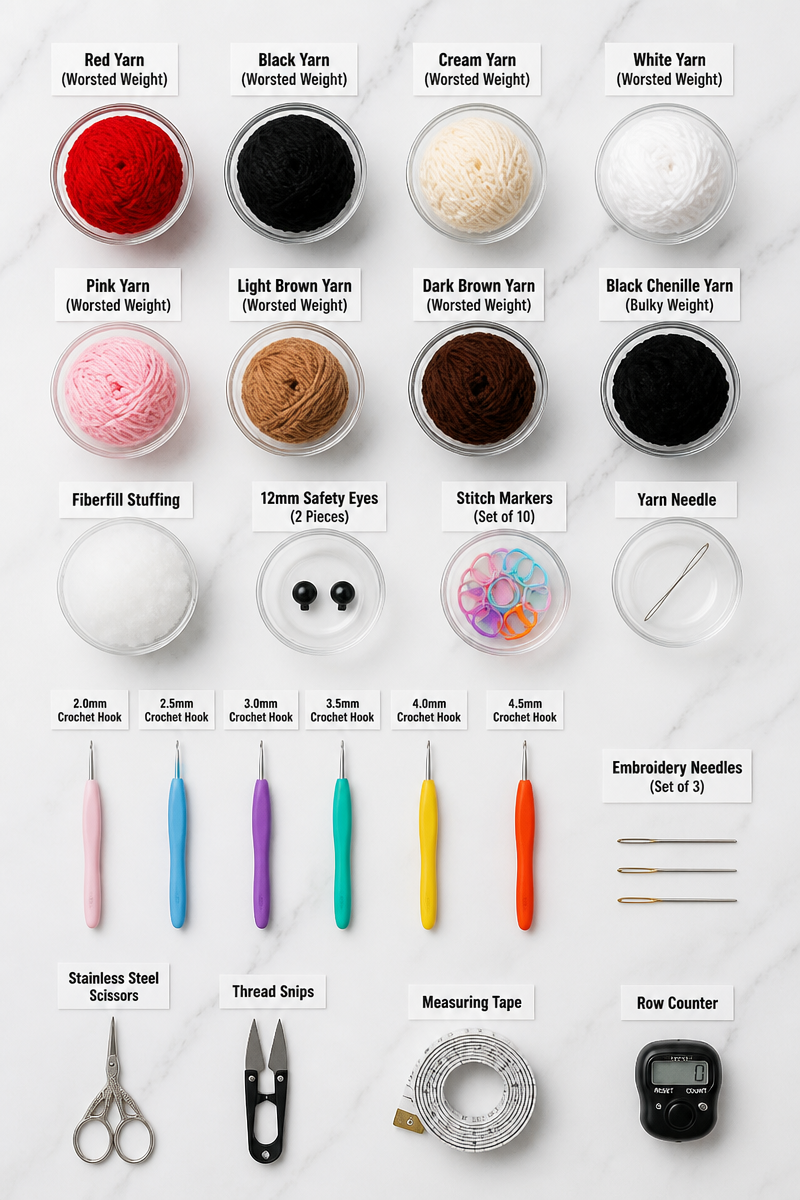
Materials Needed
- Bulky yarn in bright red and black
- 5.5mm hook
- Felt for spots
- Yarn needle
Step-by-Step Instructions
Step 1: Create the Body Panels
Start by making a foundation chain for the body panels. Crochet in bright red using the double crochet stitch, creating two pieces – one for the front and one for the back. Join the pieces at the shoulders, ensuring they are aligned evenly.
Step 2: Form the Arm and Leg Openings
Once your body panels are joined at the shoulders, leave room for the arm and leg openings. Be sure to check for symmetry as you stitch along the sides. Create a snap opening at the crotch to facilitate easy dressing and undressing.
Step 3: Adding Ladybug Spots
Cut out circular shapes from the black felt to create ladybug spots. Take your yarn needle and carefully sew these spots onto both the front and back panels. Position the spots in a playful manner for added charm.
Step 4: Crochet the Hood
Using black yarn, crochet a small hood to provide warmth and character. Incorporate two short antennae on top of the hood for that classic ladybug look. Make sure the hood size fits well with the head opening.
Step 5: Attach the Hood
Carefully attach the hood along the neckline of the body panels, ensuring it is snug and secure. This final touch completes the transformation into an adorable ladybug costume.
Step 6: Finishing Touches
Inspect your work for any loose ends, and use your yarn needle to weave them in securely. Check all seams and connections for durability, ensuring your creation is ready for wear.
In conclusion, crafting the crochet baby ladybug costume pattern is a delightful experience that combines creativity with functionality. This charming piece is sure to be loved by both the maker and the recipient. I encourage you to try this pattern and share photos of your finished work. Feel free to explore similar projects that excite your crochet spirit! Happy crafting!