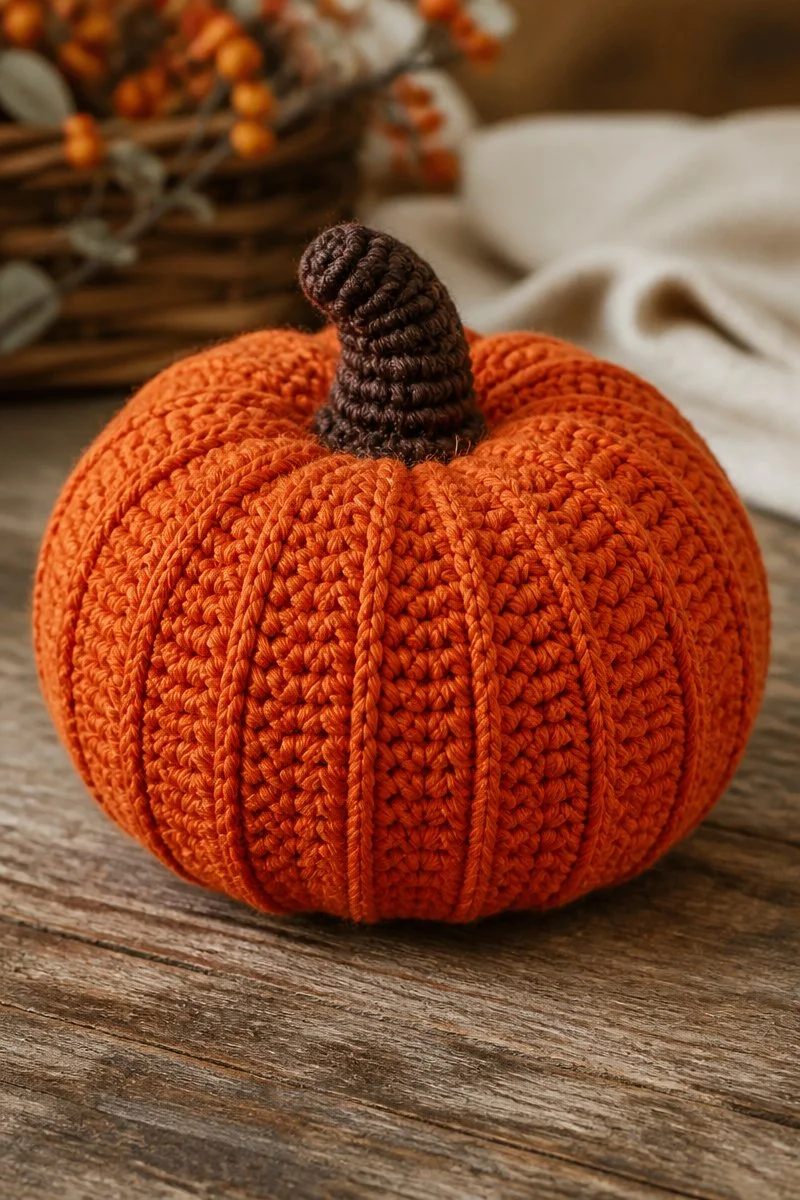
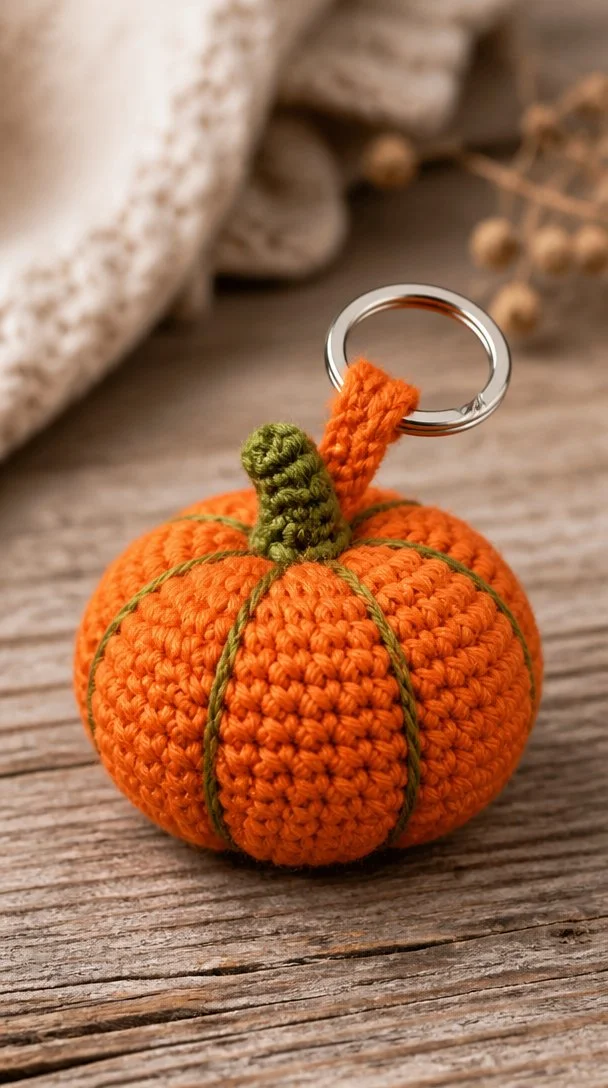
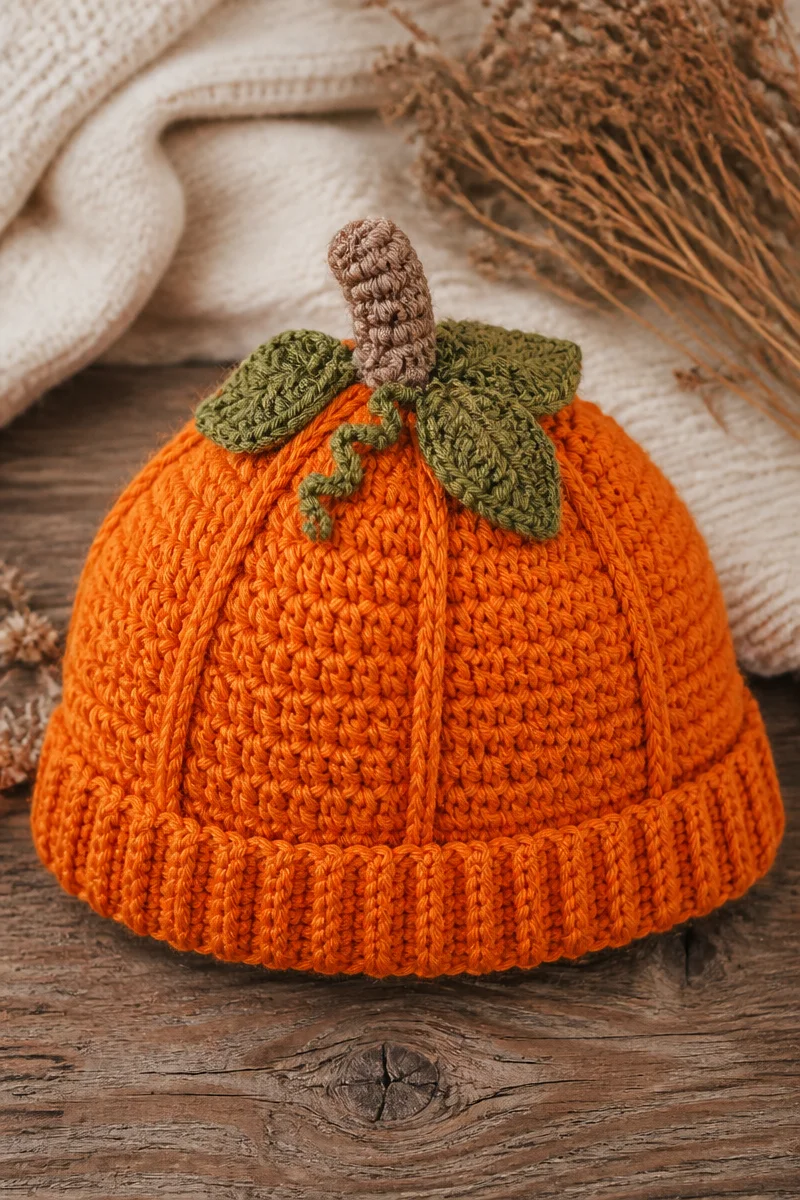
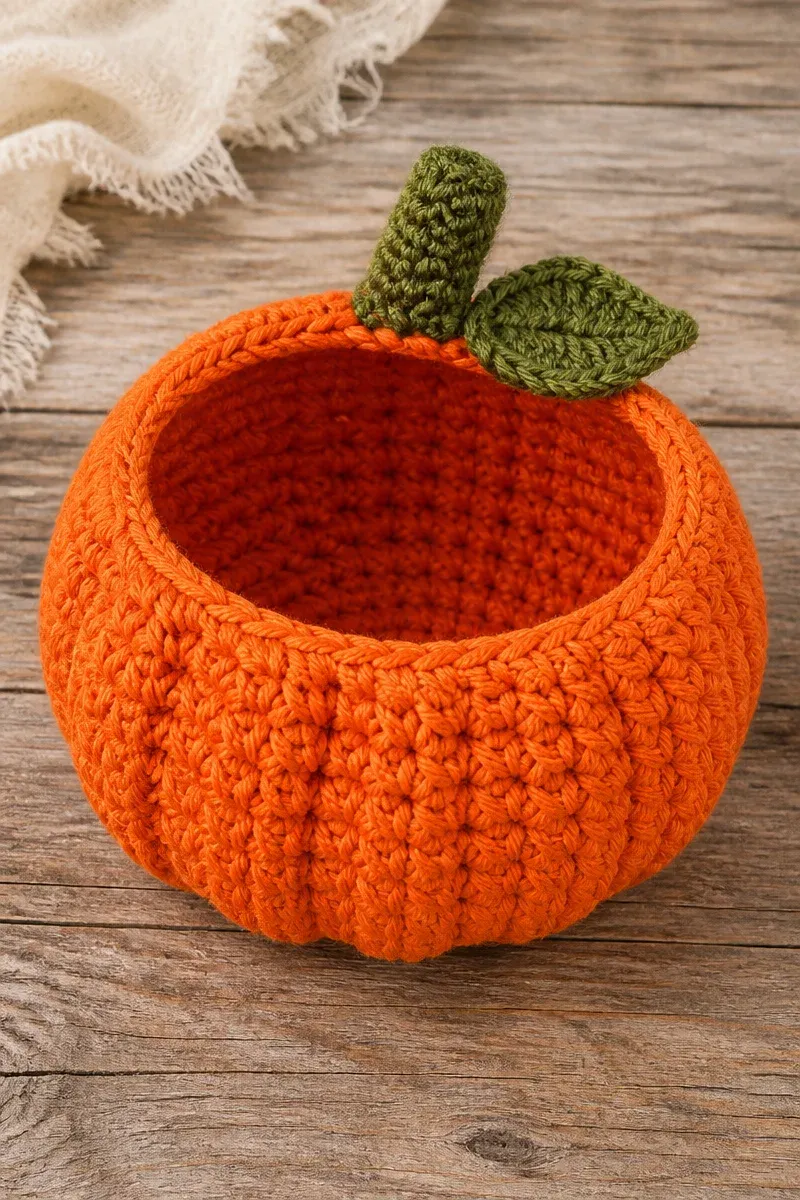
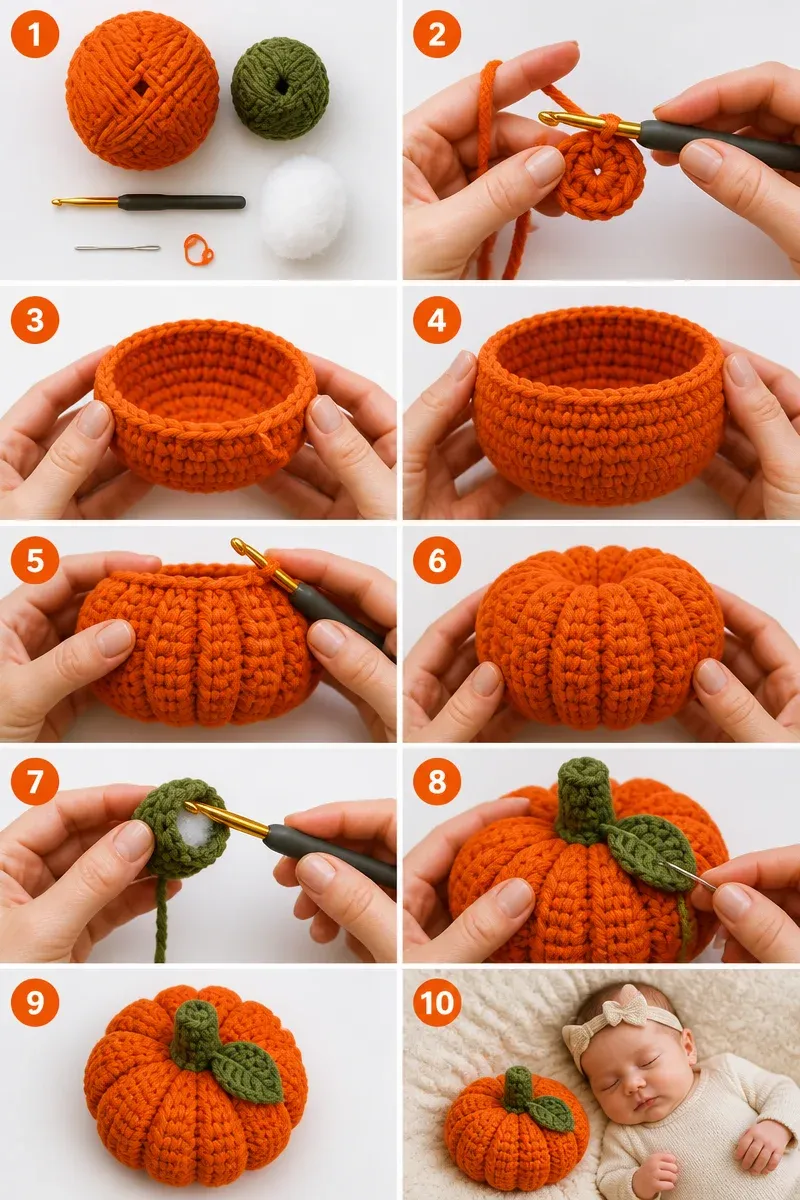
This baby photo prop features a textured pumpkin shape crocheted in the round, highlighted by deep ridges created through rows of double crochet. The piece is worked from a magic ring increasing to a consistent circumference, maintaining a smooth, closed top essential for a seamless crown. Its bulky acrylic yarn gives it structure and vibrant color saturation, while the softly stuffed stem and accompanying leaf add dimension and charm without bulk.
The pumpkin’s construction relies on precise stitch counts to form a flat circle base before building up ridge texture, ensuring the prop sits comfortably and maintains dimension in photos. The bulky yarn selected is acrylic, chosen for its durability, easy care, and bold orange hue that shows well on camera. The small quantities of moss green yarn create the stem and leaf, introducing contrast and visual interest. Given the design’s quick rounds and minimal shaping, this is suitable for intermediate crocheters familiar with working in the round and basic shaping principles.
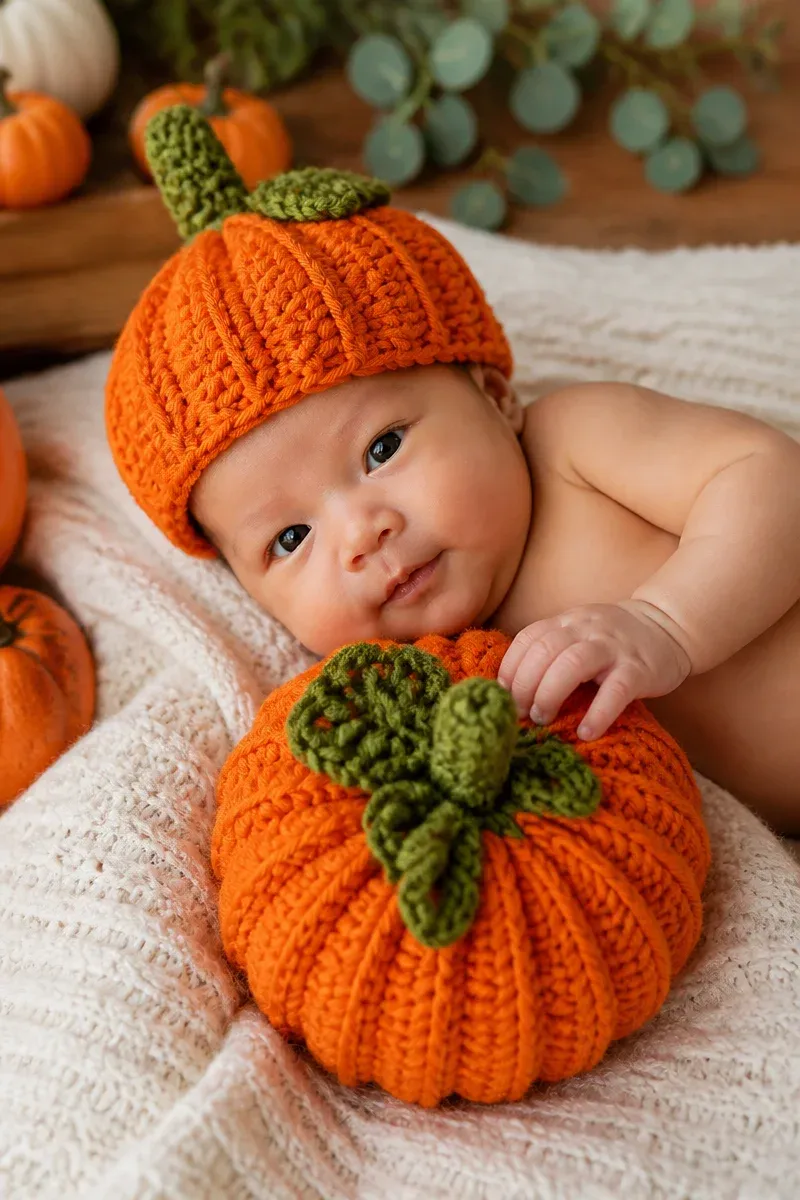
This prop is ideal for newborn or small infant photo sessions, creating a simple but eye-catching seasonal accent. Its sturdy but soft construction avoids harsh edges or closures, making it safe and comfortable for babies. The lightweight bulk also means it’s easily portable for photographers on location or at home. The stem’s light stuffing ensures it holds shape without overpowering the pumpkin form. Attention to stitch counts, neat join-offs, and integrated assembly details provide a polished finish fit for professional use or gifting.
Why You’ll Love This Pumpkin Prop
The standout feature is the round ridged pumpkin body achieved with rounds of double crochet after a steadily increased single crochet base, creating pronounced visual texture without bulky seams or complicated shaping. The bulky acrylic yarn balances a firm brush-stroke silhouette with softness, holding its form well while being lightweight. The pattern’s compact stitch counts and simple shaping make for a quick project with a clean, finished look requiring minimal weaving and no complex joinery. Adding the stem and leaf accessories uses only small yarn scraps and simple shapes secured precisely, enhancing the realism and charm of the pumpkin photo prop without extra complexity.
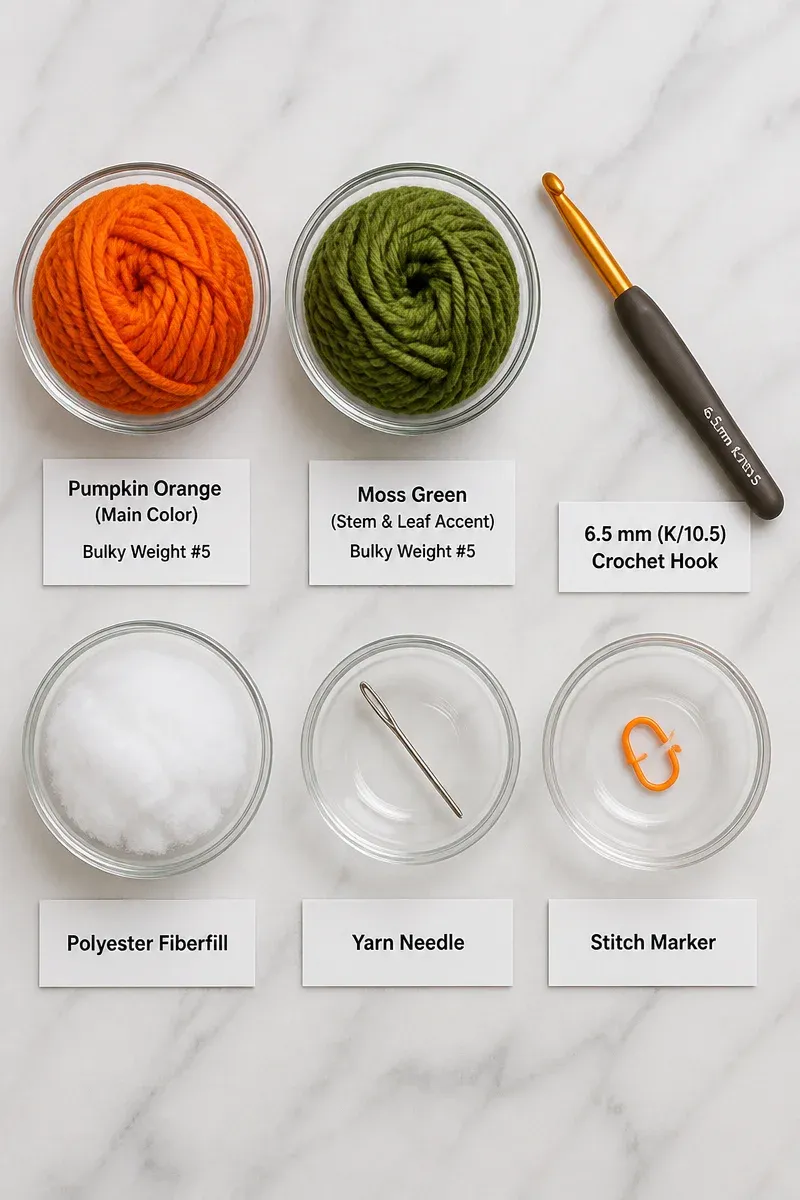
Materials
- Hook: US K/10.5 (6.5 mm)
- Yarn: bulky weight #5 acrylic
- Pumpkin orange: approx. 200 g / 200 yards
- Moss green (stem and leaf): approx. 20 g / 20 yards
- Notions: yarn needle, polyester fiberfill (small amount), stitch marker
Gauge
- Single crochet: approx. 2.7 stitches and 3.5 rows per inch (10 cm)
- Double crochet: approx. 2.0 stitches per inch
Gauge taken from single crochet rounds before ridge pattern and double crochet ridge rounds. This gauge ensures the pumpkin’s finished circumference is stable and visually balanced.
Finished Size(s)
- Pumpkin diameter: approximately 9 inches (23 cm) across the flat circle base
- Height including stem: approx. 5 inches (13 cm)
- Stem length: 1.5 inches (4 cm)
- Leaf width: 1.75 inches (4.5 cm)
Stitch Multiple
Not applicable; the pattern’s increases follow a +6 stitches per round formula typical for flat circles, with no special multiple required for foundation chains.
Special Stitches and Techniques
None beyond basic stitches: magic ring, single crochet (sc), double crochet (dc), increase (2 sc in one stitch), slip stitch (sl st), and chaining (ch). The ridge texture uses unbroken rounds of dc stitches for visual depth, which differ in height from the sc base rounds but are standard stitches.
Abbreviations
- ch = chain
- sc = single crochet
- dc = double crochet
- sl st = slip stitch
- rnd = round
- st(s) = stitch(es)
- inc = increase (2 stitches in one stitch)
Bulky Acrylic Yarn Tips
This bulky #5 acrylic yarn offers strong stitch definition that helps the ridge detail stand out while maintaining softness for baby comfort. Acrylic’s resilience prevents stretching out or sagging, which is critical in a freely resting prop. It works smoothly on a 6.5 mm hook, but watch tension to avoid too-tight stitches that could distort the pumpkin’s flat circle foundation. Acrylic’s easy washability suits photo props which may be exposed to incidental moisture or handling, and its color retention resists fading under frequent light exposure. Do not overstuff the stem: the yarn’s slight drape with light fiberfill delivers an appealing shape without stiffness.
Options for Substitutions
- Use a wool blend bulky yarn for a warmer, slightly more matte finish; may retain shape better but requires hand wash.
- Substitute a lower bulky (weight 4) yarn with a smaller hook (5.5 mm) for a smaller, tighter pumpkin.
- Use cotton bulky yarn for a less elastic, crisper texture; likely feels heavier and less plush.
- Swap moss green for a tonal green to create an ombre leaf and stem effect.
- Use a variegated orange bulky yarn to add natural color variation to the pumpkin body.
- Increase hook size to improve drape and soften pumpkin edges, expect a wider finished diameter.
Pumpkin Body (make 1)
Rnd 1: 6 sc in magic ring (6 sts)
Rnd 2: inc in each st around (12 sts)
Rnd 3: sc 1, inc around (18 sts)
Rnd 4: sc 2, inc around (24 sts)
Rnd 5: sc 3, inc around (30 sts)
Rnd 6: sc 4, inc around (36 sts) — foundation circle complete
Rnd 7-12: dc in each st around (36 sts each rnd) for ridge texture
Rnd 13: ch 1, sc in each st around, join with sl st, fasten off (36 sts)
Stem (make 1)
Ch 6
Sl st in 2nd ch from hook and across (5 sl sts)
Ch 1, turn, sc across (5 sts)
Ch 1, turn, sc across (5 sts), fasten off leaving a tail
Lightly stuff with fiberfill
Sew securely to top center of pumpkin body
Leaf (make 1)
Ch 2
Rnd 1: 6 sc in 2nd ch from hook (6 sts)
Rnd 2: inc in each st around (12 sts), fasten off leaving a long tail
Sew securely beside stem on pumpkin top
Assembly
Weave in ends on pumpkin body. Attach stem centered at the pumpkin’s top, sewing firmly through stem’s base stitches and pumpkin’s rounds with 36 sts to ensure consistent placement. Sew leaf collaring the stem base with the long tail to avoid visible knots. Lightly block entire pumpkin and leaf on a flat surface, pinning to maintain round shape and ridge definition.
Watch Out for These Mistakes
Blocking must be gentle to avoid distorting the circular foundation; flatten and pin it to retain even ridges on the double crochet rounds. The transition from sc rounds to dc ridges can create a slight height change — keep stitches consistent in tension to avoid uneven edges or buckles. Do not overstuff stem or skip stuffing altogether, or the stem will lack firmness and may flop unattractively. Precision in counts is vital; missing increases or extra stitches during the magic ring rounds will disrupt the flat circle’s shape and cause puckering or ruffled edges. Sew the stem and leaf securely to prevent shifting during use or washing.
Care and Washing Instructions
Hand wash in cool water with mild detergent to preserve stitch structure and color vibrancy. Lay flat to dry away from direct sunlight to avoid fading and yarn stretching. Acrylic fiber is fairly durable but resist wringing or twisting. Light blocking with pins during drying maintains ridge texture and circular shape. The stem’s light stuffing may compress; gently reshape by hand after drying.
Questions About Making This Pumpkin Prop
Q: Can I resize this pumpkin for older babies?
A: Reduce hook size and use smaller weight yarn; adjust rounds accordingly to maintain flat circle increments of 6 sts per round. For larger sizes, increase rounds maintaining the +6 sts per round pattern.
Q: What skill level is required?
A: Intermediate; familiarity with magic ring, working in the round, and increasing evenly is recommended.
Q: Can I substitute cotton yarn?
A: Yes, but cotton lacks elasticity and may feel less soft or heavier, affecting the shape and feel.
Q: How much fiberfill is needed for the stem?
A: Just a small pinch is enough for shape — overstuffing will distort appearance.
Q: Is the ridge texture comfortable against skin?
A: The ridges are formed by dc stitches which create a soft texture rather than hard seams; suitable for photo props where minimal direct wear time is expected.
Q: How do I avoid a puckered pumpkin body?
A: Maintain consistent stitch tension, confirm increases follow the 6-stitch repeat, and block gently after assembly.
Q: Can this pattern be adapted for Halloween decorations?
A: Yes, it can be made in larger sizes without changes, or with color variations for seasonal effect.
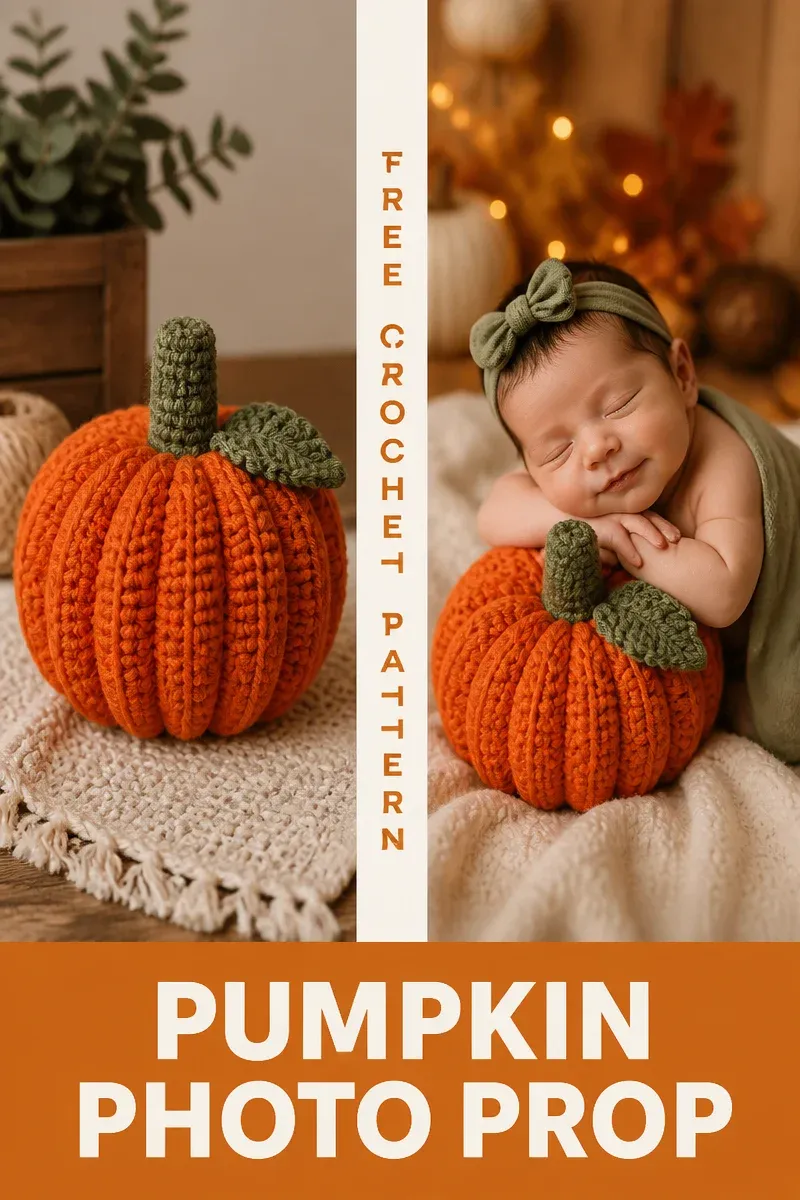
This pattern is straightforward and dependable for creating a charming pumpkin prop with crisp texture and clean shaping. Share your finished pumpkin and stem with the community to showcase your craftsmanship.